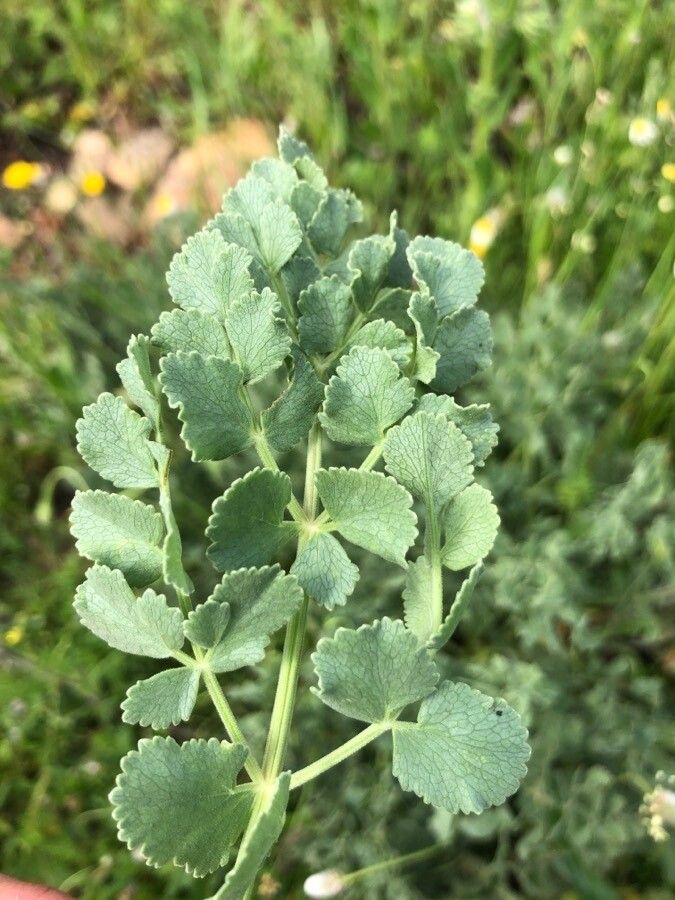
Hello there, fellow garden enthusiasts! I’m so thrilled to be sharing a little bit about one of my absolute favorite plants today: Pimpinella villosa (often known as hairy burnet). If you’re like me, you’re drawn to its delicate, lacy foliage and its lovely, small white flowers that attract a host of beneficial pollinators. It adds such a charming, wild-meadow feel to any garden space. And the best part? Propagating it is a wonderful way to multiply that charm, and trust me, it’s a journey that brings so much satisfaction for the effort. For beginners, I’d say P. villosa is leaning towards the easier side – a great confidence builder!
The Best Time to Start
The sweet spot for propagating Pimpinella villosa is late spring to early summer. This is when the plant is in its most vigorous growth phase after emerging from its dormancy. New growth will be plumper and more energetic, giving your cuttings the best chance of taking root. You can also have success with division in early spring, just as growth is starting, but for cuttings, warm, bright days are your friend.
Supplies You’ll Need
To get your Pimpinella villosa propagation party started, gather these essentials:
- Clean, sharp pruning shears or snips: For making precise cuts without crushing the stems.
- Small pots or trays: With drainage holes, of course!
- Well-draining potting mix: I like a mix of equal parts peat moss or coco coir, perlite, and a bit of compost. This ensures good aeration and moisture retention.
- Rooting hormone (optional but recommended): A powder or gel can give your cuttings a helpful boost.
- A watering can with a fine rose: For gentle watering.
- A clear plastic bag or propagation dome: To create a humid environment.
- Labels and a permanent marker: So you don’t forget what you planted where!
Propagation Methods
Let’s dive into how to get more of these beauties.
1. Stem Cuttings
This is my go-to method for Pimpinella villosa. It’s straightforward and yields great results.
- Select your stems: Look for healthy, non-flowering stems from your established plant. You want stems that are supple but not wilted. Aim for pieces about 4-6 inches long.
- Make the cut: Using your clean snips, make a clean cut just below a leaf node (where a leaf meets the stem). This is where the magic happens, as roots are more likely to form here.
- Prepare the cutting: Gently remove the lower leaves, leaving just a couple of sets at the top. This prevents them from rotting in the soil.
- Apply rooting hormone (optional): Dip the cut end of the stem into your rooting hormone, tapping off any excess.
- Plant your cuttings: Fill your pots with your prepared potting mix. Make a small hole with your finger or a pencil and gently insert the cut end of the stem. Firm the soil gently around the cutting to ensure good contact.
- Water and cover: Water thoroughly but gently. Then, cover the pot with a clear plastic bag or propagation dome to maintain humidity. You can use stakes to keep the bag from touching the leaves.
2. Division
If your Pimpinella villosa is already a mature clump, dividing it is a wonderful way to get new plants and also rejuvenate the parent plant.
- Dig carefully: In early spring, gently dig around the base of the plant. Lift the entire clump out of the soil.
- Tease apart the roots: With clean hands, carefully separate the root ball into smaller sections. You want each section to have plenty of healthy roots and at least one or two shoots. If the roots are tangled, you can use a clean trowel or even a sharp knife (sterilized, of course) to help you.
- Replant immediately: Prepare new spots in your garden or new pots with your potting mix. Plant the divisions at the same depth they were growing previously.
- Water well: Give them a good watering to help them settle in.
The “Secret Sauce” (Pro Tips)
Here are a few little tricks I’ve learned over the years that can make a big difference:
- Bottom heat is your best friend: For stem cuttings, placing your pots on a heated propagation mat can significantly speed up root development. It mimics the warmth of spring soil and encourages those roots to form.
- Crisp air circulation: While humidity is crucial, too much stagnant air can lead to fungal issues. Make sure to “air out” your cuttings daily by lifting the plastic bag or opening the dome for a few minutes. This allows for fresh air exchange.
- Don’t overwater a happy cutting: It’s tempting to keep them constantly moist, but a soggy environment is a fast track to rot. Let the top half-inch of soil dry slightly between waterings.
Aftercare & Troubleshooting
Once roots have begun to form (you’ll often see new leaf growth as a sign!), it’s time for a little extra care.
- Gradual acclimatization: Slowly introduce your new plants to drier air over a week or so. Start by removing the plastic bag or dome for longer periods.
- Move to brighter light: Once they seem to be thriving out of the humidity, move them to a bright location, but out of direct, harsh sunlight.
- Continue gentle watering: Keep the soil consistently moist, but not waterlogged.
- Watch for rot: The most common sign of trouble is mushy, blackened stems at the soil line. This usually means too much moisture and not enough air circulation. If you see this, try to remove the affected cutting and adjust your watering and ventilation.
- Lack of growth: Sometimes cuttings just don’t take. This can be due to poor stem quality, incorrect temperature, or insufficient light. Don’t be discouraged; gardening is all about trial and error!
A Encouraging Closing
Propagating Pimpinella villosa is such a rewarding experience. It connects you more deeply with your plants and allows you to share their beauty with others. Be patient with your cuttings; some take longer than others. Embrace the process, learn from any setbacks, and before you know it, you’ll have a garden brimming with this charming burnet. Happy propagating!
Resource:
https://identify.plantnet.org/k-world-flora/species/Pimpinella%20villosa%20Schousb./data