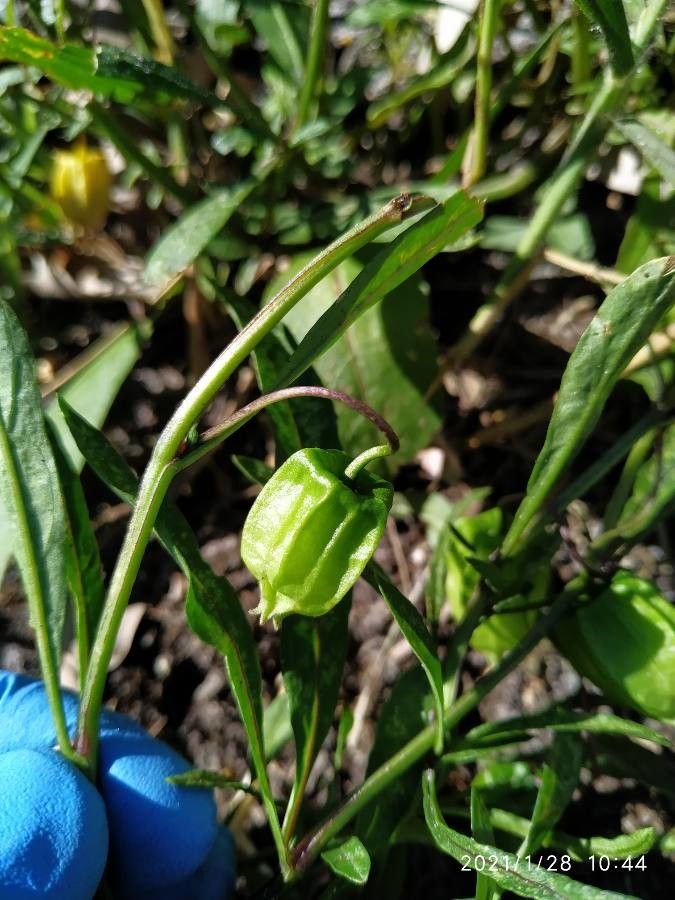
Oh, Physalis angustifolia! If you’re looking for a plant that brings a little bit of sunshine and a whole lot of charm to your garden, this is it. Those delicate, papery lanterns that later hold surprisingly delicious tart fruits are just magical. They have this lovely, almost airy quality to them that I just adore. Propagating them, I’ve found, is a really rewarding journey. It’s not the absolute easiest plant for a complete beginner, but with a little attention, you’ll be well on your way to a whole patch of these beauties.
The Best Time to Start
For the highest success rate with Physalis angustifolia, I always aim to take cuttings in late spring or early summer. This is when the plant is in a strong, active growth phase. You’ll be able to find nice, healthy stems that are developing new shoots. Waiting until the plant has put on a good bit of growth for the season gives you plenty of material to work with.
Supplies You’ll Need
Here’s what I generally have on hand when I’m ready to get propagating:
- Sharp pruning shears or a clean, sharp knife: For making clean cuts.
- A good quality potting mix: I usually mix some perlite or coarse sand into my regular potting soil to ensure good drainage. A mix for succulents or cacti works well too.
- Rooting hormone (optional but recommended): A powder or gel really does give cuttings a boost.
- Small pots or trays: Clean containers are key to preventing disease.
- A spray bottle: For misting.
- Plastic bags or a propagator: To create a humid environment.
- Labels: To keep track of your projects!
Propagation Methods
I’ve had the most luck with stem cuttings for Physalis angustifolia. It’s straightforward and reliable.
- Select Your Stems: Look for healthy, non-flowering stems that are about 4-6 inches long. They should be semi-hardwood – not too soft and green, but not completely woody either. You can often identify these by their slightly lighter color and the presence of new leaf growth developing.
- Make the Cut: Using your clean pruners or knife, make a cut just below a leaf node. A leaf node is a thickened joint where leaves emerge from the stem. This is where the magic of root formation happens. Remove the lower leaves, leaving only a couple of top leaves. If the leaves are very large, you can even snip them in half to reduce water loss.
- Dip in Rooting Hormone: Lightly dip the cut end of the stem into your rooting hormone, tapping off any excess. This step isn’t strictly necessary for Physalis, but it can significantly speed up the rooting process and improve your success rate.
- Plant Your Cuttings: Fill your small pots with your well-draining potting mix. Make a small hole in the center of each pot with a pencil or your finger. Gently insert the cut end of the stem into the hole, ensuring the leaf nodes are below the soil surface. Firm the soil gently around the stem.
- Water and Cover: Water the soil lightly, just enough to moisten it. Then, pop the pot into a plastic bag or cover it with a propagator lid to create a humid environment. Make sure the leaves don’t touch the sides of the bag.
Sometimes, you might even get a few cuttings to root successfully just by placing them in a jar of water! Keep an eye on them, and once you see those lovely little white roots developing, you can pot them up into soil.
The “Secret Sauce” (Pro Tips)
Here are a couple of things I’ve learned over the years that make a difference:
- The Magic of Bottom Heat: If you can, place your pots on a heated propagation mat. Physalis angustifolia absolutely loves a bit of warmth from below. It really encourages those roots to get going much faster than they would at room temperature alone.
- Don’t Overwater, but Keep it Moist: The key here is “moist,” not “soggy.” You want the soil to be consistently damp, like a wrung-out sponge. Regularly check the moisture level by gently poking your finger into the soil. If it feels dry, give it a light misting. If you’re covering them with plastic, condensation is a good sign.
Aftercare & Troubleshooting
Once you start to see new growth emerging from your cuttings – that’s your signal that roots have formed! You can gently tug on the cutting; if there’s resistance, roots are developing.
- Transitioning: Gradually introduce your new plants to normal air by opening the propagator or removing the plastic bag a little each day over a week. This prevents shock. Once they’re used to the open air, you can start watering them more conventionally, allowing the top layer of soil to dry out slightly between waterings.
- Spotting Trouble: The most common issue you’ll face is rot. This usually happens if the soil is too wet, or if there’s not enough air circulation. If your stem starts looking yellow or mushy and falls over, it’s likely succumbed to rot. Unfortunately, these cuttings are usually a loss. Prevention is key – ensure good drainage and don’t overwater! Also, watch for pests like aphids, which can sometimes find young cuttings very appealing.
Learning to propagate plants is a bit like learning to bake; there’s some science, but a lot of it is about practice and understanding what your plants need. Be patient with yourself and your new little Physalis babies. Enjoy the process of watching them grow – it’s one of the most satisfying parts of gardening!
Resource:
https://identify.plantnet.org/k-world-flora/species/Physalis%20angustifolia%20Nutt./data