Hello fellow plant enthusiasts!
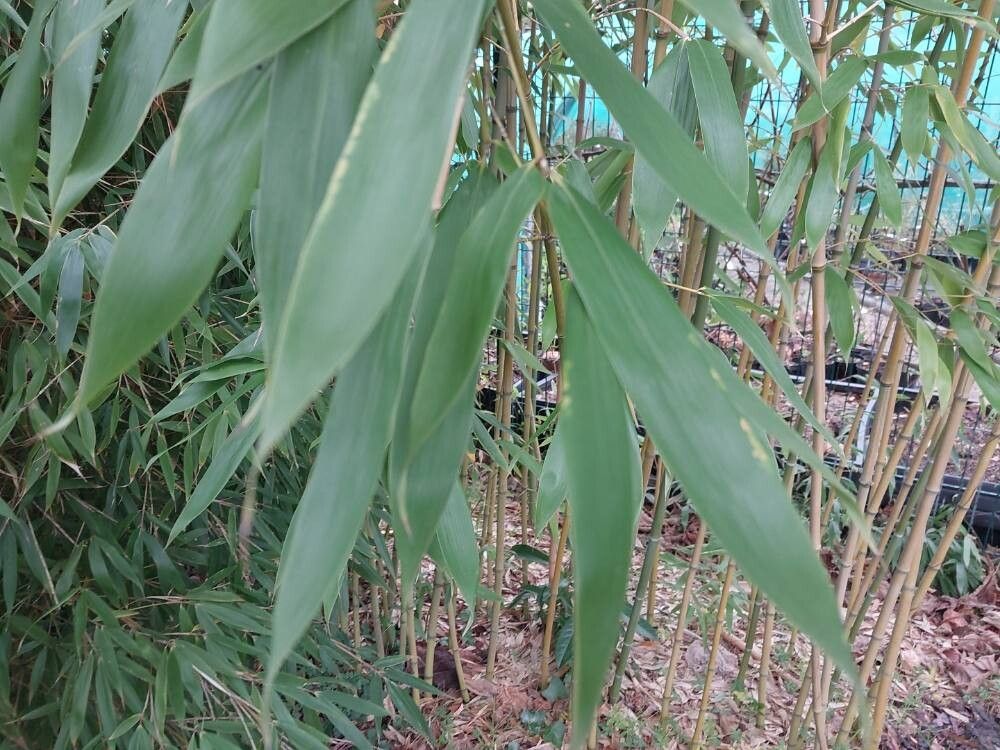
There’s something truly special about coaxing a new life from an existing one, isn’t there? Today, we’re diving into the wonderful world of Phyllostachys glauca propagation. This elegant bamboo, with its silvery-blue new shoots and graceful stature, brings such a serene beauty to any garden. It’s a rewarding plant to grow, and propagating it yourself is simply icing on the cake. For beginners looking to dip their toes into bamboo propagation, Phyllostachys glauca is a fantastic starting point – it’s quite forgiving, which always boosts our confidence!
The Best Time to Start
The secret to success with most plant propagation, including our Phyllostachys glauca, lies in timing. Spring is generally your golden ticket. When the plant is waking up from its winter rest and beginning its vigorous growth spurt, it has all the energy it needs to put into developing new roots. Aim to propagate after the last frost has passed and the soil is warming up nicely.
Supplies You’ll Need
To give your new bamboo the best chance, gather these essentials:
- Sharp Pruning Shears or a Hori Hori Knife: Clean cuts minimize damage and disease risk.
- Well-Draining Potting Mix: A good quality mix designed for containers or a blend of peat moss, perlite, and compost works beautifully.
- Rooting Hormone (Optional but Recommended): This can give your cuttings an extra boost. Look for one specifically for woody stem cuttings.
- Clean Pots or Trays: Small pots or seed trays with drainage holes are ideal.
- Watering Can or Spray Bottle: For gentle watering.
- Labels: To keep track of your new green babies!
Propagation Methods
Phyllostachys glauca is most successfully propagated through division, but happy gardeners have also had success with stem cuttings. Let’s explore both.
Division: The Most Reliable Method
This is essentially like separating a clump of bamboo into smaller, independent plants.
- Dig Carefully: In early spring, before new shoots get too large, carefully excavate the parent plant. You want to expose the rhizome system. Be gentle not to damage the existing culms (stems).
- Identify Natural Breaks: Look for sections of the rhizome that have nodes or naturally dividing points. Two sharp cuts with your pruning shears or a spade can separate a viable section. Each division should have at least one healthy culm and a good portion of rhizome with some attached soil.
- Replant Immediately: Take your newly divided sections and plant them in pots filled with your well-draining mix. Ensure the rhizome is just at or slightly below the soil surface.
- Water Well: Water thoroughly after planting to settle the soil around the roots.
Stem Cuttings: A Bit More Patience Required
While division is king, you can coax roots from cuttings too.
- Take Your Cuttings: In spring or early summer, select a healthy, green, semi-hardwood culm that’s about pencil-thick. Using your sharp shears, cut a section of culm that is 6-12 inches long. Make sure each cutting has at least 2-3 nodes (the points where leaves emerge).
- Prepare the Cutting: Remove all but the top 1-2 leaves, cutting any larger leaves in half to reduce water loss. You can also gently scrape a small section of bark near the bottom of the cutting to expose the cambium layer, which encourages rooting.
- Apply Rooting Hormone: Dip the cut end of the stem into your rooting hormone, tapping off any excess.
- Plant Your Cuttings: Insert the treated end into a pot filled with your well-draining potting mix, burying at least one node.
- Keep it Humid: This is crucial for cuttings. Cover the pot with a clear plastic bag or dome to create a humid environment. Make sure the leaves don’t touch the sides of the bag.
- Provide Warmth and Light: Place the pot in a bright location out of direct sunlight.
The “Secret Sauce” (Pro Tips)
- Don’t Overcrowd Divisions: When dividing, give each new plant ample space. Packing them too tightly in one pot will hinder their growth and may lead to rot.
- Bottom Heat for Cuttings: If you’re serious about stem cuttings, consider placing your pots on a heating mat. This gentle warmth from below encourages root development significantly. I swear by this for trickier woody cuttings.
- Be Patient with Cuttings: Bamboo cuttings can take a while to show signs of rooting. Weeks, even months, are not uncommon. Resist the urge to constantly pull them up to check!
Aftercare & Troubleshooting
Once your divisions are planted or your cuttings have begun to root (you might see new leaf growth!), it’s time for attentive aftercare.
- Watering: Keep the soil consistently moist but not waterlogged. For cuttings, mist the leaves periodically or maintain that high humidity with your plastic covering. As they establish, gradually acclimate them to lower humidity.
- Light: Continue to provide bright, indirect light. Once they’re more robust, you can slowly introduce them to more sun.
- Feeding: Wait until you see vigorous new growth before feeding. A diluted liquid fertilizer formulated for houseplants or bamboo can be used sparingly.
The biggest culprit for failure with propagated bamboo, especially cuttings, is rot. This usually happens if the soil is too wet and there’s poor air circulation. If you notice mushy stems or leaves turning yellow and dropping rapidly, it’s a sign of trouble. Be sure your pots have good drainage and don
Resource:
https://identify.plantnet.org/k-world-flora/species/Phyllostachys%20glauca%20McClure/data