Oh, hello there, fellow plant lover! It’s so lovely to have you join me in my little corner of the garden. Today, we’re diving into the wonderful world of propagating Phyllogeiton zeyheri, a plant that has truly captured my heart over the years.
Why Propagate Phyllogeiton zeyheri?
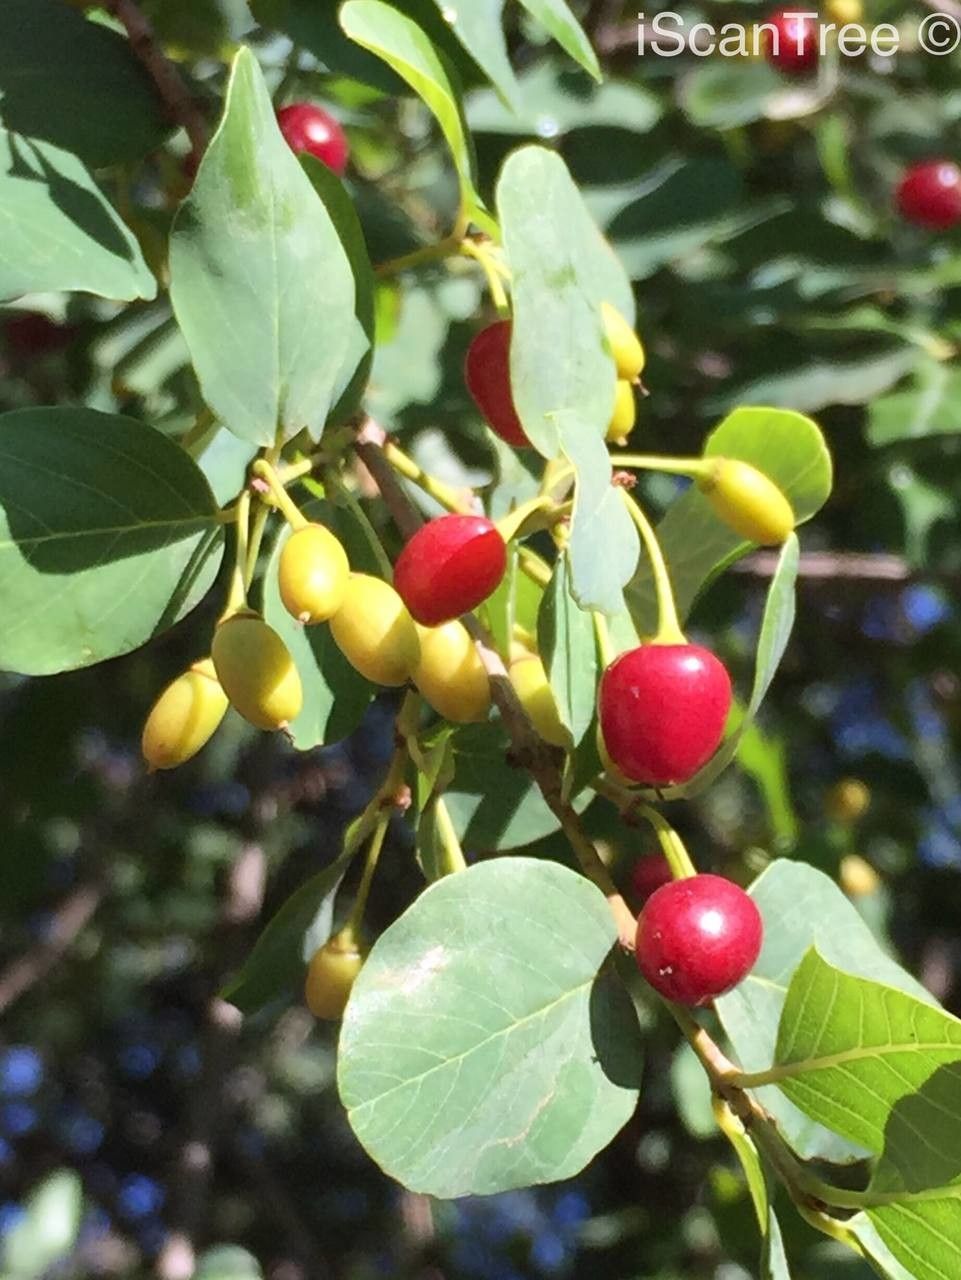
If you’re not yet acquainted with Phyllogeiton zeyheri, let me tell you, you’re in for a treat! This plant boasts these gorgeous, almost jewel-like leaves that can add such a pop of color and texture to any collection. Think deep greens with hints of bronzy-purple, often with a lovely sheen. Beyond its good looks, the real magic is in the act of creation. Watching a tiny cutting transform into a thriving new plant is incredibly rewarding. It’s like a little miracle happening right before your eyes! For newcomers to propagation, Phyllogeiton zeyheri is a pretty forgiving plant. With a little care and attention, you’ll likely find success.
When to Get Your Hands Dirty
The absolute best time to start propagating Phyllogeiton zeyheri is during its active growing season. For most of us, this means late spring through to mid-summer. This is when the plant is full of energy and sap, making it more receptive to rooting. Trying to propagate when the plant is dormant, say in the depths of winter, is usually an uphill battle. You want to catch it when it’s feeling vibrant and ready to grow!
Your Propagation Toolkit
Before we get cutting, let’s gather our supplies. Having everything ready on hand makes the whole process much smoother. Here’s what I always have on my bench:
- Sharp Pruning Shears or a Clean Knife: For making clean, precise cuts. Dull tools can bruise the stems and invite disease.
- Well-Draining Potting Mix: I usually use a blend of regular potting soil mixed with perlite or coarse sand. You want something that doesn’t hold too much moisture. A succulent or cactus mix also works beautifully.
- Small Pots or Seedling Trays: Whatever you have that will give your cuttings a cozy home to start in. Ensure they have drainage holes!
- Rooting Hormone (Optional but Recommended): This little helper can significantly boost your success rate and speed up rooting.
- Clear Plastic Bag or Propagator Lid: To create a humid environment for your cuttings.
- Watering Can or Spray Bottle: For gentle watering.
Let’s Get Propagating!
Phyllogeiton zeyheri is wonderfully versatile, so we have a couple of excellent methods up our sleeves.
Method 1: Stem Cuttings (My Go-To!)
This is my favorite method for Phyllogeiton zeyheri. It’s straightforward and usually yields great results.
- Select Your Stem: Look for a healthy, non-flowering stem on your plant. Ideally, it should be about 4-6 inches long and have at least two or three sets of leaves.
- Make the Cut: Using your sharp pruning shears or knife, make a clean cut just below a leaf node (where a leaf attaches to the stem). This is where roots are most likely to emerge.
- Prepare the Cutting: Gently remove the lower leaves from the cutting, leaving just the top two or three leaves intact. This prevents them from rotting once planted. If any leaves are very large, you can cut them in half horizontally to reduce moisture loss.
- Apply Rooting Hormone (If Using): Dip the cut end of the stem into your rooting hormone powder, tapping off any excess.
- Planting: Fill your small pot with your well-draining potting mix. Make a small hole in the center with your finger or a pencil. Insert the cutting into the hole, ensuring the leaf nodes are buried. Gently firm the soil around the stem.
- Water Gently: Water the soil lightly until it’s moist but not waterlogged.
- Create Humidity: Place the pot inside a clear plastic bag or cover it with a propagator lid. This creates a mini-greenhouse effect, which is crucial for cuttings. Poke a few small holes in the bag if you’re worried about too much condensation.
- Find a Bright Spot: Place your pot in a location that receives bright, indirect light. Avoid direct sunlight, which can scorch the delicate cuttings.
Method 2: Water Propagation (For the Patient Viewer)
This method is lovely because you can watch the roots develop!
- Take Cuttings: Follow steps 1-3 from the stem cutting method.
- Place in Water: Take your prepared cuttings and place them in a clear glass or jar filled with fresh water. Ensure that no leaves are submerged below the waterline. Only the stem should be in the water.
- Change Water Regularly: This is key! Change the water every few days to keep it fresh and prevent bacterial growth.
- Bright, Indirect Light: Just like with soil propagation, place your jar in a spot with bright, indirect light.
- Wait for Roots: You should start to see tiny white roots emerging from the nodes within a few weeks. Once the roots are about an inch long, it’s time to transplant them into soil.
The “Secret Sauce” (Insider Tips!)
Here are a few little nuggets that have made all the difference for me over the years:
- Bottom Heat is Your Best Friend: Phyllogeiton zeyheri absolutely loves a little warmth from below. If you can, place your pots on a heated propagator mat. This encourages root development much faster and more reliably, especially if your ambient room temperature isn’t super warm.
- Don’t Let Those Leaves Touch the Water (When in Water!): I can’t stress this enough. If any leaves are submerged in water during water propagation, they will rot and can even take down your entire cutting. It’s a quick way to invite trouble.
- The Importance of a “Wound”: When you take a stem cutting, sometimes making a shallow slit about half an inch long up the bottom of the stem after applying rooting hormone can expose more cambium tissue, giving the roots more to grab onto. It’s like giving them a little extra help to get started.
Aftercare and Troubleshooting
Once you see those beautiful little roots appearing, you’re well on your way!
- Transplanting: If you propagated in water, wait until your roots are at least an inch long and then gently transplant them into your well-draining potting mix, just like you would a stem cutting. If you propagated directly in soil, once you feel gentle resistance when tugging on the cutting (or see new leaf growth!), it’s a good sign roots have formed.
- Gradual Acclimation: If your cuttings were in a plastic bag, gradually introduce them to the drier air over a few days. Open the bag for a few hours each day before removing it entirely.
- Watering: Water your new plant when the top inch of soil feels dry. Avoid overwatering, as this is a common cause of root rot.
- Signs of Trouble: The most common sign of failure is wilting and blackening stems. This often indicates rot due to too much moisture or poor drainage. If a cutting goes soft and mushy, sadly, it’s usually a goner. Another sign is a cutting that just refuses to root and eventually dries out. Don’t be discouraged; sometimes it just doesn’t work out the first time.
Happy Growing!
Propagating Phyllogeiton zeyheri is such a wonderful way to expand your plant family and share your green thumb. Be patient with your little ones; they take their time to establish. Enjoy the process, learn from each attempt, and soon you’ll have a beautiful collection of these captivating plants. Happy gardening!
Resource:
https://identify.plantnet.org/k-world-flora/species/Phyllogeiton%20zeyheri%20(Sond.)%20Suess./data