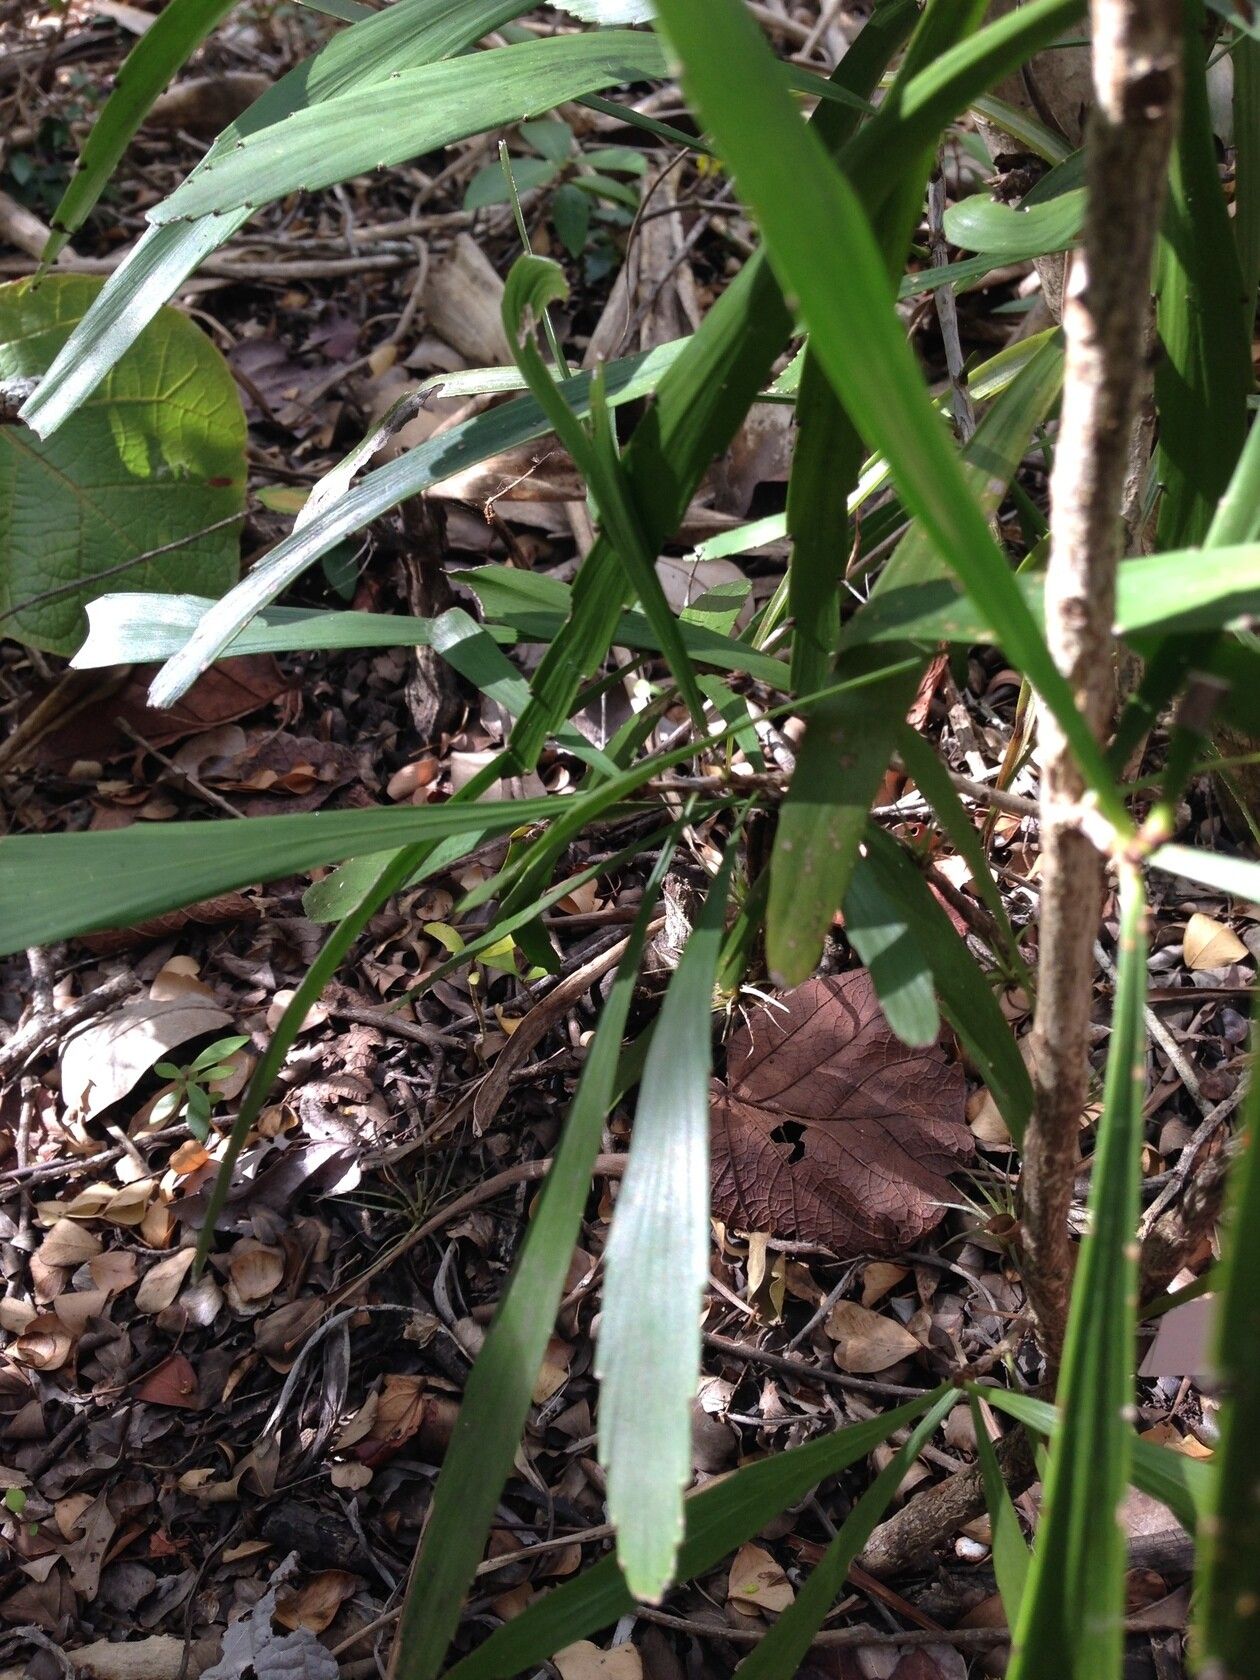
Oh, hello there! It’s so lovely to have you join me for a chat about one of my all-time favorite houseplants: Phyllanthus epiphyllanthus. You know, the one with those wonderfully delicate, flattened, leaf-like stems that cascade so beautifully? It’s a real showstopper in any home, and the joy of creating more of them from your existing plant is just… immense.
Why Propagate Phyllanthus Epiphyllanthus?
Think of it as sharing the green love! Propagating this plant is not only incredibly rewarding, but it also means you can fill your home, gift to friends, or even start a little propagation side hustle. For those of you just dipping your toes into the world of plant propagation, I’ll be honest, Phyllanthus epiphyllanthus is moderately easy to propagate. It might take a little patience, but it’s definitely achievable!
The Best Time to Start
Generally, the spring and early summer months are your best bet. This is when your plant is in its most vigorous growth phase, meaning cuttings will have a better chance of establishing themselves quickly. Look for stems that are actively growing, not those that are older and a bit leggy.
Supplies You’ll Need
Before we get our hands dirty, let’s gather our tools:
- Sharp Pruning Shears or Scissors: Cleanliness is key to preventing disease.
- Potting Mix: A well-draining mix is crucial. I like to use a combination of regular potting soil with perlite or orchid bark.
- Small Pots or Seedling Trays: Whatever you have that will hold your cuttings securely. Ensure they have drainage holes!
- Rooting Hormone (Optional but Recommended): A little dip in rooting hormone can significantly speed up root development.
- Watering Can with a Fine Rose or Mister: Gentle watering is important.
- Clear Plastic Bag or Propagator (Optional): To create a mini-greenhouse effect.
Propagation Methods: Let’s Get Growing!
There are a few ways to go about this, but my preferred method is stem cuttings. It’s straightforward and usually yields great results.
Stem Cuttings:
- Select Your Stems: Look for healthy, mature stems that are at least 4-6 inches long. Avoid any that look yellowed or sickly.
- Make the Cut: Using your clean shears, make a clean cut just below a leaf node (the point where a leaf attaches to the stem). This is where roots will emerge. You can take multiple cuttings from a single healthy stem.
- Prepare the Cuttings: Gently remove the lower leaves from the cutting, leaving only the top 2-3 leaves. If you’re using rooting hormone, dip the cut end into it now.
- Plant Your Cuttings: Fill your small pots with your prepared potting mix. Make a small hole with your finger or a pencil and insert the cut end of the stem. Gently firm the soil around it.
- Water Gently: Water thoroughly until the soil is evenly moist but not waterlogged.
The “Secret Sauce” (Pro Tips!)
Here are a few little tricks I’ve learned over the years that can make a big difference:
- Bottom Heat is Your Friend: If you’re propagating in a cooler environment, placing your pots on a heat mat can speed up root formation like magic. It mimics the warmth of spring soil.
- Don’t Drown Them: When watering, ensure the soil is just consistently moist, not soggy. Overwatering is the quickest way to rot your precious cuttings before they even have a chance to root.
- Indirect Light All the Way: Once you’ve potted your cuttings, place them in a bright spot but out of direct sunlight. Too much sun can scorch those delicate new shoots.
Aftercare & Troubleshooting
Once your cuttings are potted, give them a good initial watering. If you’re using a plastic bag or propagator, pop it over the pot to create that humid environment. Keep the soil consistently moist. You’ll want to open the bag for a few minutes each day to allow for air circulation and prevent fungal issues.
Signs of success? You’ll start to see new growth appearing from the nodes. This usually takes a few weeks.
Now, what if things go wrong? The most common culprit is rot. If your cutting starts to turn mushy and black, it’s a sign of too much moisture. Sadly, this usually means the cutting is lost, but don’t despair! It’s a learning curve, and you can try again with a fresh cutting. Sometimes, cuttings just don’t take, and that’s okay too. Nature has its own timetable.
Keep Nurturing and Enjoy!
Propagating plants is all about patience and observation. Don’t be discouraged if your first attempt isn’t a roaring success. Every cutting you nurture is a step closer to understanding your plant’s needs. So, go ahead, grab those shears, and enjoy the wonderful process of bringing new life into your home. Happy propagating!
Resource:
https://identify.plantnet.org/k-world-flora/species/Phyllanthus%20epiphyllanthus%20L./data