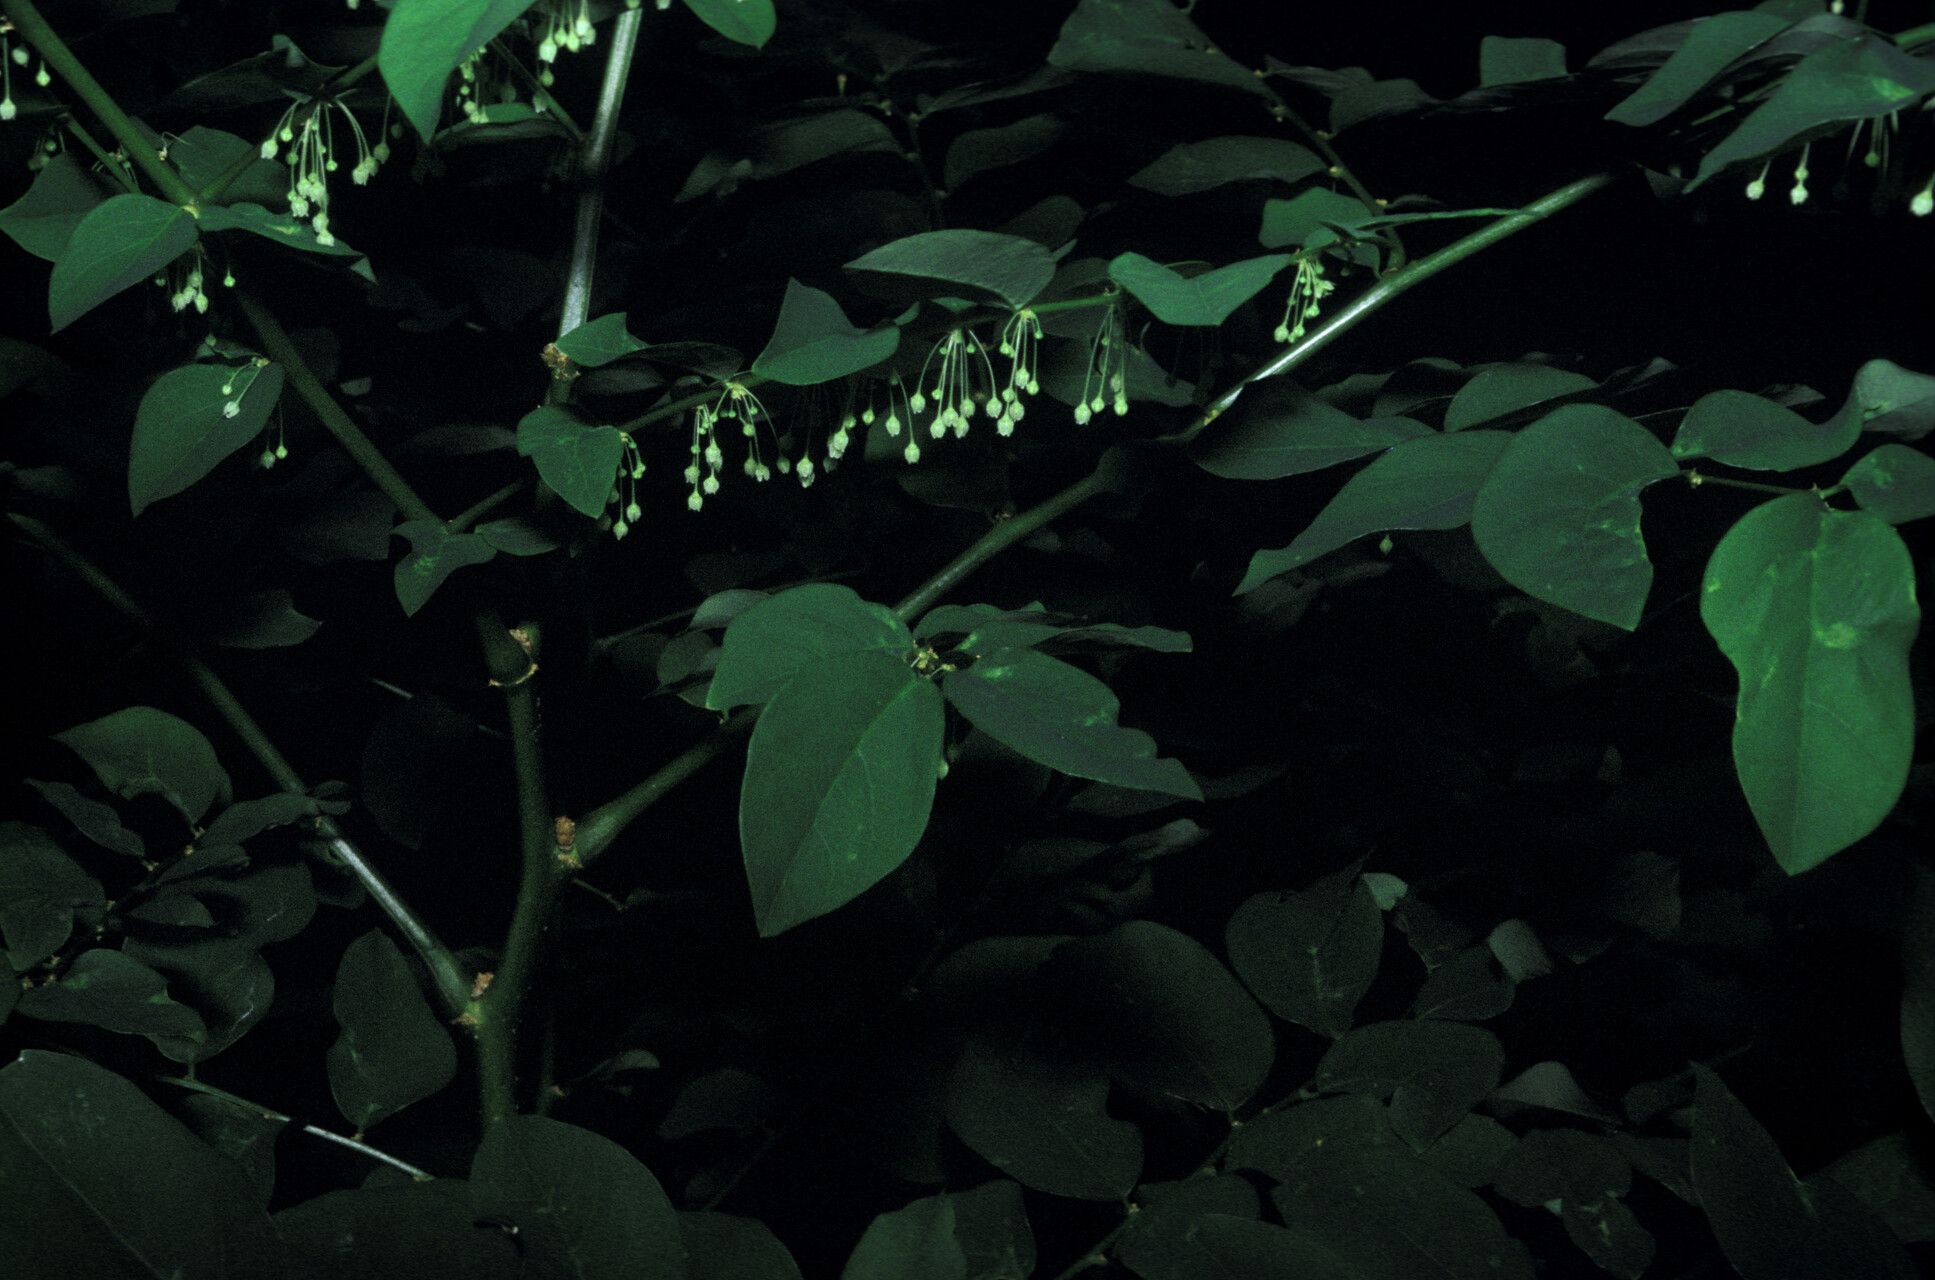
Oh, hello there! Come on in, grab a mug. I’ve been just itching to chat about Phyllanthus brasiliensis, or as it’s more commonly known, the Brazilian Phyllanthus. Isn’t it just a sweetheart of a plant? It’s got this lovely, delicate foliage that cascades so beautifully, and it can add such a charming touch to a hanging basket, a terrarium, or even as a delicate groundcover in the right climate. And the best part? It’s a real joy to multiply! If you’re looking to fill your home with more of this greenery without breaking the bank, propagation is absolutely the way to go. Don’t you worry, it’s quite achievable, even for those of you just starting out on your green journey.
When to Get Your Hands Dirty
The absolute sweetest spot for propagating Phyllanthus brasiliensis is during its active growing season. Think late spring and throughout the summer. This is when the plant has plenty of energy, the days are longer, and humidity is usually a bit higher, all of which are fantastic allies for new root development. You’ll find you get the quickest, most reliable results then.
Your Propagation Toolkit
Before we dive in, let’s make sure you have everything on hand. This way, you won’t be scrambling mid-way:
- Sharp Pruning Shears or Snips: Clean cuts are crucial for preventing disease.
- Well-Draining Potting Mix: A good blend for cuttings often includes peat moss or coco coir, perlite, and a bit of orchid bark. You can also use a standard seed-starting mix.
- Small Pots or Propagation Trays: Whatever you have that can hold a cutting and allow for drainage.
- Rooting Hormone (Optional but Recommended): Available in powder or gel form. It gives those little cuttings a super boost.
- A Spray Bottle: For misting.
- Clear Plastic Bags or Domes: To create a humid environment.
- Labeling Stakes: Trust me, you’ll thank yourself later!
- A Watering Can with a Fine Rose: Gentle watering is key.
Bringing New Life to Your Phyllanthus
I find that with Phyllanthus brasiliensis, stem cuttings are the most straightforward and rewarding method. Let’s walk through it:
- Select Your Cuttings: Look for healthy, vigorous stems on your established plant. You want stems that are not too woody (those can be slow to root) and not too soft and floppy. Aim for pieces that are about 4-6 inches long.
- Make the Cut: Using your clean pruning shears, make a clean cut just below a leaf node. A leaf node is where a leaf attaches to the stem – this is where the magic of root-forming cells happens.
- Prepare the Cutting: Gently remove the lower leaves from the cutting, leaving only the top few leaves. If your leaves are quite large, you can even cut them in half to reduce water loss.
- Dip in Rooting Hormone (Optional): If you’re using rooting hormone, dip the cut end of the stem into the powder or gel, tapping off any excess.
- Plant Your Cuttings: Fill your small pots or trays with the well-draining potting mix. Make a small hole in the center of the mix with your finger or a pencil. Insert the prepared cutting into the hole, ensuring the leaf node you cut below is buried in the soil.
- Firm the Soil: Gently firm the soil around the cutting to ensure good contact.
- Water Gently: Water the potting mix thoroughly but gently until water drains from the bottom of the pot.
- Create a Humid Environment: This is crucial! Either place the pots into a propagation tray covered with a clear plastic dome or cover the individual pots with clear plastic bags. Make sure the plastic doesn’t touch the leaves of the cutting. This creates a mini-greenhouse effect, keeping humidity high.
- Provide Bright, Indirect Light: Place your newly potted cuttings in a spot that receives plenty of bright, indirect light. Avoid direct sun, which can scorch those tender new leaves.
A Little “Insider” Wisdom
Over the years, I’ve learned a few little tricks that often make all the difference:
- Don’t Drown Your Dreams: When using water propagation (if you decide to try that), make sure the cut ends are submerged but crucially, that no leaves are touching the water surface. Leaves sitting in water are a fast track to rot.
- Warmth Speeds Things Up: If your home tends to be on the cooler side, consider placing your propagation pots on a heating mat designed for plants. A little bit of gentle bottom warmth can significantly encourage root development. It’s like a cozy little spa treatment for your cuttings!
- Patience is a Virtue (and a Necessity!): Some plants root in a couple of weeks, others take longer. For Phyllanthus, I’d say anticipate 3-6 weeks for visible root development. Don’t be discouraged if you don’t see immediate progress. Resist the urge to constantly pull them up to check!
Tending Your New Sprouts and What to Watch For
Once you start to see new growth on your cuttings – tiny leaves unfurling or a bit of upward vigor – that’s a great sign! It means roots are forming.
- Gradually Acclimatize: As new leaves appear, begin to slowly reduce the humidity. If you’re using plastic bags, open them a little further each day. If you’re using domes, lift them off for longer periods. This helps your new plant adjust to your regular home environment.
- Continue Watering Gently: Keep the soil consistently moist but never waterlogged. You want it to feel like a wrung-out sponge.
- Signs of Trouble: The most common issue you’ll encounter is rot, which usually shows up as sad, wilting stems or mushy blackened bases. This is almost always due to overwatering and poor drainage. If you see this, sadly, that cutting is likely lost. It’s best to discard it and start fresh, focusing on that excellent drainage and not overwatering. Yellowing leaves, while sometimes a sign of stress, can also just be the plant shedding its initial foliage to focus energy on rooting.
Keep Growing!
There you have it – a little guide to multiplying your beautiful Phyllanthus brasiliensis. It’s such a rewarding feeling to nurture a tiny cutting into a full, flourishing plant. Be patient with yourself and with the process. Gardening is a journey, and every seedling is a testament to a little bit of hope and a lot of care. Happy propagating, my friend! You’ve got this.
Resource: