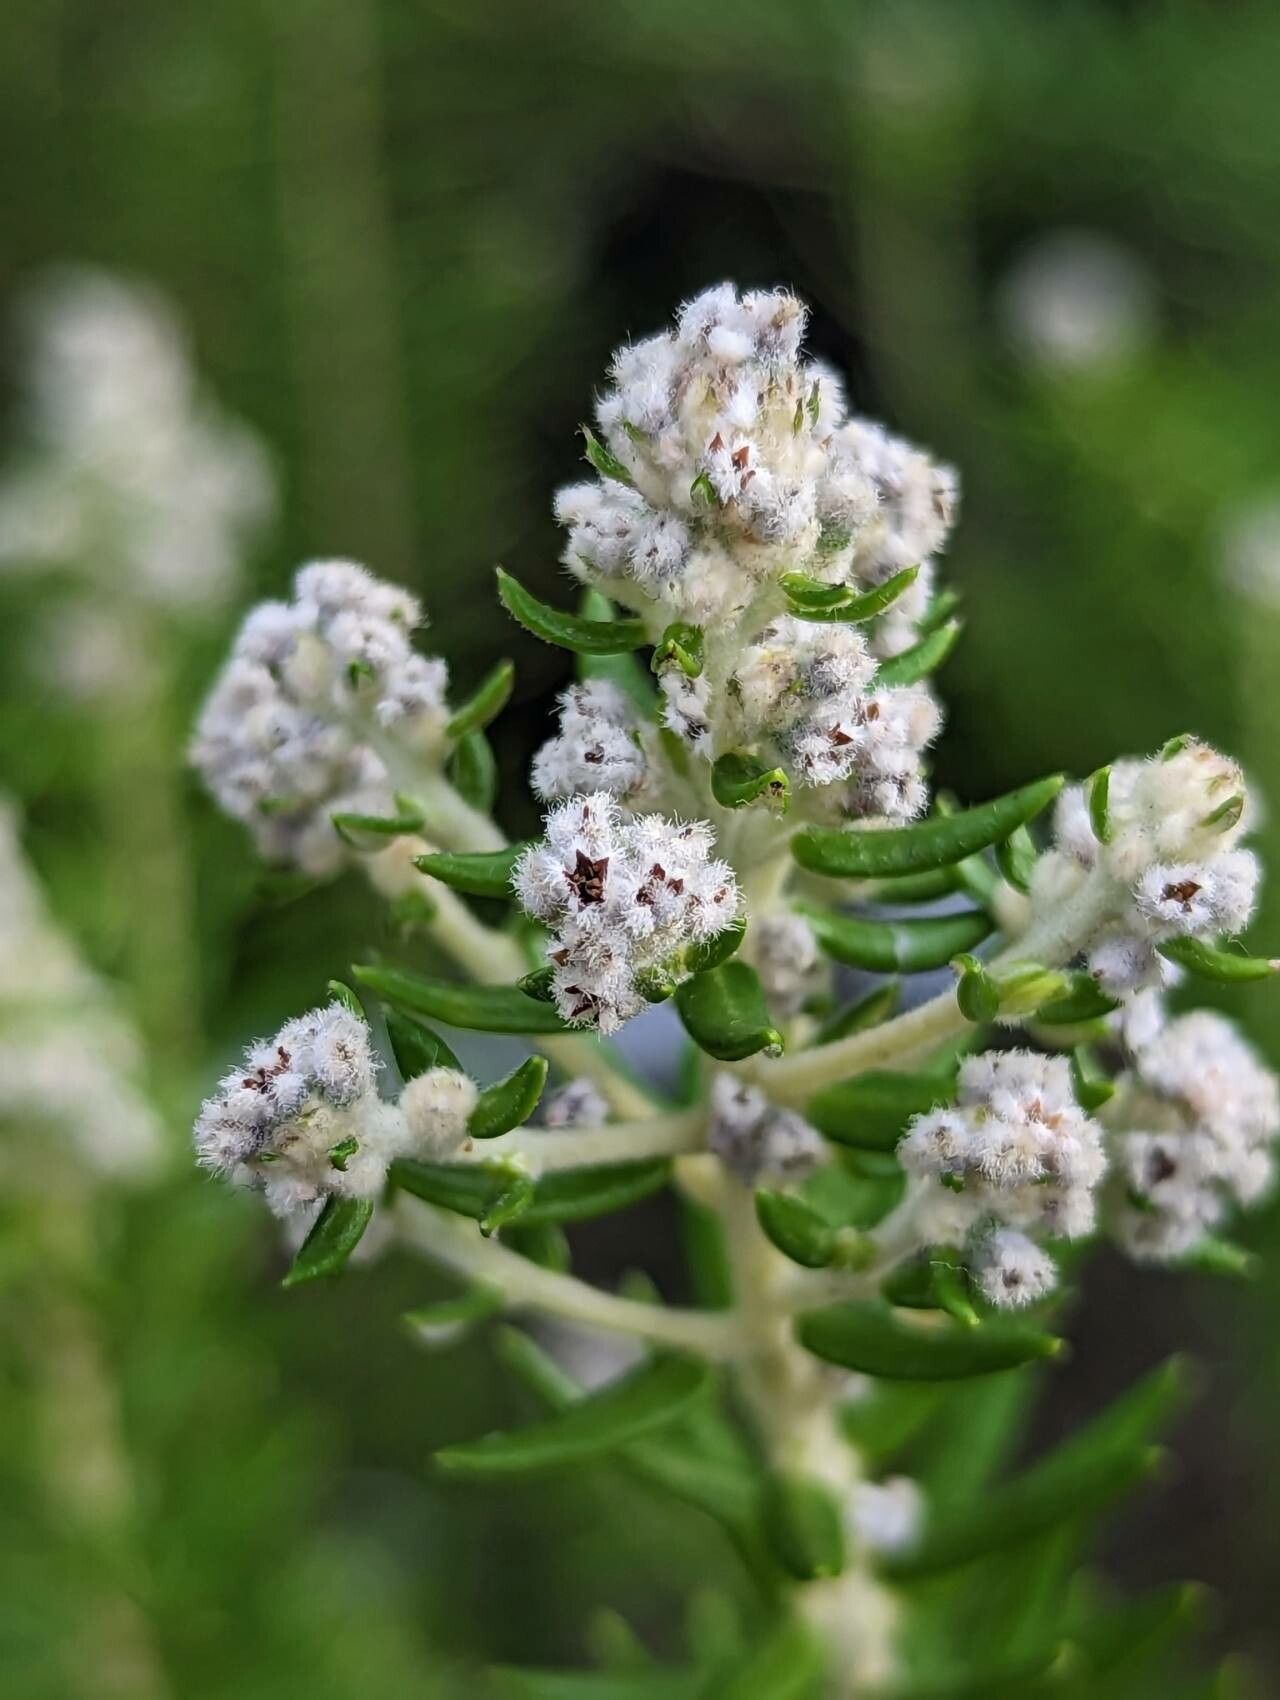
Hello there, fellow garden enthusiasts! Today, I want to chat about a true gem in the plant world that rarely gets the spotlight it deserves: Phylica axillaris. You might know it by its charming common name, the Cape Myrtle. It’s a stunning evergreen shrub, known for its delicate, silvery-green foliage and clusters of tiny, sweetly scented white flowers that often appear in late winter or early spring. Honestly, just seeing it bloom out of season always brings a smile to my face.
Propagating Phylica axillaris isn’t just about getting more plants; it’s incredibly satisfying. Watching a tiny cutting transform into a healthy, thriving shrub is one of gardening’s greatest joys. Now, you might be wondering if it’s a difficult one for beginners. I’d say it’s moderately easy. It’s not as forgiving as a succulent, perhaps, but with a little care and attention, you’ll find success.
The Best Time to Start
For the best chance at success with Phylica axillaris cuttings, aim for late spring to early summer. This is when the plant is actively growing but the new shoots have started to mature slightly. You’re looking for stems that are semi-hardwood – they should be firm but still have a little flexibility. Avoid very soft, new growth or woody, old growth. Think of it as that sweet spot just before things become too stiff.
Supplies You’ll Need
Okay, let’s get our tools ready. You won’t need anything too fancy, but having the right bits and bobs will make a big difference.
- Sharp Pruning Shears or a Knife: For clean cuts.
- Rooting Hormone: A powdered or liquid form is great.
- Small Pots or Trays: With drainage holes, of course!
- Potting Mix: A good quality, well-draining seedling or propagation mix is key. I like to mix in a bit of perlite or coarse sand for extra aeration.
- Plastic Bag or Clear Dome: To create a humid environment.
- Watering Can with a Fine Rose: Gentle watering is a must.
- Optional: Bottom Heat Mat: This can really speed things up!
Propagation Methods
We’ll focus on the most reliable method for Phylica axillaris: stem cuttings.
- lấy Cuttings: On a pleasant morning, use your clean shears to take 6-8 inch cuttings from healthy, vigorous stems. Remove the leaves from the bottom half of each cutting, leaving just a few at the very top to photosynthesize. Make a clean cut just below a leaf node (where a leaf attaches to the stem).
- Prepare the Cuttings: Dip the cut end of each stem into rooting hormone. Gently tap off any excess. This step is optional but highly recommended to give your cuttings a boost.
- Planting the Cuttings: Fill your small pots or trays with your moistened, well-draining potting mix. Make a small hole in the center of each pot with your finger or a pencil. Insert the prepared cuttings, ensuring the leaf nodes that will be below the soil line are covered. Gently firm the soil around the cuttings.
- Create Humidity: Water the soil lightly. Now, cover the pots with a clear plastic bag or a propagation dome. This traps moisture and creates the humid environment your cuttings need to root without drying out. Make sure the leaves aren’t touching the plastic if possible.
- Placement: Place the pots in a bright spot that receives indirect sunlight. Avoid direct sun, as this can scorch the delicate cuttings.
The “Secret Sauce” (Pro Tips)
Here are a few little tricks I’ve picked up over the years that can really boost your success rate.
- The “Dip and Wipe”: After dipping your cuttings in rooting hormone, give them a gentle shake to remove excess. Too much can sometimes inhibit rooting.
- Bottom Heat is Your Friend: For Phylica axillaris, a gentle bottom heat mat set to around 70°F (21°C) can be a game-changer. It encourages root development much faster than ambient room temperature alone.
- Don’t Disturb Too Soon: Resist the urge to tug at your cuttings to check for roots. You’ll know they’ve rooted when you see new leaf growth appearing at the top. This usually takes anywhere from 4-8 weeks, sometimes a bit longer.
Aftercare & Troubleshooting
Once you see signs of new growth, it’s time for careful aftercare.
Gradually acclimate your rooted cuttings to normal room humidity by opening the plastic bag or dome a little more each day over a week. Once they are acclimatized, you can remove the cover entirely. Continue to keep the soil consistently moist but not waterlogged.
The most common problem you’ll encounter is rot. If you see stems turning black and mushy, it’s usually a sign of too much moisture and poor air circulation. Make sure your potting mix is open and drains well, and avoid overwatering. If you catch it early, you might be able to save a cutting by trimming away the bad parts and repotting in fresh, drier mix.
A Little Patience Goes a Long Way
So there you have it! Propagating Phylica axillaris is a wonderfully rewarding process. Be patient, enjoy the journey, and celebrate every tiny bit of progress. Soon, you’ll have a whole new collection of these lovely shrubs to admire! Happy gardening!
Resource:
https://identify.plantnet.org/k-world-flora/species/Phylica%20axillaris%20Lam./data