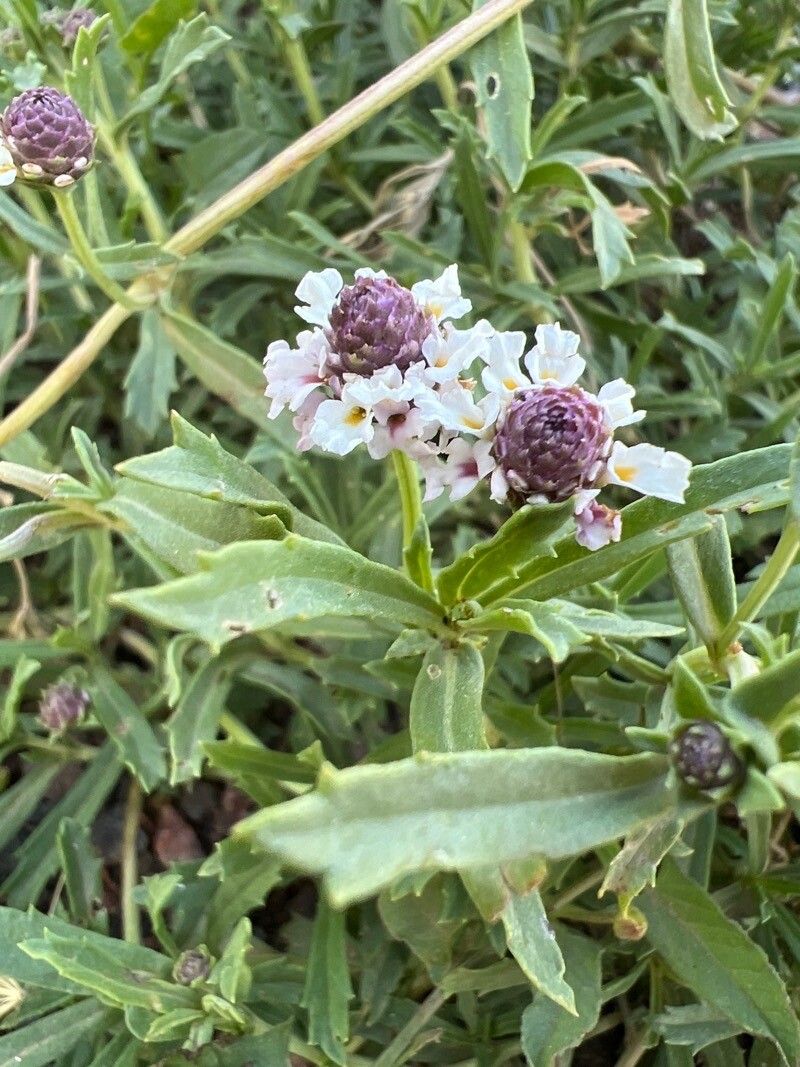
Hey there, fellow plant lovers! It’s so wonderful to connect with you today. I’m absolutely thrilled to dive into a plant that I’ve had so much joy experimenting with: Phyla cuneifolia. If you’re looking for a plant that rewards you with a carpet of lovely little flowers and a trailing habit, this is it. And the best part? Sharing this beauty by propagating it yourself is incredibly rewarding. For those of you just starting out in the plant world, you’ll be happy to know that Phyla cuneifolia is quite forgiving, making it a fantastic choice for beginners looking to expand their collection.
The Best Time to Start
When it comes to Phyla cuneifolia, timing is everything for the best results. My personal favorite time to get going is in the late spring or early summer, just as the plant is hitting its stride in active growth. You want to be working with healthy, vigorous stems that have plenty of energy to put into developing new roots. Trying to propagate when the plant is stressed or dormant just doesn’t give those cuttings the best start.
Supplies You’ll Need
Gathering your tools beforehand makes the whole process so much smoother. Here’s what I always have on hand:
- Sharp pruning shears or a clean, sharp knife: For making clean cuts.
- Small pots or trays: Clean ones are a must!
- A good quality potting mix: I like a mix that drains well, something like a blend of potting soil and perlite or coarse sand.
- Rooting hormone (optional but recommended): This can give your cuttings a real boost.
- A spray bottle: For misting.
- Plastic bags or a clear dome: To create a humid microclimate.
- Water: For propagation.
- A small trowel or dibber: To make planting holes.
Propagation Methods
Phyla cuneifolia is wonderfully versatile, meaning you can propagate it a few different ways. Here are my go-to methods:
Stem Cuttings: My Personal Favorite
This is where the magic really happens for me. I find stem cuttings to be the most reliable way to get a good number of new plants.
- Select your P arent Plant: Find a healthy, non-flowering stem on your mature Phyla cuneifolia. The younger, softer growth tends to root more readily than woody stems.
- Make the Cut: Using your sharp pruning shears or knife, take a cutting that is about 4-6 inches long. Make the cut just below a leaf node (where the leaves attach to the stem).
- Prepare the Cutting: Gently remove the lower leaves from the cutting, leaving just a few at the top. This prevents them from rotting when they’re in the soil.
- Apply Rooting Hormone (Optional): If you’re using rooting hormone, dip the cut end of the stem into the powder or gel. Tap off any excess.
- Plant Your Cuttings: Fill your small pots with your well-draining potting mix. Use a trowel or dibber to make a hole in the soil. Gently insert the cut end of your Phyla cuneifolia cutting into the hole, ensuring at least one leaf node is buried beneath the surface. Firm the soil gently around the stem.
- Water and Cover: Water thoroughly until you see water draining from the bottom of the pot. Then, cover the pot with a plastic bag or place it in a propagator with a clear dome to retain humidity. This is crucial!
Water Propagation: Simple and Soothing
If you’re not ready for soil just yet, water propagation is a lovely, visual way to see the roots develop.
- Take the Cutting: Follow steps 1 and 2 for stem cuttings, ensuring you have a 4-6 inch cutting with few lower leaves.
- Place in Water: Fill a small jar or glass with clean water. Place your cutting in the water, making sure that the leaf nodes where you removed the leaves are submerged. Crucially, don’t let any of the remaining leaves touch the water.
- Find a Bright Spot: Place the container in a bright, indirect light location.
- Change Water Regularly: Change the water every 2-3 days to keep it fresh and prevent bacterial growth.
The “Secret Sauce” (Pro Tips)
After years of getting my hands dirty, I’ve picked up a few little tricks that really make a difference.
- Bottom Heat is Your Friend: This is a game-changer, especially if your home is a bit on the cooler side. Placing your pots on a gentle heated propagation mat can significantly speed up root development. It mimics the warmth of spring soil and really encourages those roots to get going.
- Don’t Get Impatient with Leaf Drop: Sometimes, new cuttings might shed a few of their top leaves. Don’t panic! If the stem itself is still firm and green, it’s likely just adjusting. Keep them in their humid environment and wait.
- The “Bend Test”: Once you think there might be roots developing (usually after a few weeks for stem cuttings), give the cutting a very gentle tug. If there’s resistance, you’ve got roots! If it pulls out easily, it hasn’t rooted yet.
Aftercare & Troubleshooting
Once you see those little roots peeking out from the bottom of the pot or dangling in the water, it’s time to celebrate!
For stem cuttings, once the roots are about half an inch to an inch long, it’s time to transplant them into their own small pots with your well-draining potting mix. Continue to keep them in a humid environment for a week or two, gradually acclimatizing them to lower humidity. Water them regularly, but avoid letting them sit in soggy soil, as this is a fast track to rot.
If you’ve been water propagating, when the roots are a good length, carefully pot them up into their own small containers. Again, keep them well-watered and in a humid spot initially.
The most common issue you might encounter is rot. If your cutting turns mushy or black, it’s a sign of too much moisture and not enough air circulation. If you see this, sadly, it’s usually best to discard the affected cutting and learn from it. Make sure your soil is draining well and that you’re not overwatering.
Happy Propagating!
Growing new plants from cuttings is one of the most satisfying experiences a gardener can have. It’s a direct connection to the life cycle of your plants, and there’s a special kind of joy in nurturing a tiny cutting into a thriving new specimen. Be patient with your Phyla cuneifolia cuttings, trust the process, and enjoy every moment of it. Happy gardening!
Resource:
https://identify.plantnet.org/k-world-flora/species/Phyla%20cuneifolia%20(Torr.)%20Greene/data