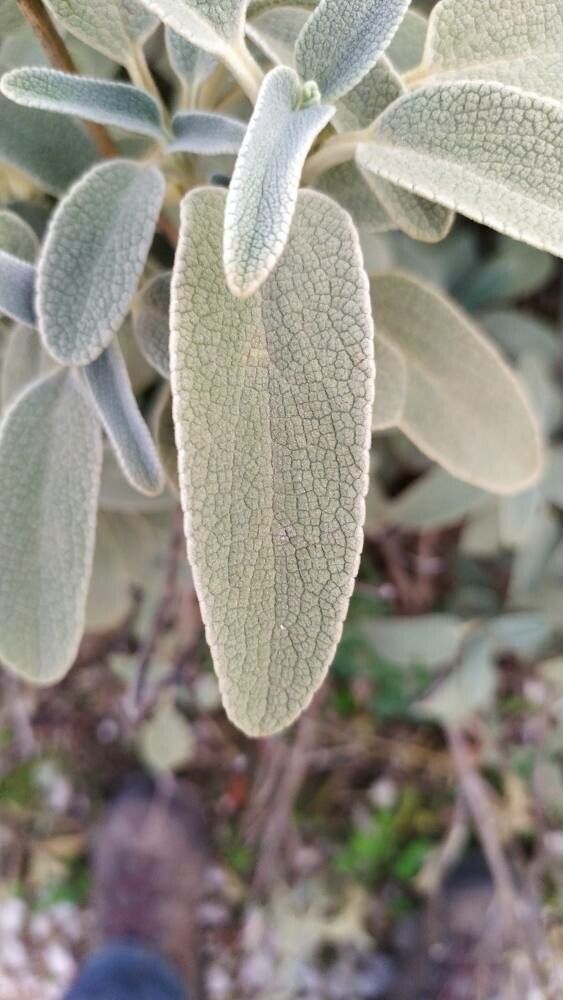
Oh, Phlomis pichleri! If you’ve ever admired those fuzzy, silver-grey leaves and cheerful yellow flowers gracing a garden, you’re not alone. This Mediterranean beauty brings such a relaxed, sunny vibe to any space. And the best part? Growing more of them is surprisingly rewarding, and I’m here to walk you through it.
Why Propagate Phlomis pichleri?
Honestly, it’s like multiplying sunshine! Having more of these plants means you can fill in gaps in your existing beds, share with gardening friends (always a joy!), or even start a whole new patch. And for those who worry about beginner-friendliness – fear not! Phlomis pichleri is quite forgiving when it comes to propagation. You’ll likely have great success.
The Best Time to Start
For me, the sweet spot for propagating Phlomis pichleri is late spring to early summer. This is when the plant is actively growing, so it has plenty of energy to put into forming new roots. You want to be taking cuttings from new, but not overly soft, growth. Think of it as firm, but still pliable stems.
Supplies You’ll Need
Gathering your supplies makes the whole process much smoother. Here’s what I like to have on hand:
- Sharp pruning shears or a clean, sharp knife: For making clean cuts.
- Rooting hormone (optional but helpful): A powder or liquid can really boost your success rate.
- A good quality potting mix: I prefer a mix that drains well. A blend of peat moss or coco coir, perlite, and a bit of compost is fantastic.
- Small pots or trays: Clean ones are key to preventing disease.
- A mister or spray bottle: For keeping things humid.
- Plastic bags or a propagator: To create a humid environment.
- Labels: So you don’t forget what you planted where!
Propagation Methods
Phlomis pichleri is wonderfully adaptable, and I find it’s most successfully propagated by stem cuttings. Division is also an option, but let’s focus on the cuttings first as they’re usually more fruitful.
Stem Cuttings: My Go-To
- Select your parent plant: Find a healthy, vigorous Phlomis pichleri.
- Take cuttings: Using your clean shears, cut pieces of stem that are about 4-6 inches long. Make the cut just below a leaf node (where a leaf attaches to the stem). Remove the lower leaves, leaving just a few at the top.
- Prepare the cuttings: If you’re using rooting hormone, lightly dip the cut end into it. Just a gentle coating is needed.
- Pot them up: Fill your small pots with your well-draining potting mix. Make a small hole with your finger or a pencil in the center of each pot. Gently insert the cuttings, ensuring at least one leaf node is buried in the soil. Firm the soil around the stem.
- Water gently: Water thoroughly, but avoid making the soil waterlogged.
- Create humidity: Cover the pots loosely with a plastic bag or place them in a propagator. You can prop up the bag with small sticks to keep it from touching the leaves.
- Find a good spot: Place the pots in a bright location, but out of direct, harsh sunlight. A shaded spot on a patio or a bright windowsill indoors works well.
Water Propagation (A Visual Check Option)
If you’re a visual person and like to see roots forming, you can try water propagation.
- Prepare cuttings: Similar to above, take 4-6 inch cuttings and remove most of their leaves.
- Place in water: Stand the cuttings in a jar or vase filled with fresh water.
- The key: Crucially, ensure that no leaves are submerged in the water. This is a common mistake that leads to rot. Only the bare stem should be in the water.
- Change water regularly: Refresh the water every few days to keep it clean and oxygenated.
- Wait for roots: You should start to see tiny white roots emerging from the nodes. Once these roots are about an inch long, you can carefully transplant them into pots filled with your potting mix.
The “Secret Sauce” (Pro Tips)
Here are a couple of things I’ve learned over the years that really help these little guys thrive:
- Don’t over-water: This is probably the most common pitfall. Phlomis pichleri, especially when young, hates sitting in soggy soil. Let the top inch of soil dry out slightly between waterings.
- Bottom heat is a game-changer: If you have access to a heat mat made for seedlings, placing your pots on it can significantly speed up root development. It mimics the warmth of the soil in summer.
Aftercare & Troubleshooting
Once you see signs of new growth – tiny leaves unfurling – it’s a good indication that roots have formed! You can gently tug on a cutting; if there’s resistance, roots are likely developing.
- Gradual acclimatization: If you used a plastic bag, start by opening it for a few hours each day to allow the new plant to adjust to normal humidity.
- Potting up: As the new plants grow, you can pot them into slightly larger containers.
- Signs of failure: The most common problem is rot. If your cuttings turn mushy and black, or if mold appears on the soil surface, this usually means there’s too much moisture and not enough air circulation. Don’t be discouraged; it happens! Just start again with fresh cuttings and remember to water more judiciously.
Happy Planting!
Propagating Phlomis pichleri is such a satisfying project. Be patient with your cuttings, give them a little love and the right conditions, and you’ll be rewarded with a bounty of these beautiful plants. Enjoy the process and watch your garden flourish!
Resource:
https://identify.plantnet.org/k-world-flora/species/Phlomis%20pichleri%20Vierh./data