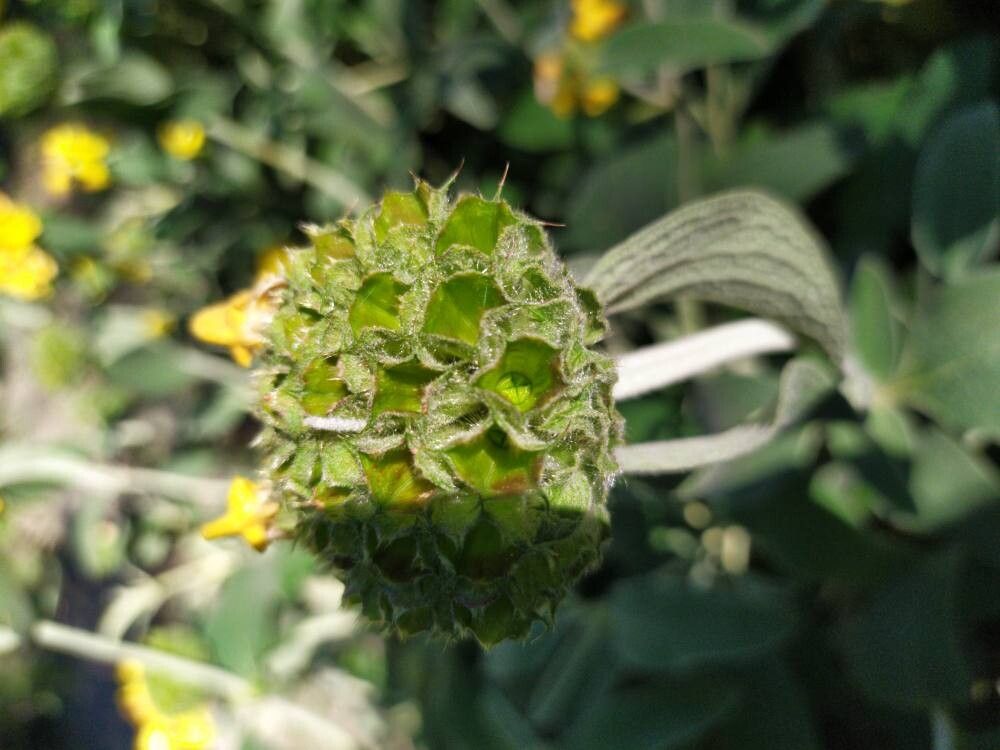
Hello fellow garden enthusiasts! Today, I want to chat about a plant that’s a real star in my garden, and one that’s surprisingly satisfying to multiply: Phlomis grandiflora, often called Jerusalem Sage. Its fuzzy, silvery leaves and cheerful yellow flowers are a delight through much of the year, bringing a touch of Mediterranean charm even to cooler climates.
If you’ve fallen for its charm, you’ll be happy to know that propagating Phlomis grandiflora isn’t overly difficult. It’s a rewarding process that allows you to fill your garden borders, share with friends, or simply enjoy the satisfaction of growing more plants yourself. I’d say it’s a great project for anyone with a bit of gardening enthusiasm, even if you’re just starting out.
The Best Time to Start
For the best success rates, I find that the ideal time to propagate Phlomis grandiflora is late spring or early summer. This is when the plant is actively growing and has plenty of vigorous, new stems that are just starting to mature. You’re looking for stems that are somewhat firm but not yet woody. Think of them as being halfway between a brand-new, floppy shoot and an old, tough branch.
Supplies You’ll Need
Gathering your supplies beforehand makes the whole process smoother. Here’s what I usually have on hand:
- Sharp Pruning Shears or a Knife: Cleanliness is key to preventing disease.
- Rooting Hormone (Optional but Recommended): A powder or gel helps cuttings establish roots faster.
- Well-Draining Potting Mix: I like to use a mix of 50% perlite and 50% peat moss or coco coir. You can also buy pre-made cactus or succulent mixes, which work wonderfully.
- Small Pots or Seed Trays: Make sure they have drainage holes!
- Plastic Bags or a Propagation Tent/Dome: To maintain humidity around the cuttings.
- Water: For moistening the soil and misting.
- Labels: So you don’t forget what you’ve planted!
Propagation Methods
Phlomis grandiflora is wonderfully amenable to propagation by stem cuttings. It’s straightforward and highly effective.
Stem Cuttings:
- Take Your Cuttings: Using your clean shears or knife, select healthy, non-flowering stems that are about 4-6 inches long. Make a cut just below a leaf node (where a leaf attaches to the stem). Remove the lower leaves from the cutting, leaving just two to three sets at the top.
- Apply Rooting Hormone: If you’re using rooting hormone, dip the cut end of the stem into the powder or gel. Tap off any excess.
- Prepare Your Pots: Fill your small pots or trays with the well-draining potting mix. Moisten the mix thoroughly until it’s evenly damp but not waterlogged.
- Plant the Cuttings: Make a small hole in the soil with your finger or a pencil. Insert the cut end of the stem into the hole, ensuring the leaf nodes are below the soil surface. Gently firm the soil around the cutting.
- Create a Humid Environment: Place the potted cuttings inside a plastic bag (gently tented over them so the leaves don’t touch the plastic) or cover them with a propagation dome. This traps moisture and creates the humid microclimate they need. Place them in a bright, indirect light location.
The “Secret Sauce” (Pro Tips)
After years of tinkering, I’ve picked up a few tricks that seem to make a difference.
- Don’t Be Afraid of Over-Pruning: Honestly, when taking cuttings, I’m not precious. If I have a stem section that’s a bit longer than I need, I just trim it down. The plant recovers quickly, and you’ll get more cuttings from a well-pruned mother plant.
- Bottom Heat is a Game Changer (Especially for Earlier Propagation): If you’re propagating earlier in the season or just want to speed things up, popping your pots onto a heated propagation mat can really encourage root development. It mimics the warmth of summer soil.
- Humidity, Not Saturation: While a humid environment is crucial, you don’t want the soil to be soggy. The balance of moist soil and good air circulation prevents fungal issues. I often lift the plastic cover for a few minutes each day to allow for a bit of air exchange.
Aftercare & Troubleshooting
Once your cuttings are planted, patience is key! Continue to keep them in bright, indirect light and maintain consistent moisture in the soil.
- Checking for Roots: After about 4-6 weeks, you can gently tug on a cutting. If you feel resistance, it means roots have formed! You can also sometimes see roots peeking out from the drainage holes.
- Acclimatizing: Once roots are established, you can gradually remove the plastic cover over a few days to let the new plants get used to the drier air of your home or greenhouse.
- Signs of Trouble: The most common problem you might encounter is rot. If a cutting turns mushy and black, it’s usually a sign of too much moisture and not enough air circulation, or it might be a sign that the cutting simply didn’t take. If you see rot, sadly, that cutting is a goner, and it’s best to discard it and inspect the others. Another sign that things aren’t progressing is if the leaves start to shrivel and turn yellow while remaining soft. This can sometimes be due to being too dry, but also can indicate poor root development.
A Encouraging Closing
Growing more of your favorite plants is such a rewarding part of gardening. Don’t be discouraged if every single cutting doesn’t make it. Nature has her ways, and sometimes things just don’t take. The joy is in the attempt, the learning, and the eventual triumph of seeing those tiny roots anchor themselves. Be patient, enjoy the process, and soon you’ll have a whole collection of your own beautiful Phlomis grandiflora plants! Happy propagating!
Resource:
https://identify.plantnet.org/k-world-flora/species/Phlomis%20grandiflora%20H.S.Thomps./data