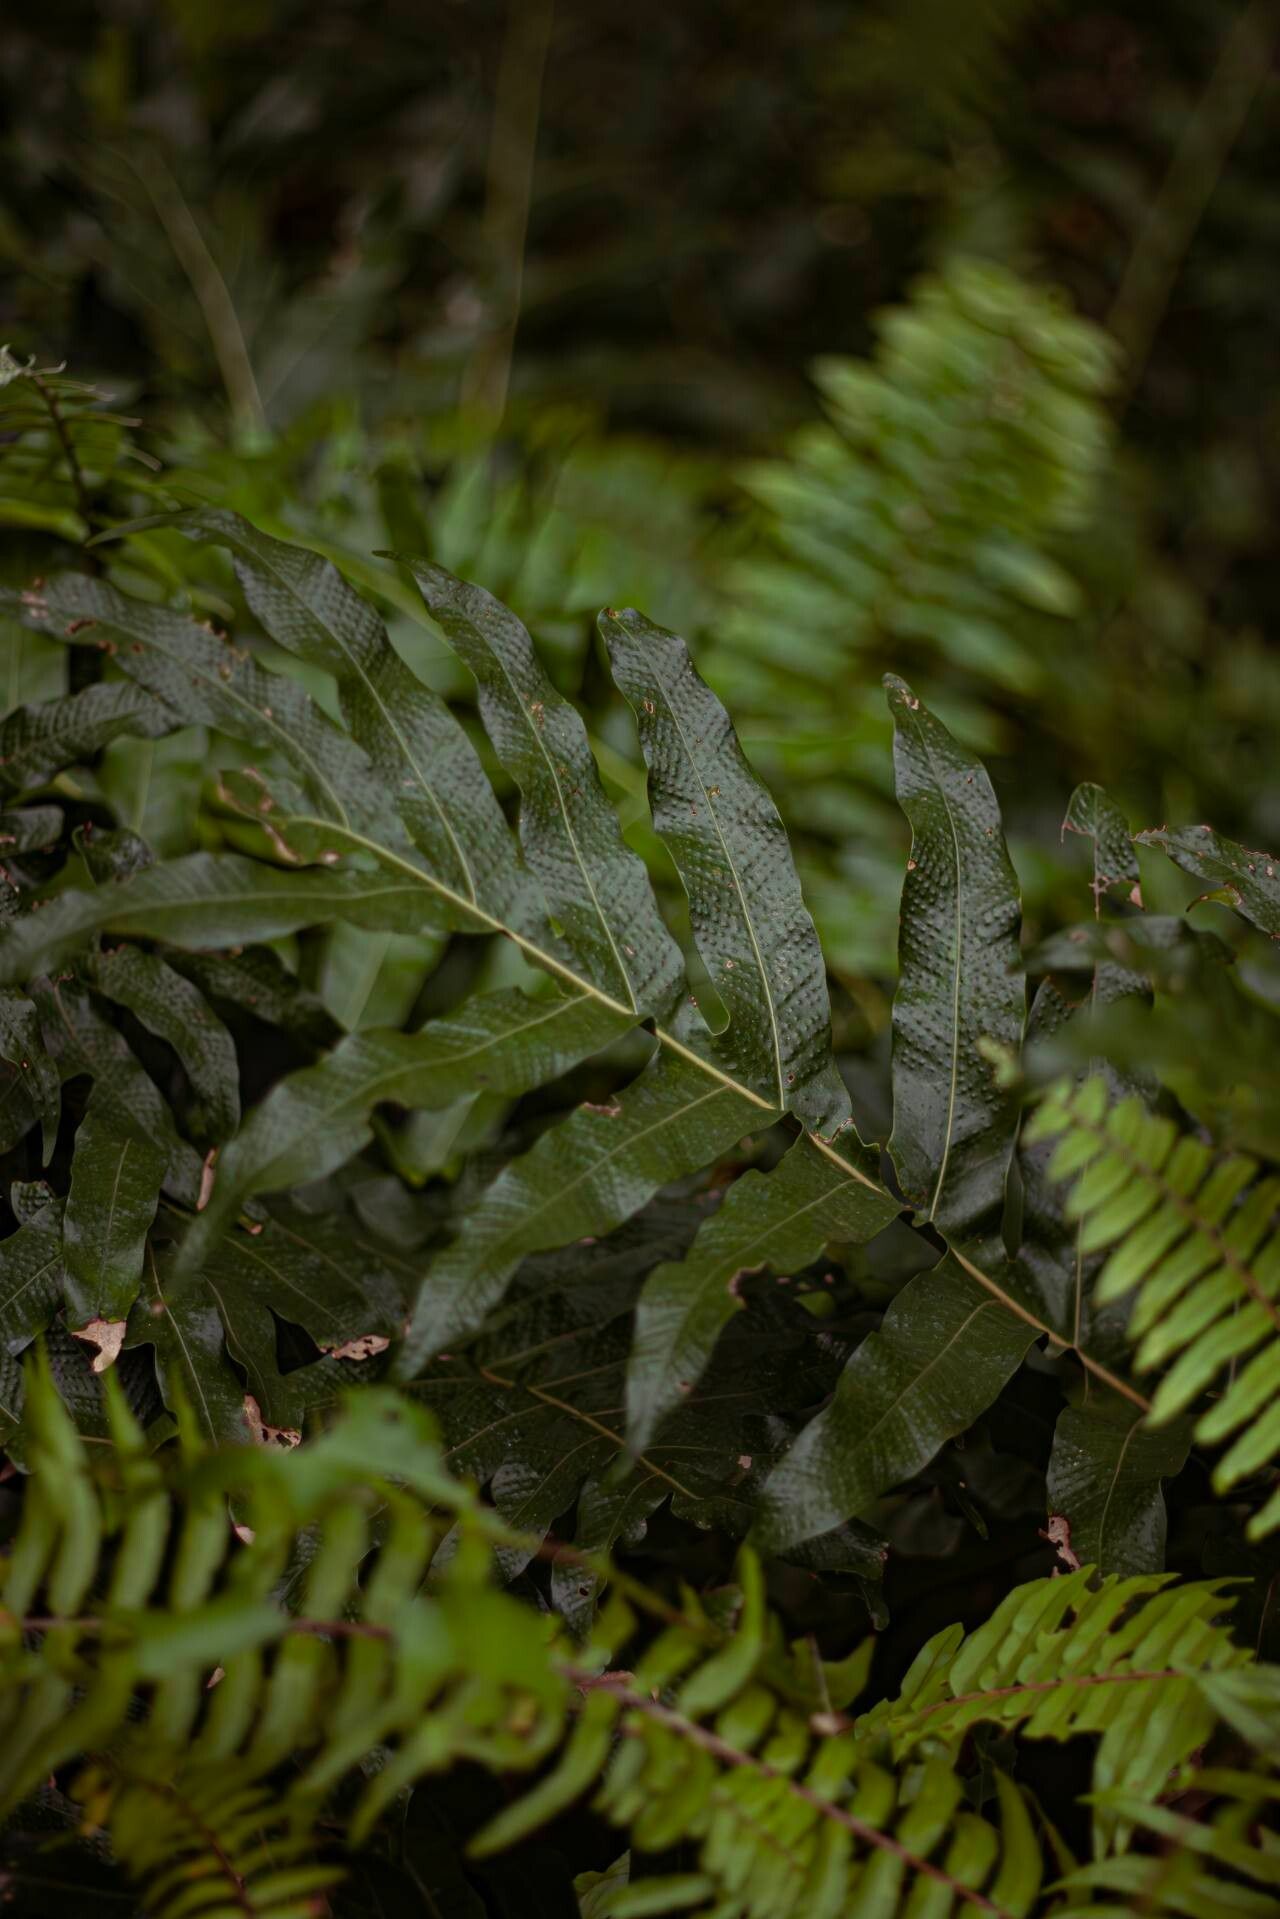
Oh, hello there! Come on in and pull up a chair. I’m so glad you’re interested in Phlebodium decumanum, also known as the Bear’s Paw Fern. You know, these ferns have such a unique charm. Their fronds are this gorgeous blue-green, almost silvery, and they have this lovely lacy texture. They bring a bit of a wild, almost jungle-like feel to a space, without being overly fussy.
And the best part? Propagating them is wonderfully rewarding. It’s like giving a little piece of your joy to someone else, or simply expanding your own green haven. For beginners, I’d say Phlebodium decumanum is moderately easy to propagate. It’s not quite as straightforward as a pothos, but with a little care and the right approach, you’ll be successful.
When is the Best Time to Start?
For Phlebodiums, I always find the spring to be the absolute best time to get started. Think late March through May. The plant is naturally coming out of its winter dormancy and has a burst of energy. This makes it much more receptive to taking cuttings or dividing. You’ll see new growth appearing, which is a great sign that it’s ready for some propagation action.
What You’ll Need for This Adventure
Gathering your supplies beforehand makes the whole process much smoother. Here’s what I usually have on hand:
- Sharp Pruning Shears or a Clean Knife: Essential for making clean cuts.
- Potting Mix: A well-draining mix is key. I often use a blend of peat moss or coco coir, perlite or vermiculite, and a bit of orchid bark. You want it to hold some moisture but not become waterlogged.
- Small Pots or Trays: For your new baby plants. Terra cotta pots are lovely as they breathe well.
- Rooting Hormone (Optional but Recommended): A powdery or gel-based hormone can give your cuttings a helpful boost.
- Plastic Bags or Dome Cloches: To create a humid environment.
- Spray Bottle: For misting.
- Labels and a Marker: So you don’t forget what’s what!
Let’s Get Propagating: Methods That Work
Phlebodiums are most commonly propagated through division, and sometimes you can coax a cutting into rooting.
Method 1: Division (My Favorite!)
This is by far the easiest and most successful method for Phlebodium decumanum. You’re essentially splitting the main plant into smaller, viable sections.
- Gently Remove the Plant: Carefully take your Phlebodium out of its pot. If it’s really snug, you might need to gently squeeze the sides of the pot or even run a knife around the edge.
- Inspect the Rhizomes: Look at the thick, creeping stems – these are called rhizomes. They’ll be growing over the soil surface. You’re looking for sections of the rhizome that have at least one healthy leaf attached and some roots.
- Make Your Cuts: Using your clean shears or knife, carefully slice through the rhizome to separate a section. Try to keep as many roots attached to each new division as possible. If there are a lot of intertwined roots, you can gently tease them apart with your fingers.
- Pot Them Up: Now, plant each division in its own small pot filled with your well-draining potting mix. Make sure the rhizome is just at or slightly below the soil surface.
- Water Lightly: Give them a gentle watering. You don’t want to drown them, just moisten the soil.
Method 2: Stem Cuttings (A Bit More Patience Required)
This method is a little less reliable for Phlebodiums compared to division, but it’s worth a try!
- Select a Healthy Stem: Look for a strong, healthy stem that has a few fronds on it. It shouldn’t be an old, woody rhizome.
- Make the Cut: Using your sharp shears, cut the stem, making sure to include a small section of the rhizome if possible, and at least one or two healthy-looking fronds.
- Prepare the Cutting: If there are any very young, unfurled fronds, you can trim them back slightly to reduce water loss.
- Use Rooting Hormone (Optional): Dip the cut end into your rooting hormone.
- Plant the Cutting: Plant the cutting in a small pot filled with your well-draining mix. You can bury the rhizome section slightly, or just have the cut end in contact with the soil.
- Create a Humid Environment: This is crucial! Mist the cutting and the soil, then cover the pot with a clear plastic bag, or place it under a dome cloche. This traps humidity, which cuttings need to survive and develop roots.
The “Secret Sauce” – My Insider Tips
After years of coaxing plants, a few little tricks become second nature.
- Bottom Heat is Your Friend: If you’re trying the cutting method, or even if you’re just trying to give divisions a head start, placing the pots on a gentle heat mat can really speed up root development. Ferns love warmth!
- Don’t Let Those Fronds Drip: If you’re using the plastic bag method for cuttings, try to ensure the fronds don’t sit directly in any condensation that builds up on the bag. This can lead to rot. You can gently prop them up with a small stick or trim them slightly.
- Patience with the Rhizome: When dividing, sometimes you’ll get a piece of rhizome with a leaf, but it looks a bit sad. Don’t discard it! If the rhizome itself is firm and healthy, give it time. It might just be shocked and will perk up and send out new growth.
Aftercare and What to Watch For
Once you see signs of new growth on your divisions or cuttings, that’s a good indication that roots are forming.
- Gradual Acclimation: Slowly start to remove the plastic bag or cloche over a period of a week or two. This helps the new plant adjust to the ambient humidity.
- Watering: Continue to water when the top inch of soil feels dry. Avoid overwatering! This is the most common mistake and can lead to root rot.
- Light: Keep them in bright, indirect light, just like a mature Phlebodium. No direct sun, please!
If you notice your cutting turning yellow and mushy or developing soft, brown spots, root rot is likely the culprit. Unfortunately, this often means the cutting is a goner. For divisions, if a whole section turns brown and wilts, it might have been too far gone. Don’t get discouraged; just assess what might have gone wrong (too much water is a frequent offender) and try again.
Keep Planting!
Seeing a new little fern unfurl its fronds is such a special feeling. Propagation, like gardening itself, is a journey of learning and a testament to nature’s resilience. Be patient with your new Phlebodium babies, offer them good care, and enjoy the process. Happy propagating!
Resource:
https://identify.plantnet.org/k-world-flora/species/Phlebodium%20decumanum%20(Willd.)%20J.Sm./data