Hello, fellow garden enthusiasts!
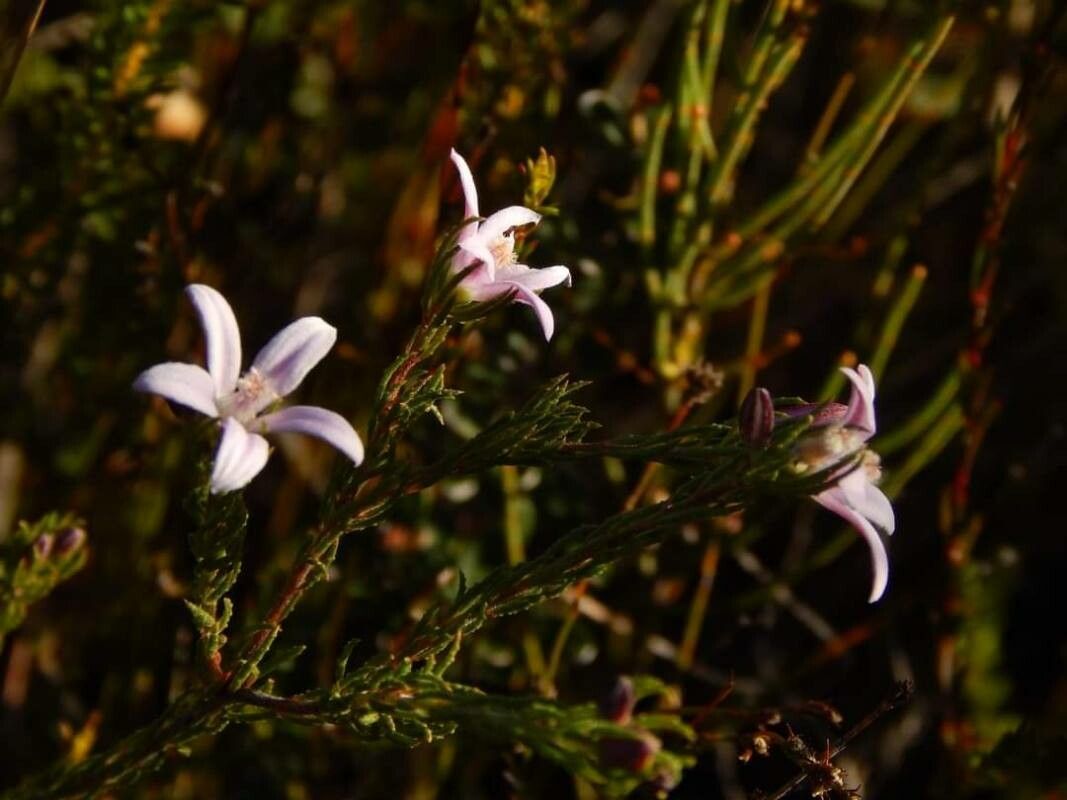
There’s something truly special about creating new life in the garden, isn’t there? And if you’ve ever admired the delicate, star-shaped flowers and fragrant, waxy foliage of Philotheca salsolifolia (often called Wax Flower), you’re in for a treat. Propagating this beauty is a wonderfully rewarding endeavor, and while it might sound a bit daunting, I promise you, it’s more accessible than you might think. I’d say it’s a fantastic project for those ready to dip their toes into propagation, perhaps a solid intermediate step.
The Best Time to Start
For Philotheca salsolifolia, the sweet spot for propagation is definitely late spring to early summer. This is when the plant is in its active growth phase. You want to take cuttings from stems that are firm but not yet woody. Think of it as taking a piece of new growth that has a little bit of flexibility to it. Waiting until after the main flush of flowering is usually a good idea, giving the plant a moment to channel its energy into new shoots.
Supplies You’ll Need
Gathering your tools beforehand makes the whole process much smoother. Here’s what I always have on hand:
- Sharp Pruning Shears or a Craft Knife: Cleanliness is key to preventing disease transfer.
- Rooting Hormone: While not always strictly necessary, it can significantly boost success rates. Gel or powder forms work well.
- Well-Draining Potting Mix: A good blend of perlite and peat moss or coco coir is ideal. You want something that doesn’t hold too much moisture.
- Small Pots or Seed Trays: Clean, with drainage holes, of course!
- Watering Can or Spray Bottle: For gentle watering.
- Plastic Bags or a Propagator: To create a humid environment.
Propagation Methods
I’ve found stem cuttings to be the most reliable method for Philotheca salsolifolia. It’s straightforward and effective.
Stem Cuttings:
- Select Your Cuttings: Look for healthy, non-flowering stems from the current season’s growth. Aim for cuttings that are about 4-6 inches long.
- Prepare the Cuttings: Using your sharp shears or knife, make a clean cut just below a leaf node (where a leaf meets the stem).
- Remove Lower Leaves: Gently strip off the leaves from the bottom half of the cutting. This prevents them from rotting in the soil and encourages root development from the exposed nodes.
- Apply Rooting Hormone: Dip the cut end of the stem into your chosen rooting hormone, tapping off any excess.
- Plant the Cuttings: Fill your pots or trays with the well-draining potting mix. Make a small hole with your finger or a pencil and insert the cut end of the stem, ensuring the nodes are buried. Gently firm the soil around the cutting.
- Water Gently: Water thoroughly but gently, so as not to disturb the cuttings.
The “Secret Sauce” (Pro Tips)
Here are a couple of things I’ve learned over the years that really help these little guys thrive:
- Don’t Over-Water: This is crucial. Philotheca dislikes soggy feet. If you’re using a plastic bag or propagator, you’ll likely need to water less frequently. Allow the surface of the soil to dry slightly between waterings.
- Provide Gentle Bottom Heat: If you have it, a gentle heat mat placed under your propagator can really speed up the rooting process. It mimics the warmth of spring days and gives those roots a good nudge. Aim for consistent warmth, around 65-75°F (18-24°C).
Aftercare & Troubleshooting
Once your cuttings are potted, cover them with a plastic bag or place them in a propagator to maintain high humidity. Place them in a bright spot, but out of direct sunlight. Direct sun can scorch those delicate cuttings.
Within a few weeks, you should start to see signs of new growth. Once roots have developed – you can gently tug a cutting, and if there’s resistance, you’ve got roots! – you can gradually acclimatize them to normal humidity by opening the propagator or bag a little each day. Once they’re looking sturdy, you can transplant them into their own small pots.
The most common issue you’ll face is rot. If a cutting turns mushy or black, it’s best to discard it. This is usually a sign of too much moisture or a lack of air circulation. Don’t be discouraged; just try again and adjust your watering.
A Little Patience Goes a Long Way
Propagating plants is a journey, and it teaches us patience and observation. Don’t rush the process, and celebrate every little success. You’re nurturing new life, and that’s a truly wonderful thing to do. Happy gardening!
Resource:
https://identify.plantnet.org/k-world-flora/species/Philotheca%20salsolifolia%20(Sm.)%20Druce/data