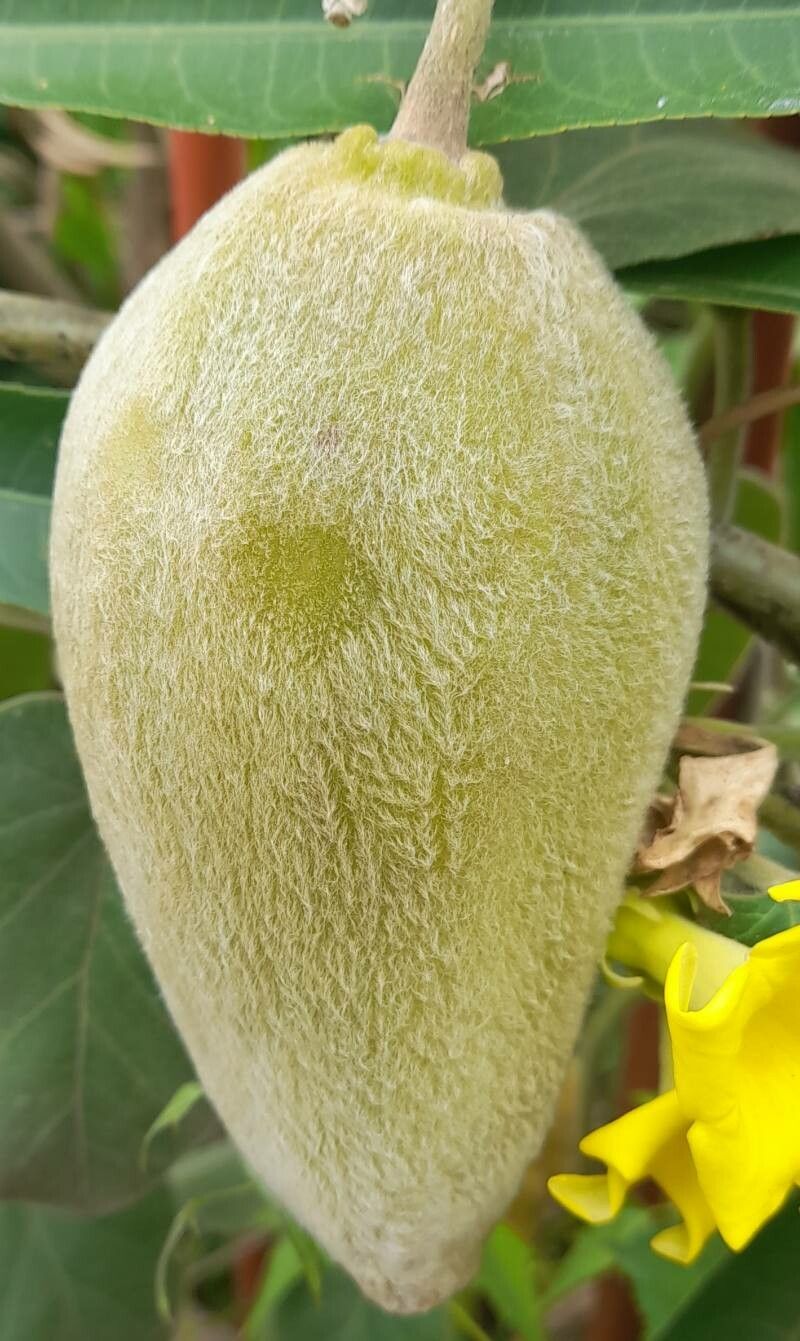
Hey there, fellow garden enthusiasts! Grab a cup of coffee, and let’s talk about a plant that’s really captured my heart: Philibertia speciosa. You might know it by its common name, the Chile Vine or sometimes the Chilean Jasmine, though it’s not a true jasmine. Its lush, glossy foliage is pretty enough on its own, but then come those absolutely stunning, trumpet-shaped flowers. They’re a vibrant, almost electric pink or a rich purple, and they smell divine, especially in the evening.
Sharing this beauty is so satisfying. Propagating Philibertia speciosa is a fantastic way to multiply your joy, or to share a piece of your garden with a friend. And for those of you just dipping your toes into plant propagation, I’ve got good news: while it’s not quite as straightforward as a pothos, Philibertia speciosa is definitely manageable and rewarding, even for a newer gardener willing to give it a little focused attention.
The Best Time to Start
When it comes to getting the best rooting success, timing is everything. For Philibertia speciosa, this means late spring to early summer, right when the plant is actively growing. You want to take cuttings from young, healthy stems that are neither brand new and floppy nor old and woody. Think of stems that are semi-hardwood – they’ll have a bit of give but won’t easily snap. This is when the plant has the most energy to put into developing roots.
Supplies You’ll Need
Before we get our hands dirty, let’s gather our toolkit. Having everything ready makes the process so much smoother.
- Sharp Pruning Shears or a Knife: Sterilize these before you use them to prevent any disease transfer. A clean cut is a happy cut!
- Rooting Hormone: I personally love using a powdered rooting hormone (like Clonex or Hormex). It really gives cuttings a boost.
- Well-Draining Potting Mix: A good blend is essential. I usually mix equal parts peat moss or coco coir with perlite or coarse sand. You want something airy that won’t hold too much moisture.
- Small Pots or Seedling Trays: Clean containers are a must. Anything from small nursery pots to old yogurt containers with drainage holes will work.
- Plastic Bags or a Propagator: This creates a humid environment that cuttings love.
- Water: For hydration and, in one method, for rooting.
- Labels and a Marker: To keep track of what you’ve planted and when!
Propagation Methods
Let’s get down to business. I’ve found two methods work particularly well for Philibertia speciosa.
1. Stem Cuttings (My Go-To Method)
This is my favorite method because it’s so efficient for creating multiple new plants.
- Taking the Cuttings: On a healthy, actively growing stem, look for a section that’s about 4-6 inches long. Make a clean cut just below a leaf node. A leaf node is where a leaf attaches to the stem – this is where the magic happens for root development. Remove the lower leaves, leaving just a couple of leaves at the top.
- Dipping in Rooting Hormone: Lightly moisten the cut end of the stem, then dip it into your rooting hormone powder. Gently tap off any excess.
- Planting the Cuttings: Fill your small pots with your prepared potting mix. Make a hole in the center with your finger or a pencil, about an inch or two deep. Carefully insert the cutting into the hole, ensuring the leaf nodes are buried. Gently firm the soil around the stem.
- Watering and Covering: Water the soil thoroughly until it drains from the bottom. Then, place a clear plastic bag over the pot to create a mini-greenhouse, or put the pot inside a propagator. Make sure the leaves aren’t touching the plastic if possible.
2. Water Propagation (The Visual Method)
This method is great because you can actually see the roots forming.
- Taking the Cuttings: Similar to above, take 4-6 inch cuttings from semi-hardwood stems, making the cut just below a leaf node. Remove all but the top couple of leaves.
- Placing in Water: Fill a small jar or glass with clean water. Submerge the bottom 2-3 inches of the cutting in the water, making sure the leaves are not touching the water’s surface. This is crucial to prevent rot.
- Placement: Place the jar in a bright spot that receives indirect sunlight.
- Refreshing the Water: Change the water every few days to keep it fresh and oxygenated. You’ll start to see little root nubs appearing from the leaf nodes within a few weeks.
The “Secret Sauce” (Pro Tips)
Over the years, I’ve picked up a few tricks that have really upped my propagation success rates.
- Bottom Heat is Your Friend: Philibertia speciosa absolutely loves warm soil. If you have a heat mat designed for seedlings, placing your pots on it will significantly speed up root formation, especially if your room is on the cooler side. It’s like a cozy spa day for your cuttings!
- Don’t Overwater the Soil: While cuttings need moisture, soggy soil is their enemy. It leads to rot. The goal with stem cuttings is a moist (not wet) environment. If the soil feels swampy, ease up on watering. The plastic bag helps retain humidity, so you won’t need to water as often as you might think.
- Patience with Water Cuttings: When propagating in water, sometimes those roots take their sweet time. Don’t get discouraged if you don’t see growth immediately. Keep the water clean and the light consistent. The initial roots might look a bit fragile, but that’s perfectly normal!
Aftercare & Troubleshooting
Once you see good root development – about an inch long for water cuttings, or a gentle tug resistance on stem cuttings – it’s time for a little extra care.
- Acclimatizing: If your cuttings were in a plastic bag or propagator, gradually introduce them to lower humidity over a week. Start by opening the bag a little each day, then remove it for longer periods. This helps them adjust.
- Transplanting: For water cuttings, once the roots are well-established, you can transplant them into your well-draining potting mix. Treat them gently as you would any young seedling. For cuttings that have rooted directly in soil, they’ll just continue to grow in their pots.
- Watering New Plants: Keep the soil consistently moist but not soggy. As they grow, you can start feeding them with a diluted liquid fertilizer every 4-6 weeks during the growing season.
- Signs of Trouble: The most common issue is rot. If your cutting turns black and mushy, it’s likely rotted. This is usually due to too much moisture or not enough airflow. If this happens, unfortunately, it’s best to discard it and try again. Brown, crispy leaves can indicate it’s too dry or getting too much direct sun.
A Little Patience Goes a Long Way
Propagating plants is a journey, and Philibertia speciosa is no different. There might be a few stumbles along the way, but don’t let that deter you. Each little success is a triumph, and soon you’ll have a collection of these gorgeous vines to enjoy. So, get out there, have fun, and happy propagating!
Resource:
https://identify.plantnet.org/k-world-flora/species/Philibertia%20speciosa%20(Malme)%20Goyder/data