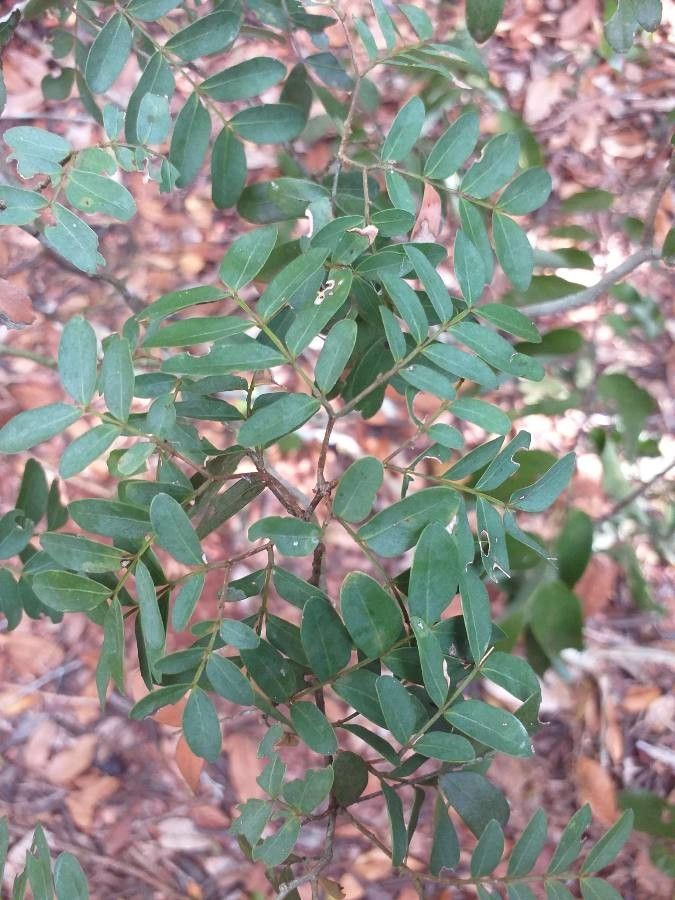
Oh, hello there! I’m so glad you’ve stopped by. If you’re like me, you’ve probably fallen head over heels for the gorgeous Philenoptera bussei. Those delicate, often fragrant blooms are just a dream, aren’t they? And the satisfaction of coaxing a brand new plant from a tiny piece of your beloved one? Pure gardening magic! Now, I’ll be honest, Philenoptera bussei can be a tad bit particular, so it might not be your absolute easiest first-time propagation project. But don’t let that deter you! With a little patience and following these steps, I promise you’ll be well on your way to success.
The Best Time to Start
For Philenoptera bussei, I’ve found the sweet spot for propagation is late spring or early to mid-summer. This is when the plant is actively growing and has plenty of energy to put into developing new roots. You’re looking for stems that are mature but not woody. Think of them as being firm but still a little flexible – what we often call “semi-hardwood” cuttings.
Supplies You’ll Need
Gathering your tools beforehand makes the whole process so much smoother. Here’s what you’ll want to have on hand:
- Sharp, clean pruning shears or a sharp knife: Crucial for making clean cuts to prevent disease.
- Rooting hormone powder or gel: Really gives your cuttings a boost.
- A well-draining potting mix: I like a blend of perlite and peat moss, or a good quality seed-starting mix. For Philenoptera bussei, good drainage is key!
- Small pots or seedling trays: With drainage holes, of course.
- A clear plastic bag or propagation dome: To maintain humidity.
- Watering can with a fine rose or spray bottle: For gentle watering.
- Optional: Heat mat: For bottom heat, which can speed up rooting.
Propagation Methods
I’ve had the most luck with stem cuttings for Philenoptera bussei. Here’s how I do it:
- Take Your Cuttings: On a nice morning after the dew has dried, select healthy, non-flowering stems. Using your clean shears, cut sections that are about 4 to 6 inches long. Make your cut just below a leaf node (where a leaf attaches to the stem).
- Prepare the Cuttings: Gently remove the leaves from the bottom half of each cutting. You want to expose the nodes where roots will emerge. If the remaining leaves are very large, I like to cut them in half. This reduces water loss while still allowing for some photosynthesis.
- Dip in Rooting Hormone: Dip the cut end of each stem into your rooting hormone, tapping off any excess. This step is vital for Philenoptera bussei as it really encourages those roots to form.
- Plant Your Cuttings: Fill your small pots with your prepared, slightly moist potting mix. Make a small hole in the soil with your finger or a pencil, and gently insert the cut end of the cutting. Firm the soil gently around the base.
- Create a Humid Environment: Water everything lightly, and then cover the pots with a clear plastic bag, securing it around the pot, or place them under a propagation dome. This trap’s in the moisture your cuttings desperately need.
The “Secret Sauce” (Pro Tips)
Here are a couple of things I’ve learned over the years that make a real difference:
- Don’t Over-Water the Mother Plant: Before you even take cuttings, make sure your Philenoptera bussei isn’t waterlogged. Hydrated, but not soggy, is the goal. This helps the cuttings have just the right moisture level to start with and reduces the chance of rot.
- Bottom Heat is Your Friend: If you can manage it, placing your pots on a gentle heat mat can significantly speed up the rooting process. It mimics the warmth of spring soil, encouraging root development from the bottom up. Don’t get it too hot, though; lukewarm is perfect.
Aftercare & Troubleshooting
Once your cuttings are planted, place them in a bright, but indirect light location. Avoid direct sun, which can scorch those tender new leaves. Keep the soil consistently moist but not soggy. You’ll want to lift the plastic bag or dome for a few minutes each day to allow for some air circulation and prevent fungal issues.
You’ll know your Philenoptera bussei babies are starting to root when you see new leaf growth or when you gently tug on a cutting and feel a bit of resistance. This usually takes anywhere from 4-8 weeks, sometimes longer.
The most common problem you might encounter is rot. If a cutting turns black and mushy, sadly, it’s not going to make it. That’s usually a sign of too much moisture and not enough air circulation. If you see this, remove the affected cutting immediately to prevent it from spreading.
A little Patience Goes a Long Way
Propagating plants, especially those with a bit of a personality like Philenoptera bussei, is a journey. There might be a few tries, a few lessons learned, but oh, that moment when you see that first new root emerge or that tiny leaf unfurl? It’s simply unbeatable. So, gather your supplies, tuck in your cuttings, and trust the process. Happy propagating!
Resource:
https://identify.plantnet.org/k-world-flora/species/Philenoptera%20bussei%20(Harms)%20Schrire/data