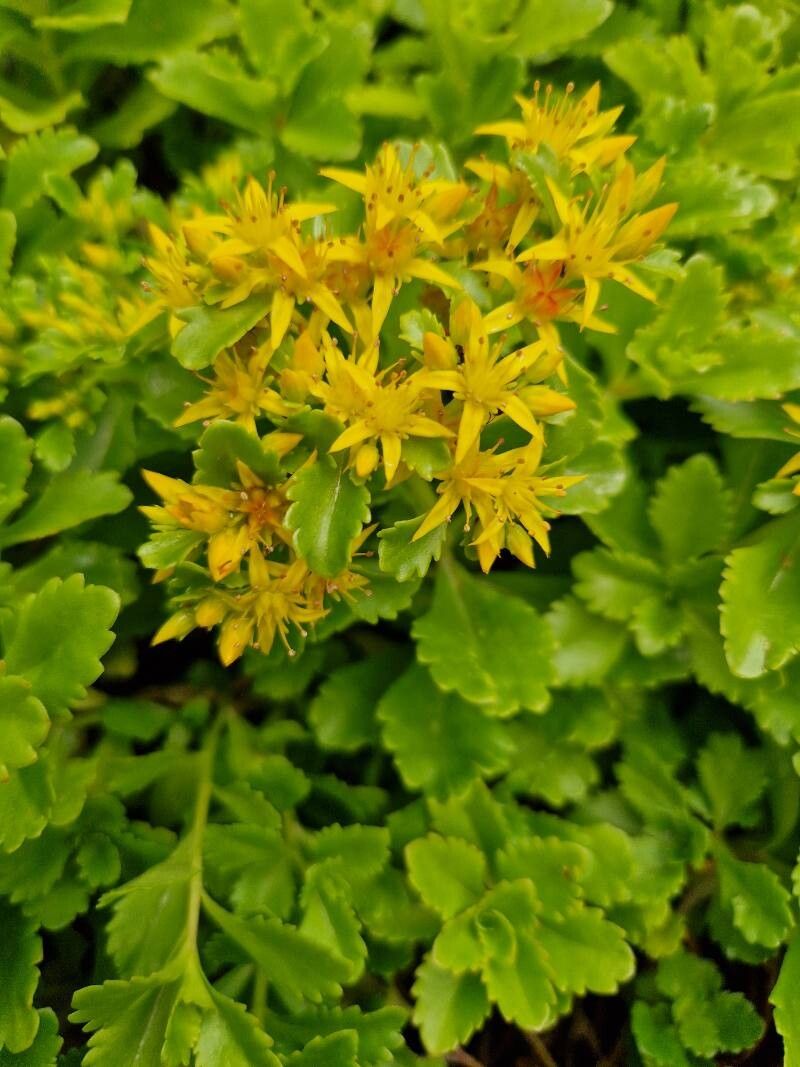
Hello there, fellow plant lovers! If you’ve ever admired those vibrant, star-shaped blooms and sturdy, attractive foliage of Phedimus aizoon, you’re in for a treat. This little succulent, a member of the Sedum family, brings such cheerful color and resilience to the garden. And guess what? Propagating it is wonderfully satisfying, and I’m so happy to share how you can do it yourself. For beginners? Absolutely, consider this a very welcoming gateway plant into the world of propagation!
The Best Time to Start
Honestly, with Phedimus aizoon, you have a pretty generous window. The absolute sweet spot, though, is late spring to early summer, just as the plant is really waking up and showing vigorous new growth. You can also have good luck in early autumn, giving cuttings time to establish before winter truly sets in. Avoid propagating during extreme heat or the dead of winter when the plant is dormant.
Supplies You’ll Need
Gathering your tools is half the fun, right? Here’s what I always have on hand:
- Clean, sharp pruning shears or a sharp knife: Essential for making clean cuts.
- Well-draining potting mix: A succulent or cactus mix is perfect. You can also amend regular potting soil with perlite or coarse sand.
- Small pots or trays: For your new plant babies. Make sure they have drainage holes!
- Rooting hormone (optional but helpful): I find it gives cuttings a little boost.
- Watering can or spray bottle: For gentle watering.
- Labels and a marker: Because trusting your memory is a gamble!
Propagation Methods
Phedimus aizoon is wonderfully forgiving, and you’ll find a couple of methods work beautifully.
Stem Cuttings
This is my go-to for reliable results.
- Select a healthy stem: Look for a piece of stem that’s about 3-6 inches long and shows good, firm growth. It shouldn’t be flowering or just starting to sprout.
- Make a clean cut: Using your sharp shears or knife, cut the stem just below a leaf node (where leaves attach to the stem).
- Remove lower leaves: Gently strip off the leaves from the bottom 1-2 inches of the cutting. This prevents them from rotting when planted.
- Let it callus: This is a crucial step for succulents! Place the cut ends of the cuttings in a dry, airy spot for 2-7 days. You’ll see a dry, scar-like layer form over the cut. This prevents rot when you plant them.
- Pot them up: Once callused, insert the cut end into your prepared, well-draining potting mix. You can dip the cut end in rooting hormone now if you’re using it. Plant a few cuttings per pot to increase your chances.
- Water sparingly: Give them a light watering, just enough to settle the soil around the base. Then, wait for the soil to dry out completely before watering again.
Division
If you have an established clump, division is a fantastic way to get more plants and also refresh your existing one! The best time for this is also late spring or early summer.
- Gently dig up the plant: Carefully excavate the entire Phedimus aizoon clump from its spot.
- Shake off excess soil: Gently remove as much soil as you can, exposing the root ball.
- Identify natural divisions: Look for sections of the plant that have their own roots and shoots. You can often see where crowns naturally separate.
- Separate the sections: Using your hands or a clean trowel, gently pull the clump apart. If it’s stubborn, you might need your knife or shears to make a clean cut through thicker roots or woody stems. Each division should have a good amount of roots and at least one stem with leaves.
- Plant them out: Pot each division into its own container with well-draining soil, or replant them directly into your garden beds. Water them in well.
The “Secret Sauce” (Pro Tips)
Here are a few little tricks I’ve learned over the years that really help:
- Don’t let the leaves touch the water (if you try water propagation): While Phedimus aizoon can sometimes root in water, I find it’s a higher risk for rot. If you do try it, ensure only the cut stem is submerged, and no leaves are touching the water’s surface. Change the water every few days. However, I strongly recommend the soil method for this plant.
- Bottom heat is a game-changer: If you have a heat mat designed for seedlings, placing your pots on it can significantly speed up root development, especially for stem cuttings. It mimics the warmth of spring and encourages those roots to get growing.
- Patience is key with callusing: I know it’s tempting to rush this step, but allowing your cuttings to fully callus is the single best defense against rot. Don’t plant them too soon! A well-callused cutting is a happy, less-likely-to-rot cutting.
Aftercare & Troubleshooting
Once your cuttings have hopefully developed roots (you can gently tug on a stem to feel for resistance, or look for new growth), treat them like mature Phedimus aizoon.
- Watering: Continue to water only when the soil is completely dry to the touch. Overwatering is the most common mistake!
- Light: Place them in a sunny spot. They love plenty of light, just like their parent plants.
- Acclimation: If you started them indoors, gradually acclimate them to outdoor conditions before planting them out permanently.
What do you do if things go wrong? The most common issue is rot. You’ll see the stem turn mushy and brown, often starting at the cut end or where leaves were. If this happens, sadly, that cutting is likely lost. Remove it immediately to prevent the rot from spreading. Ensure your soil is draining well and you’re not watering too frequently. If your cuttings shrivel and dry up, it might be a sign they weren’t getting enough moisture before they rooted, or they’re drying out too quickly in a very hot, dry environment.
A Encouraging Closing
And there you have it! Propagating Phedimus aizoon is a truly rewarding experience. It’s a joy to watch tiny cuttings transform into vibrant new plants. Be patient with the process, celebrate every little success, and don’t be discouraged by the occasional setback. Happy propagating, and may your gardens be forever flourishing!
Resource:
https://identify.plantnet.org/k-world-flora/species/Phedimus%20aizoon%20(L.)%20’t%20Hart/data