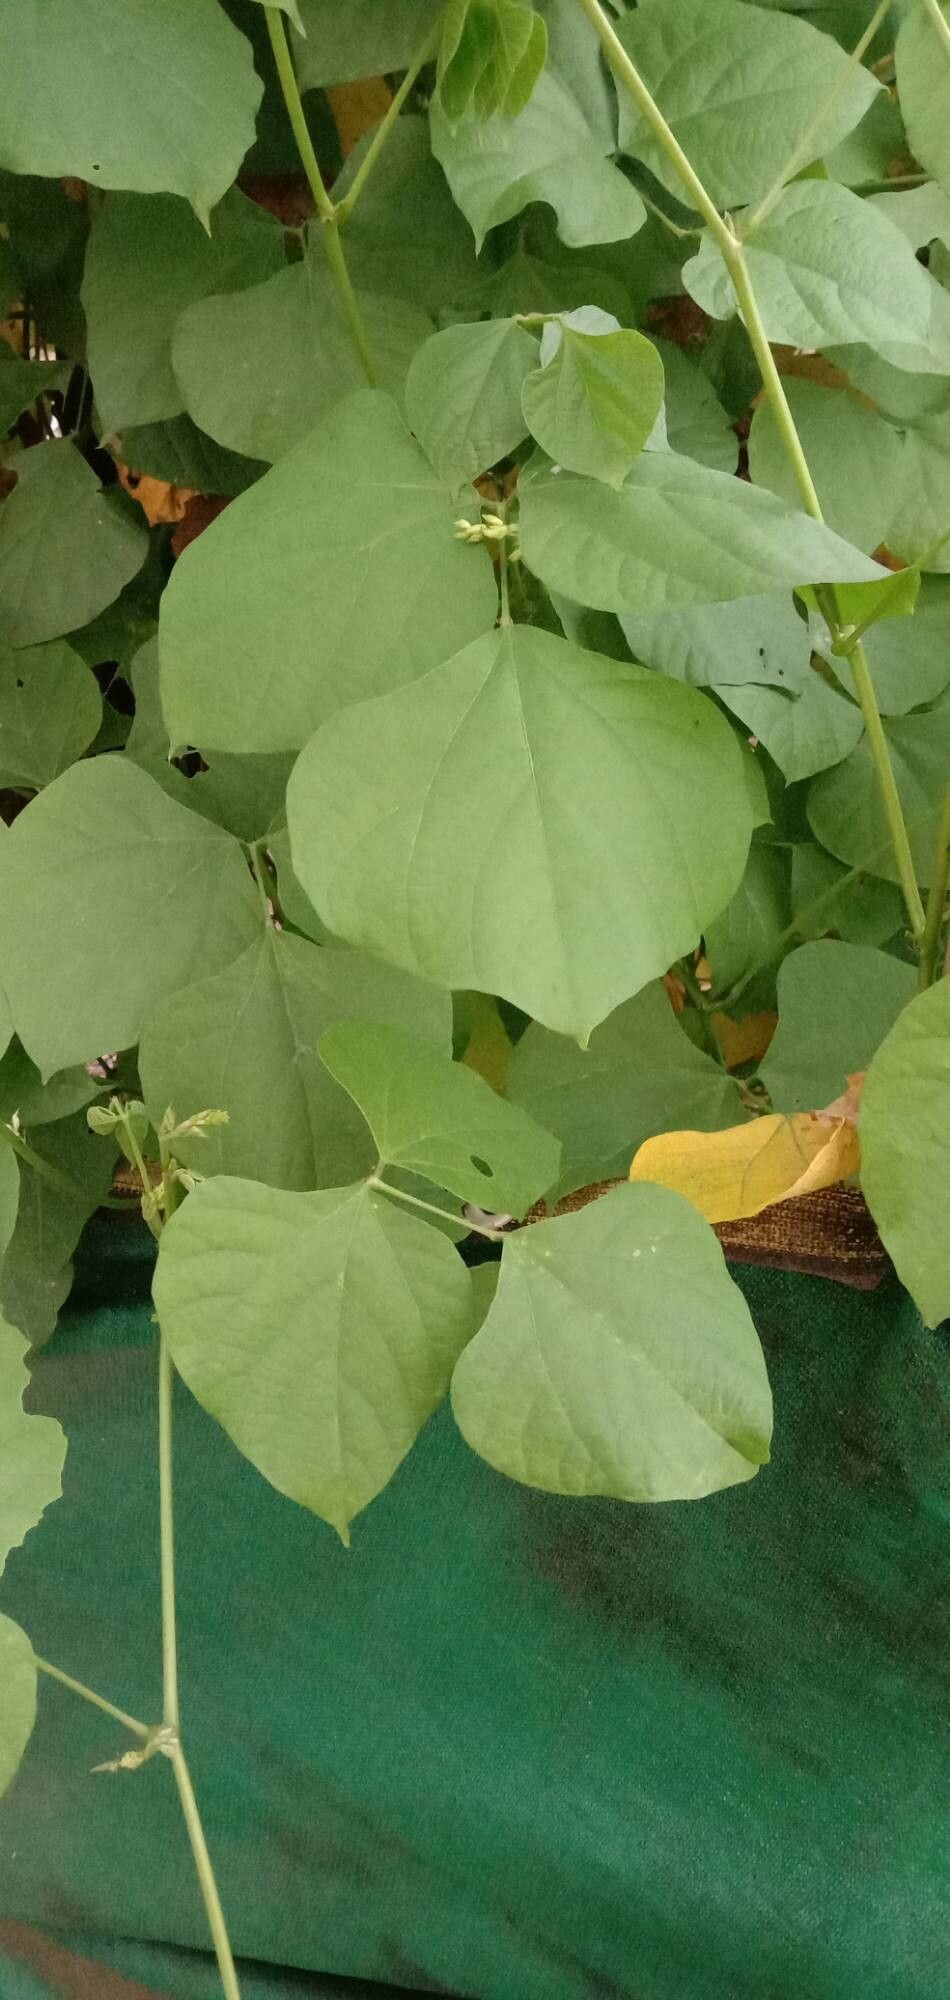
Oh, hello there! Come on in, grab a mug. I’ve been excited to chat with you about, well, beans! Specifically, the humble yet magnificent Phaseolus vulgaris, or as we often call them, common beans. Isn’t there something so satisfying about growing your own food? And the real magic? Being able to sprout them yourself, again and again. It’s like unlocking a little piece of nature’s secret recipe.
Why Propagate Phaseolus vulgaris?
Beyond the delicious harvests, propagating beans is incredibly rewarding. You get to witness that tiny seed unfurl into a robust plant, ready to climb and produce. And for beginners? You’re in luck! Phaseolus vulgaris is delightfully easy to propagate from seed, making it a fantastic starting point. It’s a wonderful way to ensure a continuous supply of your favorite varieties and share the bounty with friends.
The Best Time to Start
For Phaseolus vulgaris, the absolute best time to propagate is directly from seed outdoors after your last frost. They are warm-weather lovers, plain and simple. Trying to propagate from cuttings or other methods before you’ve got a stable plant isn’t necessary because their seed propagation is so incredibly successful and straightforward. Think of it as giving them the best possible start in their natural environment.
Supplies You’ll Need
You’ll be happy to know that propagating beans from seed requires very little. Most of these you probably already have!
- High-quality bean seeds: Choose fresh seeds for the best germination rates.
- Seed starting mix or a well-draining potting soil: You want something light and airy to encourage good root development. Avoid heavy garden soil.
- Small pots or seed trays: For starting seeds indoors if you get a very early start.
- Watering can with a fine rose or a spray bottle: Gentle watering is key for delicate seedlings.
- A warm spot: This could be a sunny windowsill or under grow lights if starting indoors.
- Optional: A seed-starting heat mat: This can speed up germination, especially in cooler late-spring conditions.
Propagation Methods: The Seed Starting Journey
This is where the fun begins! We’re focusing on the most effective and rewarding method for Phaseolus vulgaris: seed propagation.
- Timing is Everything: As I mentioned, wait until all danger of frost has passed and the soil has warmed up. Beans don’t like to be rushed!
- Prepare Your Soil: Fill your pots or seed trays with your seed starting mix or potting soil. Leave about an inch of space at the top.
- Sowing the Seeds: You can sow seeds directly into the ground where they’ll grow. If you’re using pots, plant one or two seeds per pot, about 1 inch deep. This depth helps protect the emerging embryo.
- Water Gently: After planting, water the soil thoroughly but gently. You don’t want to dislodge the seeds. A light misting works wonderfully.
- Provide Warmth and Light: Place your pots in a warm location. If starting indoors, ensure they get plenty of sunlight, at least 6-8 hours a day. A south-facing window is ideal.
- Patience and Observation: Keep the soil consistently moist, but not waterlogged. You should see germination within 7-14 days. Once seedlings emerge, thin them to the strongest one per pot, or thin those sown directly in the ground to about 6 inches apart for bush beans or 8-12 inches apart for pole beans.
The “Secret Sauce” (Pro Tips)
Here are a couple of things I’ve learned over the years that make a difference:
- The Soak Secret: While not strictly necessary for Phaseolus vulgaris due to their thin seed coats, you can give your seeds a little boost by soaking them in lukewarm water for about 4-6 hours before planting. This rehydrates them and can speed up germination. Just don’t soak them too long, or they can rot.
- Bottom Heat is Your Friend: If you’re starting seeds a bit earlier or your soil is still a tad cool, a seed-starting heat mat placed under your pots can be a game-changer. It mimics the warm soil conditions they love and significantly improves germination rates.
Aftercare & Troubleshooting
Once your little bean seedlings have popped their heads up, it’s time for continued care.
- Watering: Continue to keep the soil evenly moist. Water at the base of the plant to avoid wetting the leaves, which can encourage disease.
- Light: Ensure they receive adequate light. Leggy seedlings (long and thin with few leaves) are a sign they need more light.
- Fertilizing: Beans are legumes, meaning they fix their own nitrogen from the air, so they typically don’t need much fertilizer. A light feeding with a balanced, low-nitrogen fertilizer once they start flowering is usually enough, if anything.
Common Issues:
- Rotting Seeds/Seedlings: This is the most common problem. It usually stems from overwatering or poor drainage. Ensure your pots have drainage holes and your soil is light.
- Damping Off: This is a fungal disease that causes seedlings to collapse at the soil line. Proper air circulation, avoiding overwatering, and using sterile seed-starting mix all help prevent this.
- Lack of Germination: This can be due to old seeds, planting too deep, soil that’s too cold, or extreme dryness.
Go Forth and Grow!
See? Not so daunting, is it? Growing beans from seed is one of the most satisfying gardening experiences. Be patient, enjoy the process of watching them sprout and grow, and you’ll be rewarded with a delicious harvest. Happy gardening!
Resource:
https://identify.plantnet.org/k-world-flora/species/Phaseolus%20vulgaris%20L./data