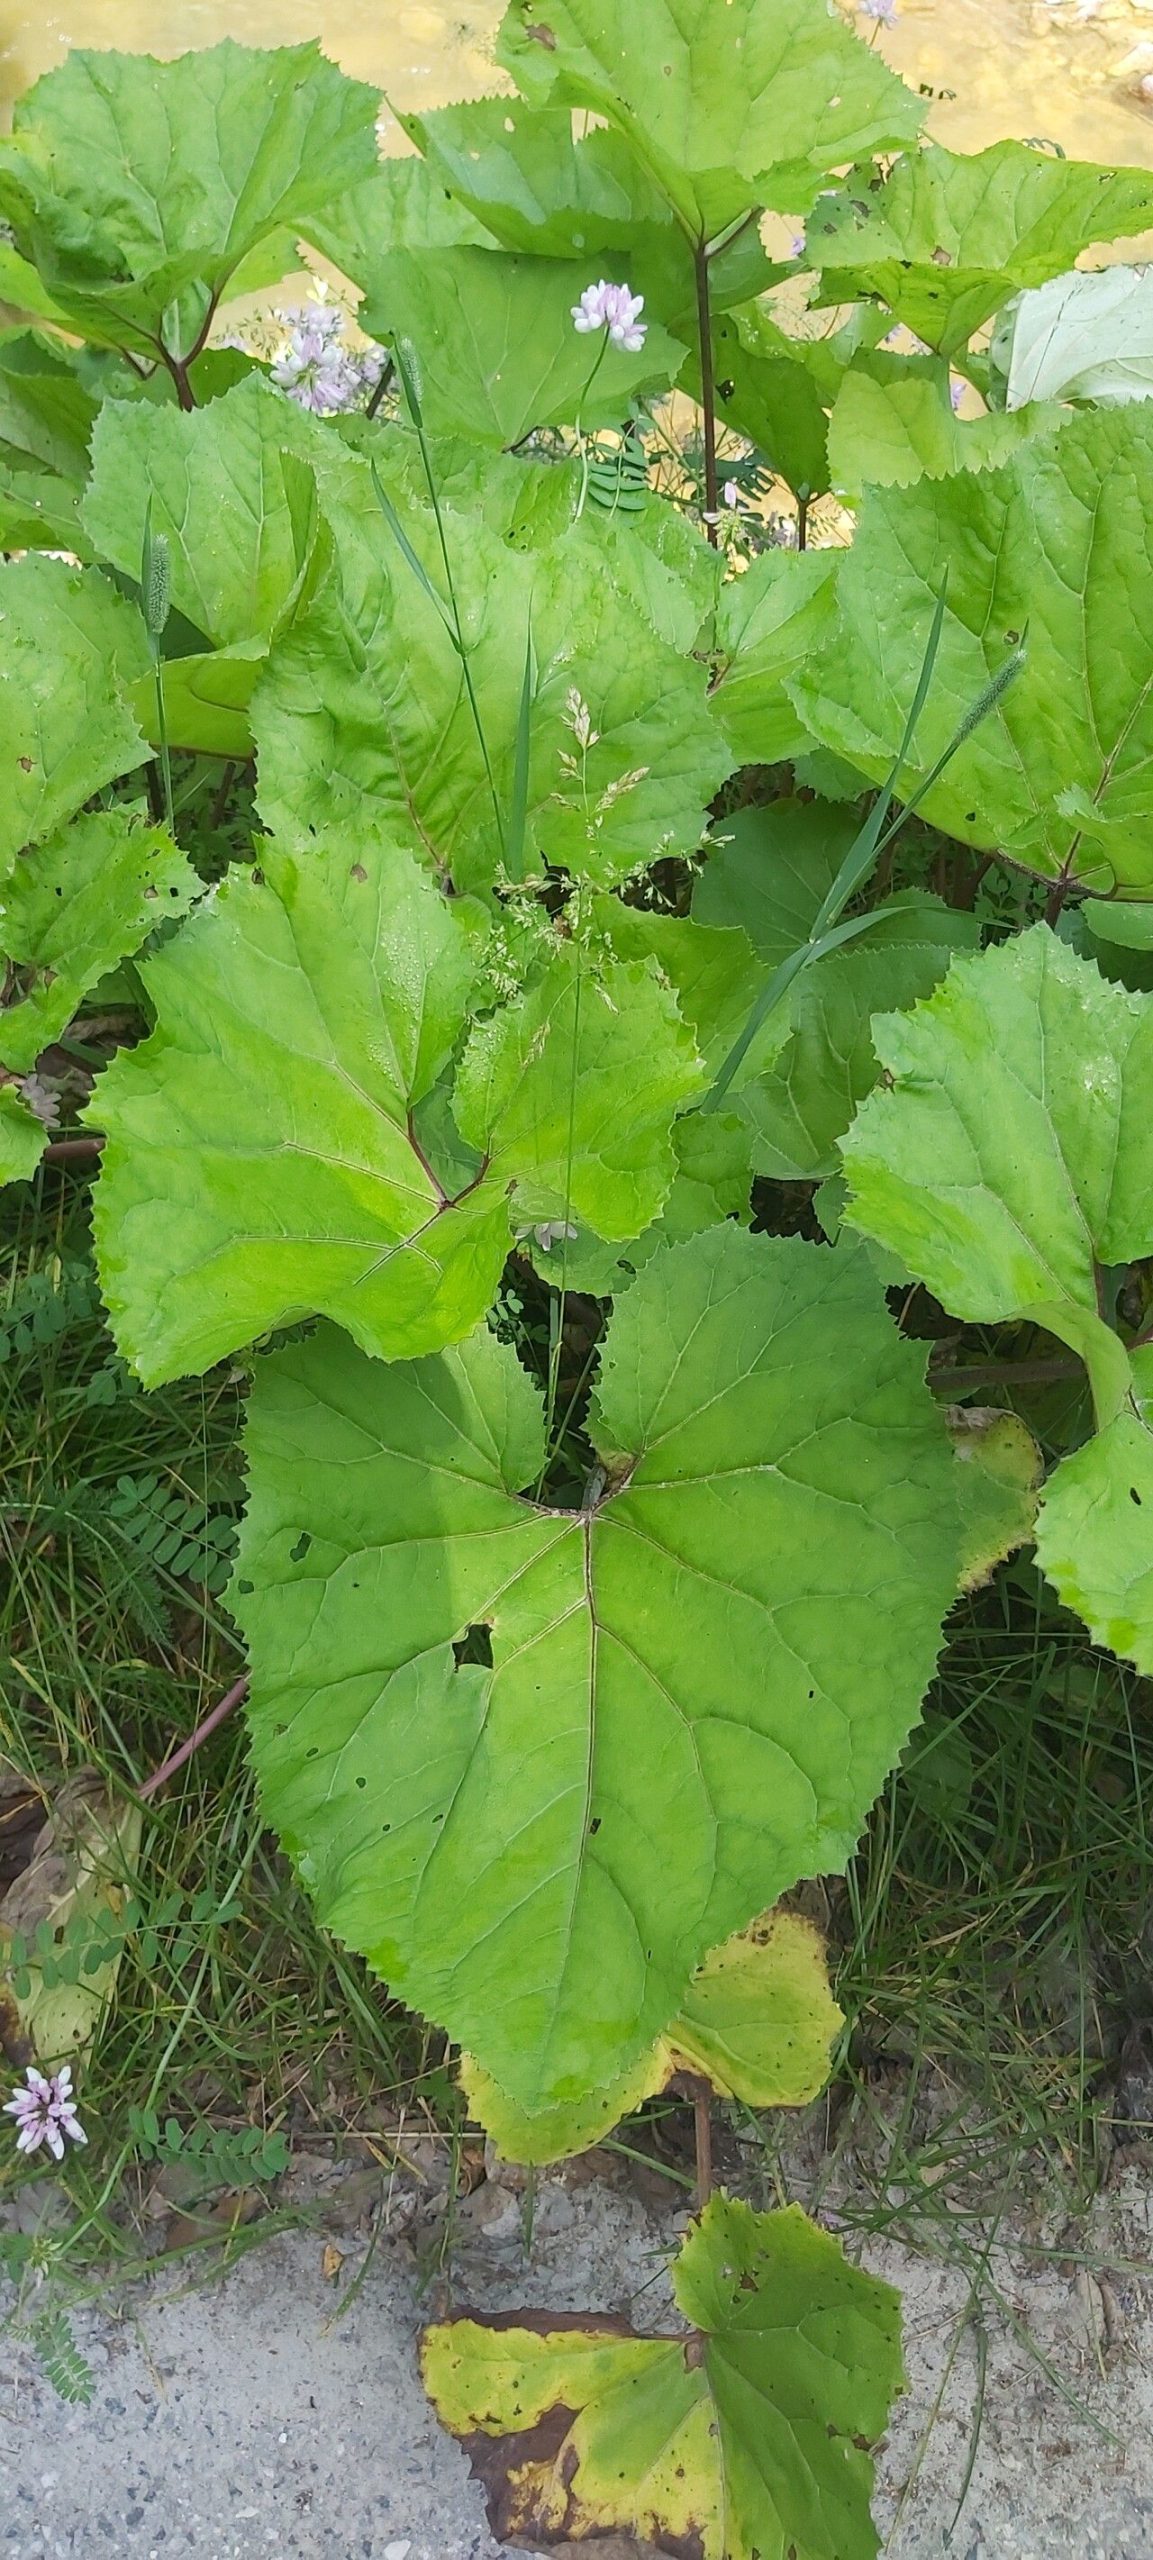
Oh, Petasites kablikianus! If you’ve ever seen those magnificent, umbrella-like leaves unfurling in a shady nook, you know why this plant has captured my heart. Also known as Siberian Butterbur, it’s a true showstopper in the garden, bringing a lush, tropical feel even to cooler climates. And the best part? You can easily multiply this beauty yourself! If you’re new to propagating, don’t fret. Petasites is generally quite generous, making it a rewarding project for almost anyone with a bit of a green thumb.
The Best Time to Start
For the absolute best chance of success with your Petasites, I find late spring to early summer to be your sweet spot. This is when the plant is actively growing and has plenty of energy stored up. You’ll want to propagate from healthy, vigorous stems that are at least a few inches long. This active growing phase means new roots will form quickly, giving your cuttings a strong start.
Supplies You’ll Need
Gathering your tools before you begin will make the whole process smoother. Here’s what I always have on hand:
- Sharp Pruning Shears or a Clean Knife: Essential for making clean cuts that heal well.
- Rooting Hormone (Optional but Recommended): Encourages faster and stronger root development. I like to use a powder or gel.
- Small Pots or Trays: Clean pots are crucial to prevent disease.
- Well-Draining Potting Mix: A mix of peat moss, perlite, and compost works beautifully. You can also find specialized propagation mixes.
- Clear Plastic Bags or a Propagation Dome: To maintain humidity around your cuttings.
- Watering Can or Mister: For gentle watering.
- Labels: So you don’t forget what you’ve planted where!
Propagation Methods
Petasites is wonderfully amenable to a couple of straightforward propagation methods. Let’s dive in!
Division (My Favorite!)
This is, hands down, the easiest and most successful way to propagate Petasites, especially if you already have a mature plant.
- Dig Carefully: In your chosen timeframe (late spring/early summer), gently dig around your existing Petasites plant. You want to expose the rhizomes (those thick, underground stems).
- Identify Divisions: Look for sections of the rhizome that have healthy buds or shoots attached. You can usually see where the plant naturally wants to divide.
- Make the Cut: Using your sharp shears or knife, separate a piece of the rhizome that has at least one good bud or shoot. You don’t need huge sections; even a few inches of rhizome with a bud is often enough to get going.
- Pot Up: Plant each division directly into a pot filled with your well-draining potting mix. The bud or shoot should be just at or slightly above the soil surface.
- Water Gently: Water thoroughly but avoid waterlogging.
Stem Cuttings
This method takes a little more patience, but it’s incredibly satisfying when it works!
- Take Cuttings: Select a healthy stem, about 4-6 inches long. Make a clean cut just below a node (where a leaf attaches to the stem). Remove any lower leaves, leaving just a couple at the top.
- Apply Rooting Hormone: Dip the cut end into your rooting hormone, tapping off any excess.
- Insert into Mix: Make a hole in your moist potting mix with a pencil or your finger and gently insert the cutting. Firm the soil around it.
- Create Humidity: Cover the pot with a clear plastic bag or place it under a propagation dome. Ensure the leaves don’t touch the inside of the bag – you can prop it up with sticks if needed.
- Place in Bright, Indirect Light: Find a spot that receives plenty of bright, indirect light but avoid harsh sun, which can scorch young cuttings.
The “Secret Sauce” (Pro Tips)
Here are a couple of tricks I’ve learned over the years that really give your Petasites propagations a boost:
- Rhizome Vigilance: When dividing, look for plump, firm rhizomes. Any that are mushy or shriveled are best left in place or discarded, as they are unlikely to take. A healthy rhizome will feel firm to the touch.
- Warmth Encourages Roots: For stem cuttings, a little bottom heat can work wonders! Placing your pots on a heat mat designed for seedlings will significantly speed up root formation. It mimics the warmer soil temperatures of spring and summer.
Aftercare & Troubleshooting
Once your Petasites divisions or cuttings have established roots (this can take anywhere from a few weeks to a couple of months), they’ll need a little TLC.
- Gradual Acclimation: If you’ve used a plastic bag or dome, gradually introduce your new plant to drier air by opening the bag for increasing periods each day before removing it entirely.
- Consistent Moisture: Keep the soil consistently moist but never waterlogged. Overwatering is the quickest way to invite rot.
- Watch for Rot: The most common sign of failure is rot. If you see stems turning black and mushy or the soil feels constantly soggy, you’re likely overwatering. If a cutting rots, sadly, it’s usually best to discard it.
- New Growth is Key: The best indicator of success is new leaf growth! Once you see definite signs of upward development, your Petasites has successfully rooted. You can give it a gentle tug; if there’s resistance, roots are forming.
A Warm Closing
Propagating plants is such a wonderful way to connect with nature and fill your garden with more of what you love. Be patient with your Petasites kablikianus cuttings – some take their sweet time! Every gardener has had projects that didn’t quite work out, but the successes are incredibly rewarding. Enjoy the process, marvel at the tiny leaves unfurling, and before you know it, you’ll have a whole colony of these gorgeous plants ready for a new home. Happy gardening!
Resource:
https://identify.plantnet.org/k-world-flora/species/Petasites%20kablikianus%20Bercht./data