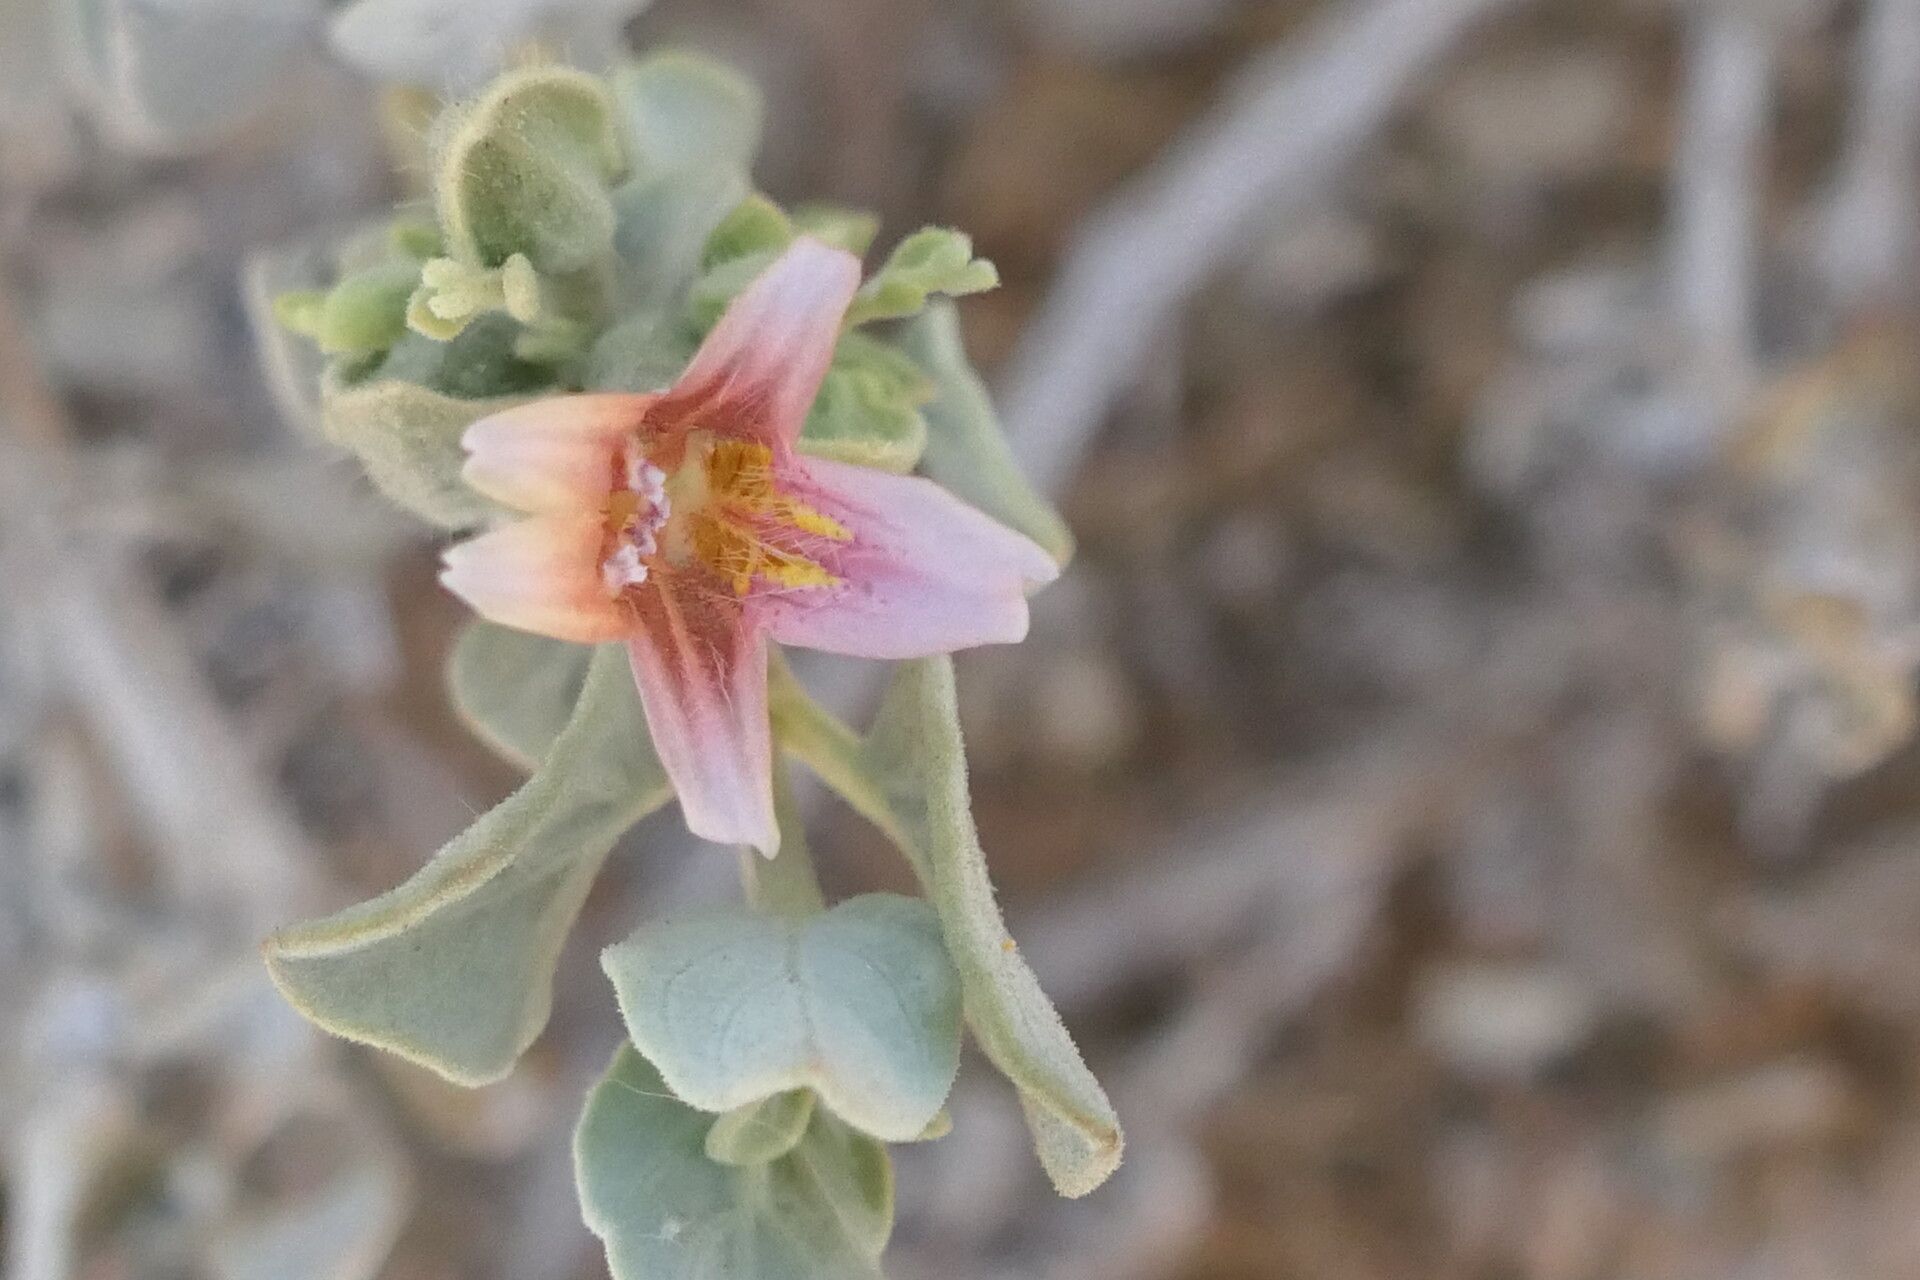
Oh, Petalidium pilosibracteolatum! What a delightful plant to get to know. Its delicate, papery bracts are a whisper of color in the garden, and honestly, watching them unfurl feels like witnessing a tiny, botanical miracle. Propagating this beauty is incredibly rewarding. You get to multiply that joy, and it’s not as daunting as it might seem, though I’d say this one leans a little more towards the patient gardener rather than the complete novice. But don’t let that deter you! With a few key steps, you’ll be well on your way.
The Best Time to Start
For Petalidium, the sweet spot is definitely late spring to early summer. This is when the plant is in its most vigorous growth phase, meaning cuttings will have the best chance of rooting quickly. You’re looking for young, healthy stems that haven’t yet bloomed – the softer, new growth is your best bet. Avoid any woody or old stems.
Supplies You’ll Need
Here’s what you’ll want to gather before you begin:
- Sharp pruning shears or a clean knife: For making precise cuts.
- Rooting hormone (optional, but recommended): A powder or gel to encourage root development.
- A well-draining potting mix: I like a blend of 50% peat moss or coco coir and 50% perlite. Some add a bit of coarse sand too.
- Small pots or cell trays: Clean ones are essential to prevent disease.
- A clear plastic bag or a propagator lid: To create a humid environment.
- Watering can with a fine rose: To water gently.
- Labels and a marker: To keep track of your projects!
Propagation Methods
Let’s get our hands dirty! Stem cuttings are generally the most successful route for Petalidium.
Stem Cuttings:
- First, select a healthy, non-flowering stem. Using your clean shears or knife, take a cutting that’s about 4-6 inches long. Make your cut just below a leaf node (where a leaf attaches to the stem).
- Remove the lower leaves from the cutting. You want to expose a bit of stem so it has a good surface area to root from. You can leave the top two or three leaves, but if they’re very large, you might want to trim them in half to reduce water loss.
- If you’re using propagating hormone, dip the cut end into the powder or gel. Just a light coating is needed.
- Now, prepare your pots. Fill them with your prepared potting mix and gently water it so it’s moist but not soggy.
- Make a small hole in the center of the potting mix with your finger or a pencil.
- Carefully insert the cutting into the hole, ensuring the leaf nodes you bared are below the soil surface. Gently firm the soil around the stem.
- Water lightly again to settle the soil.
- Cover the pot with a clear plastic bag or place it in a propagator. This creates that humid microclimate cuttings need to thrive. Position this in a bright spot but out of direct sunlight. We want warmth, but no scorching.
The “Secret Sauce” (Pro Tips)
Here are a couple of things I’ve learned over the years that can really make a difference:
- Don’t let those lower leaves ever touch the soil or water. If they’re submerged, they’ll just rot and can spread that rot to your cutting, which is the quickest way to failure. If your pot is too shallow, trim those leaves down even more.
- Bottom heat is your friend! Petalidium, like many tender plants, loves a little warmth from below. If you have a heated propagator mat, use it! If not, placing your pots on top of a refrigerator or near a gently warm appliance can often provide that subtle boost needed for root development.
Aftercare & Troubleshooting
Once your cuttings have roots – and this can take anywhere from 4 to 8 weeks, sometimes a bit longer – you’ll start to see new growth appearing. You can gently tug on the cutting; if there’s resistance, roots are forming.
When that new growth appears, gradually introduce it to less humid conditions by opening the plastic bag or propagator a little each day over a week. Once it’s seemingly happy and growing, you can transplant it into its own small pot if it was in a cell. Continue to keep it moist and bright, but still avoid direct sun for a while.
The biggest culprit for failure with cuttings is rot. If the stem turns black and mushy, or if the leaves suddenly wither and yellow, it’s often a sign of too much moisture or not enough air circulation, or a pathogen in the soil. If you see this, sadly, it’s best to discard the cutting and start again with fresh, sterilized equipment and mix. Another sign of trouble is if the cutting just looks completely limp and unresponsive after several weeks – it might not have rooted properly.
A Encouraging Closing
Growing plants from cuttings is a journey of patience and observation. Don’t get discouraged if your first few attempts aren’t perfect. Each cutting is a little experiment, and every gardener has had their share of failures. Just keep tweaking your process, enjoy the quiet satisfaction of nurturing something new, and soon you’ll have a whole collection of your beloved Petalidium pilosibracteolatum to share. Happy propagating!
Resource: