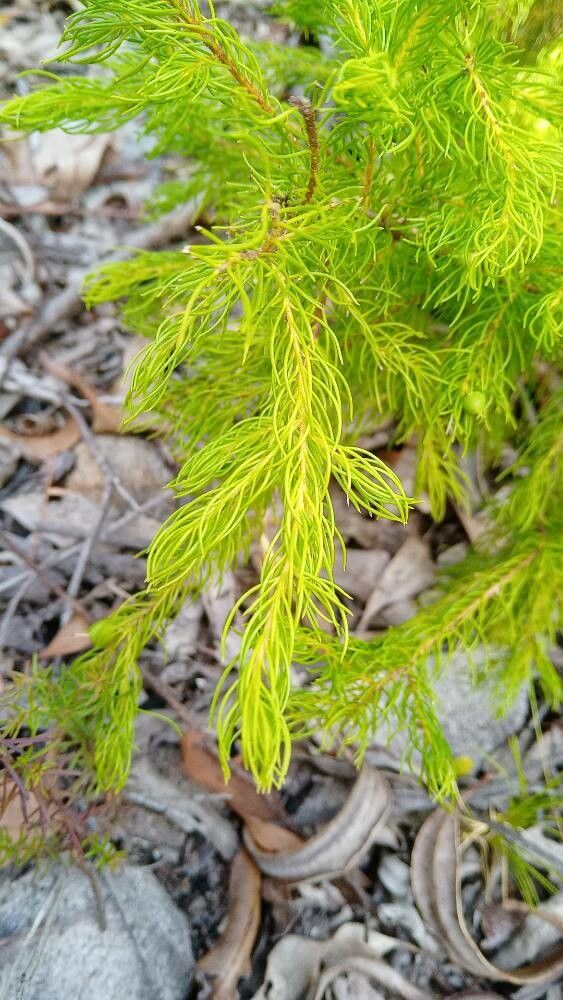
Hello fellow garden enthusiasts! Today, we’re diving into the wonderful world of Persoonia tenuifolia, also lovingly known as the Slender Geebung. If you’ve ever admired its delicate, needle-like foliage and the charming little yellow flowers that dot its branches, you’re not alone. This Australian native is a stunner, offering a unique texture and subtle beauty to any landscape. And the best part? Successfully propagating it yourself is incredibly fulfilling. For beginners, I’d say it falls into the “moderately rewarding” category – it requires a little patience and attention to detail, but the success you’ll feel is absolutely worth it.
The Best Time to Start
When it comes to striking cuttings of Persoonia tenuifolia, late spring to early summer is your golden window. This is when the plant is actively growing, and the new shoots have a bit of firmness to them – we call this semihardwood. Starting during this vigorous growth phase gives your cuttings the best chance of developing strong roots. Avoid taking cuttings when the plant is stressed, like during extreme heat or drought, or in the dead of winter when growth has slowed.
Supplies You’ll Need
To set yourself up for success, gather these essentials:
- Sharp, clean pruning shears or a sharp knife: This is crucial for making clean cuts that heal well.
- Rooting hormone powder or gel: This isn’t always strictly necessary for all Persoonias, but it can give your cuttings a helpful boost. I always have some on hand!
- Well-draining potting mix: A good mix for native plants or succulents is ideal. I often use a blend of coarse sand, perlite, and a bit of peat moss.
- Small pots or seed trays with drainage holes: Make sure they can freely drain away excess water.
- A clear plastic bag or propagator: This creates a humid environment for your cuttings.
- Spray bottle filled with water: For misting.
- Optional: Bottom heat mat: This can significantly speed up root development.
Propagation Methods
For Persoonia tenuifolia, stem cuttings are usually the most successful and straightforward method.
- Select Your Cuttings: Look for healthy, non-flowering stems from your mature plant. Choose shoots that are about 10-15 cm long and have a pencil-like thickness. They should be firm but still pliable.
- Make the Cut: Using your sterilized pruning shears or knife, make a clean cut just below a leaf node (where a leaf attaches to the stem). Remove any lower leaves, leaving about 2-3 sets at the top of the cutting.
- Apply Rooting Hormone (Optional but Recommended): Dip the cut end of the stem into rooting hormone, tapping off any excess. This encourages root formation.
- Prepare Your Potting Mix: Fill your small pots or trays with the well-draining potting mix. Make a small hole in the center of the mix with your finger or a pencil.
- Plant the Cuttings: Insert the prepared cuttings into the holes, ensuring the leaf nodes you cleared of leaves are buried in the soil. Gently firm the soil around the base of each cutting.
- Create the Humid Environment: Water the pot gently until water runs out the drainage holes. Then, cover the pot with a clear plastic bag or place it in a propagator. This traps moisture around the cuttings.
- Placement: Place your pots in a bright spot that receives indirect sunlight. Avoid direct sun, which can scorch the young cuttings.
The “Secret Sauce” (Pro Tips)
- Don’t Drown Your Dreams: While humidity is key, you don’t want the leaves of your cuttings to be constantly touching the soil or water. This is a fast track to rot. Ensure the lower leaves are well above the soil line. If they droop and touch, gently trim them back.
- Bottom Heat is Your Best Friend: If you have a propagation mat, use it! Placing your pots on a gentle bottom heat (around 20-25°C) can really accelerate root development. It signals to the cutting that it’s time to get serious about growing roots.
- Be Patient with the Shake Test: Resist the urge to pull on your cuttings to check for roots too soon. After about 6-8 weeks, you can gently tug on a cutting. If you feel resistance, you likely have roots! If it pulls out easily, it hasn’t rooted yet.
Aftercare & Troubleshooting
Once you feel that resistance in your cuttings, it’s time for a little T.L.C.
- Acclimatize Slowly: Gradually remove the plastic bag or open the propagator vents over a week or two. This helps the new plant adjust to normal humidity levels.
- Regular Watering: Keep the soil consistently moist but not waterlogged. You’ll want to water more frequently as the plant establishes, but always let the top centimeter of soil dry out between waterings.
- Feeding: Once the cuttings show signs of new growth, you can start with a very diluted liquid fertilizer specifically for natives or succulents.
- Signs of Trouble: The most common culprit is rot. If your cutting turns black and mushy, it’s usually a sign of too much moisture and poor drainage. Don’t be discouraged; just try again, focusing on that well-draining mix and careful watering. Yellowing leaves that aren’t due to excess water might indicate too little light or nutrients.
A Little Encouragement to Wrap Up
Propagating plants is a journey, and every cutting is a lesson learned. Persoonia tenuifolia might ask for a bit of your attention, but seeing those tiny roots emerge and then watching your new plant thrive is an incredibly rewarding experience. So, grab your secateurs, embrace the process, and happy propagating! You’ve got this!
Resource:
https://identify.plantnet.org/k-world-flora/species/Persoonia%20tenuifolia%20R.Br./data