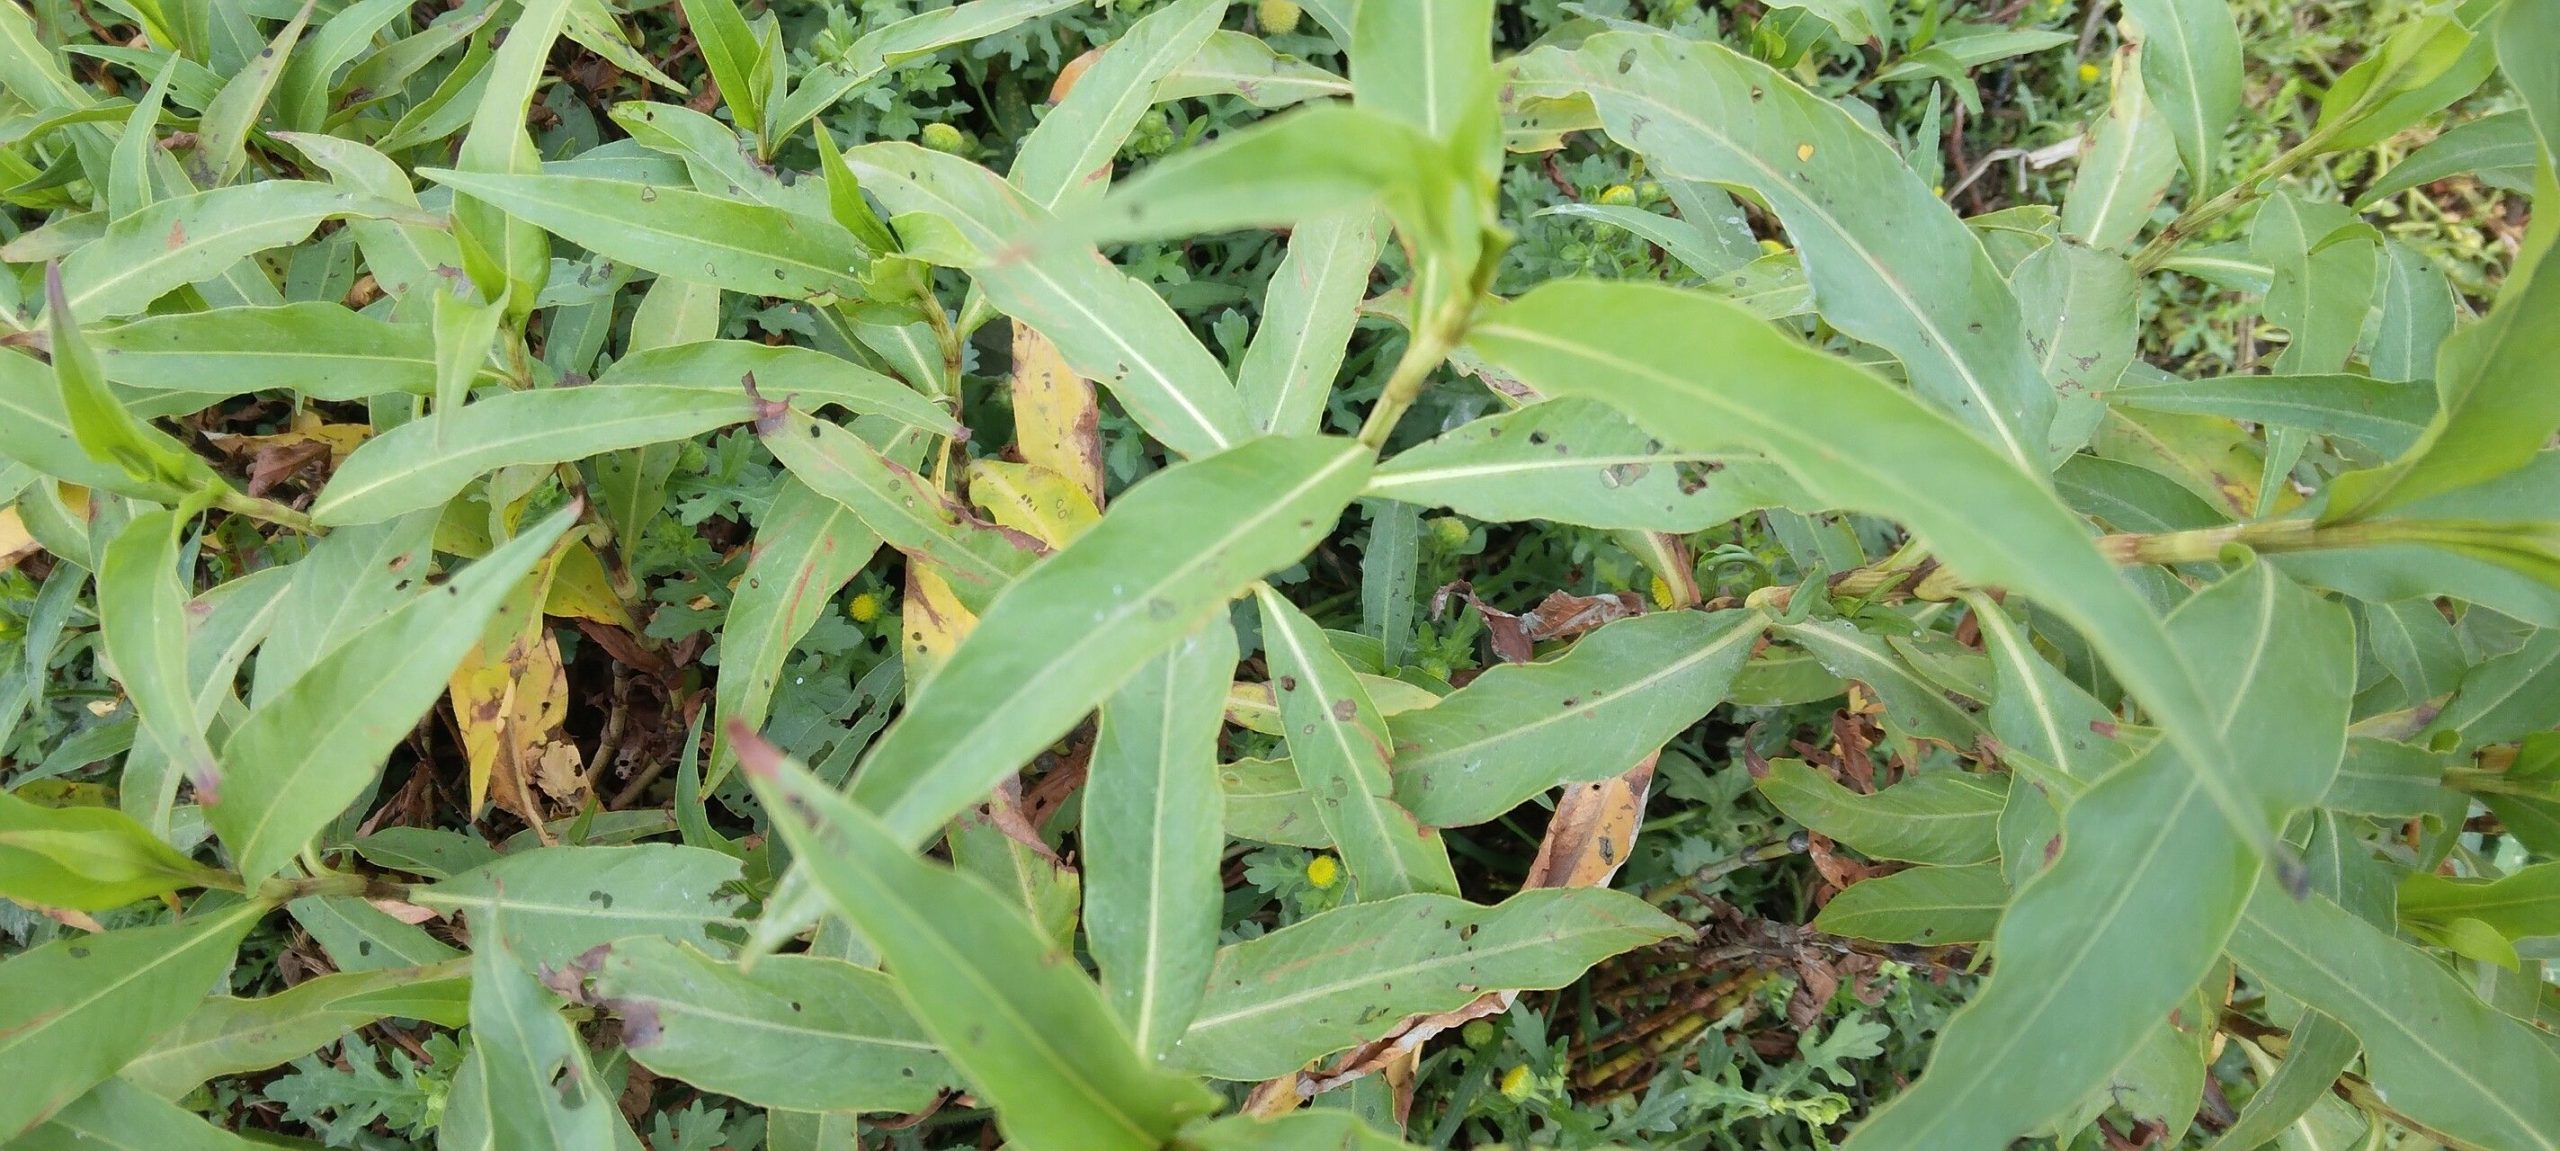
Hello fellow plant enthusiasts! I’m so glad you’re here. Today, we’re diving into the wonderful world of Persicaria barbata. If you’re looking for a plant that brings a cascade of delicate blooms and a touch of elegance to your garden, this is it. Its arching stems and soft, pinkish-white flowers are just simply captivating. And the best part? Propagating it is a truly rewarding endeavor. For beginners out there, I’d say Persicaria barbata is wonderfully forgiving. You’ll find yourself with a whole new collection in no time!
The Best Time to Start
For the highest success rate with Persicaria barbata, aim to propagate during its active growing season. This typically means late spring through summer. You want to work with healthy, vigorous stems that are putting on a good show of growth. Avoid trying to take cuttings when the plant is dormant or stressed, like during extreme heat or cold snaps.
Supplies You’ll Need
Gathering your materials beforehand makes the whole process smoother. Here’s what I always have on hand:
- Sharp, clean pruning shears or a razor blade: A clean cut is crucial for preventing disease.
- Rooting hormone (optional but recommended): This gives your cuttings a little boost.
- Well-draining potting mix: A standard potting mix amended with perlite or coarse sand works beautifully. I often use a mix of equal parts peat moss, perlite, and compost.
- Small pots or seed trays: Whatever you have that can hold your cuttings comfortably. Make sure they have drainage holes!
- Plastic bags or a propagation dome: To create a humid microclimate.
- Watering can or spray bottle: For gentle watering.
Propagation Methods
Persicaria barbata is a breeze to propagate, and I find two methods work exceptionally well for me.
1. Stem Cuttings: This is my go-to method, and it’s incredibly effective.
- Select healthy stems: Look for stems that are not flowering and have plenty of healthy leaves.
- Make your cut: Using your clean shears, take cuttings that are about 4-6 inches long. Make a cut just below a leaf node (the spot where a leaf attaches to the stem).
- Prepare the cutting: Gently remove the lower leaves, leaving just two to four at the top. This helps the cutting conserve energy. If the leaves are very large, you can even cut them in half horizontally to reduce water loss.
- Apply rooting hormone (optional): Dip the cut end of the stem into rooting hormone, tapping off any excess.
- Plant your cuttings: Insert the cut end about an inch deep into your prepared potting mix. Gently firm the soil around them.
- Create humidity: Lightly water the soil, then cover the pots with a plastic bag or place them under a propagation dome. Make sure the leaves don’t touch the plastic if possible.
2. Division: If you have an established clump of Persicaria barbata, division is an excellent way to increase your stock and rejuvenate the parent plant.
- Gently dig up the clump: This is best done in spring or fall when the soil is moist.
- Separate the root ball: Look for natural divisions where the plant is already starting to grow in separate sections. You can use your hands or a trowel to gently tease the roots apart.
- Replant immediately: Plant the divided sections into their new homes, whether that’s back in the garden or into pots filled with fresh soil. Water them well.
The “Secret Sauce” (Pro Tips)
Here are a few little tricks I’ve learned over the years that really give your Persicaria barbata propagation an edge:
- Bottom heat is your friend: For stem cuttings, placing your pots on a heat mat can significantly speed up root development. It mimics the warmth of summer soil and encourages those roots to form faster.
- Don’t let the leaves touch the water: If you decide to try water propagation (which also works for Persicaria, though I prefer soil), never let the leaves sit in the water. Submerged leaves will just rot and can take the whole cutting down with them. Ensure only the cut stem is in contact with the water.
- Be patient with the water test: When checking for roots in water, give it a good couple of weeks. Sometimes they take their time, and you might be surprised by a healthy root system when you least expect it!
Aftercare & Troubleshooting
Once your cuttings have rooted (you’ll see new leaf growth and they’ll feel firm when gently tugged), it’s time for them to enjoy their new homes.
- Acclimate them gradually: If you used a plastic bag or dome, start by opening it for a few hours each day to let them adjust to drier air.
- Regular watering: Water them when the top inch of soil feels dry. Avoid letting them sit in soggy conditions, as this can lead to root rot.
- Provide bright, indirect light: They’ll thrive in a spot that gets plenty of light but isn’t scorched by direct sun.
The most common sign of trouble is rot. If your cuttings turn mushy, dark, or black, it’s usually due to overwatering or poor air circulation. If you see this, remove the affected cutting immediately to prevent it from spreading.
A Little Encouragement
Growing new plants is such a joy, and Persicaria barbata is a truly delightful subject to work with. Remember, every gardener has had a cutting that didn’t make it. Don’t get discouraged! Be patient with your new little sprouts, celebrate their successes, and most importantly, enjoy the process of nurturing them into beautiful new additions to your garden. Happy propagating!
Resource:
https://identify.plantnet.org/k-world-flora/species/Persicaria%20barbata%20(L.)%20H.Hara/data