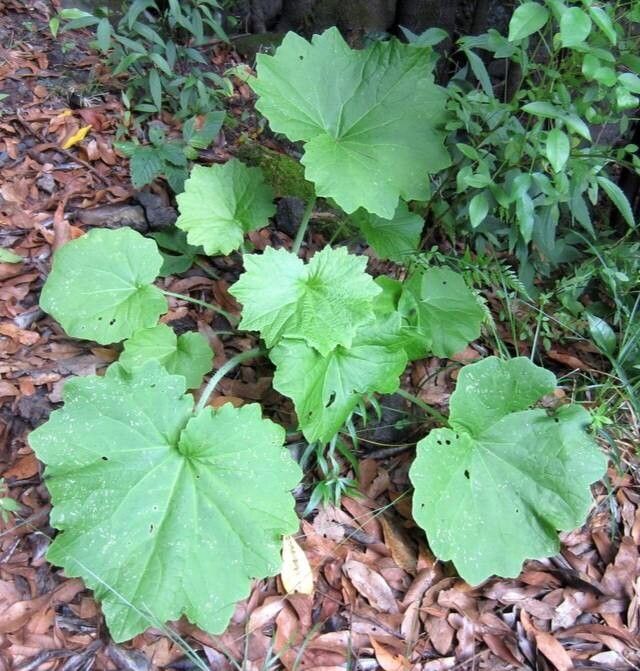
Hello there, fellow plant lovers! If you’ve ever been captivated by the vibrant, almost otherworldly beauty of Pericallis tussilaginis, you’re in for a treat. This plant, with its striking daisy-like flowers in shades of purple, pink, and white, is a real showstopper. And the best part? Bringing more of these beauties into your garden is surprisingly achievable! Propagating them has always brought me immense joy, watching a tiny sliver of a plant transform into a thriving specimen. For those wondering, I’d say Pericallis tussilaginis falls into the moderately easy category for propagation. A little attention to detail goes a long way!
The Best Time to Start
Chasing success with propagation often comes down to timing. For Pericallis tussilaginis, spring is your golden ticket. As the plant shakes off its winter slumber and enters its active growth phase, it’s brimming with energy. This is when cuttings are most vigorous and have the best chance of rooting quickly. Aim for after the last frost, when the days are getting longer and warmer.
Supplies You’ll Need
Gathering your supplies beforehand makes the whole process smoother. Here’s what I like to have on hand:
- Sharp pruning shears or a clean knife: For taking precise cuttings.
- Rooting hormone (optional but recommended): Helps speed up root development. I prefer a powdered form.
- A well-draining potting mix: A 50/50 blend of perlite and peat moss or coco coir works wonderfully. Avoid heavy garden soil.
- Small pots or trays: Clean and with drainage holes, of course!
- Clear plastic bags or domes: To create a humid environment.
- Spray bottle: For misting.
- A warm, bright location: Indirect sunlight is key.
Propagation Methods
Let’s get our hands dirty with a couple of tried-and-true methods for propagating Pericallis tussilaginis.
1. Stem Cuttings: My Go-To Method
This is usually the most reliable way to get new plants.
- Take Your Cuttings: In spring, select healthy, non-flowering stems. Look for pieces that are about 3-4 inches long. Make a clean cut just below a leaf node (where a leaf attaches to the stem). You can usually get a few cuttings from a single healthy stem.
- Prepare the Cuttings: Gently remove the lower leaves, leaving just the top two or three. This prevents them from rotting in the soil. If you’re using rooting hormone, dip the cut end into it now, tapping off any excess.
- Plant Your Cuttings: Fill your pots with the prepared potting mix. Make a small hole with your finger or a pencil and insert the cutting. Gently firm the soil around the stem to ensure good contact.
- Create a Humid Environment: Water the soil lightly. Then, cover the pot with a clear plastic bag or a propagator lid. This is crucial for preventing the cuttings from drying out. Place the pots in a bright spot that gets indirect sunlight.
2. Water Propagation (with a Caveat!)
While I prefer soil for Pericallis tussilaginis, you can start them in water. Just be mindful!
- Take your cuttings as described above, removing the lower leaves.
- Place the cuttings in a clean jar or vase filled with water.
- Crucially, make sure no leaves are submerged in the water. This is a common mistake that leads to rot.
- Change the water every few days to keep it fresh.
- Once you see healthy roots developing (usually after a few weeks), carefully transfer them to your well-draining potting mix, just like you would with soil-started cuttings.
The “Secret Sauce” (Pro Tips)
Here are a couple of little tricks I’ve learned over the years that can really boost your success rate:
- Bottom Heat is Your Friend: While not strictly necessary, providing a little warmth from below can significantly speed up rooting. A heating mat designed for propagators is fantastic for this. It mimics the warmth of spring soil and encourages those roots to sprout.
- Don’t Over-Water: This is the biggest killer of cuttings. They need moisture, yes, but they don’t want to sit in soggy soil. Check the moisture level by gently touching the surface of the soil. It should feel slightly moist, not wet. If you’re using the plastic bag method, you’ll see condensation. If it’s dripping, the air is too wet, and you might need to briefly vent it.
Aftercare & Troubleshooting
Once you see those tiny roots emerging from the bottom of the pot (you might see them peeking through the drainage holes), it’s time to transition them to slightly more regular care.
- Acclimatize Slowly: Gradually remove the plastic bag or dome over a few days, allowing the new plant to adjust to lower humidity.
- Water Wisely: Continue to water when the top inch of soil feels dry.
- Light and Feed: Continue to provide bright, indirect light. Once the plant is well-established and showing new growth, you can begin a dilute liquid fertilizer every few weeks.
Now, what if things don’t go as planned? Wilting can be a sign of too little water or too much sun. Rotting at the base is almost always down to overwatering or poor drainage. If you see this, don’t despair! Try to salvage any healthy parts of the stem, snip off the rotted bits, and try again with your soil mix and watering schedule. Sometimes, you just need to try again!
Propagating plants is a journey of patience and observation. Each attempt teaches you something new about your plants and your own gardening instincts. So, get your supplies ready, pick out those healthy stems, and dive in! You’ll be rewarded with more of these stunning flowers before you know it. Happy gardening!
Resource: