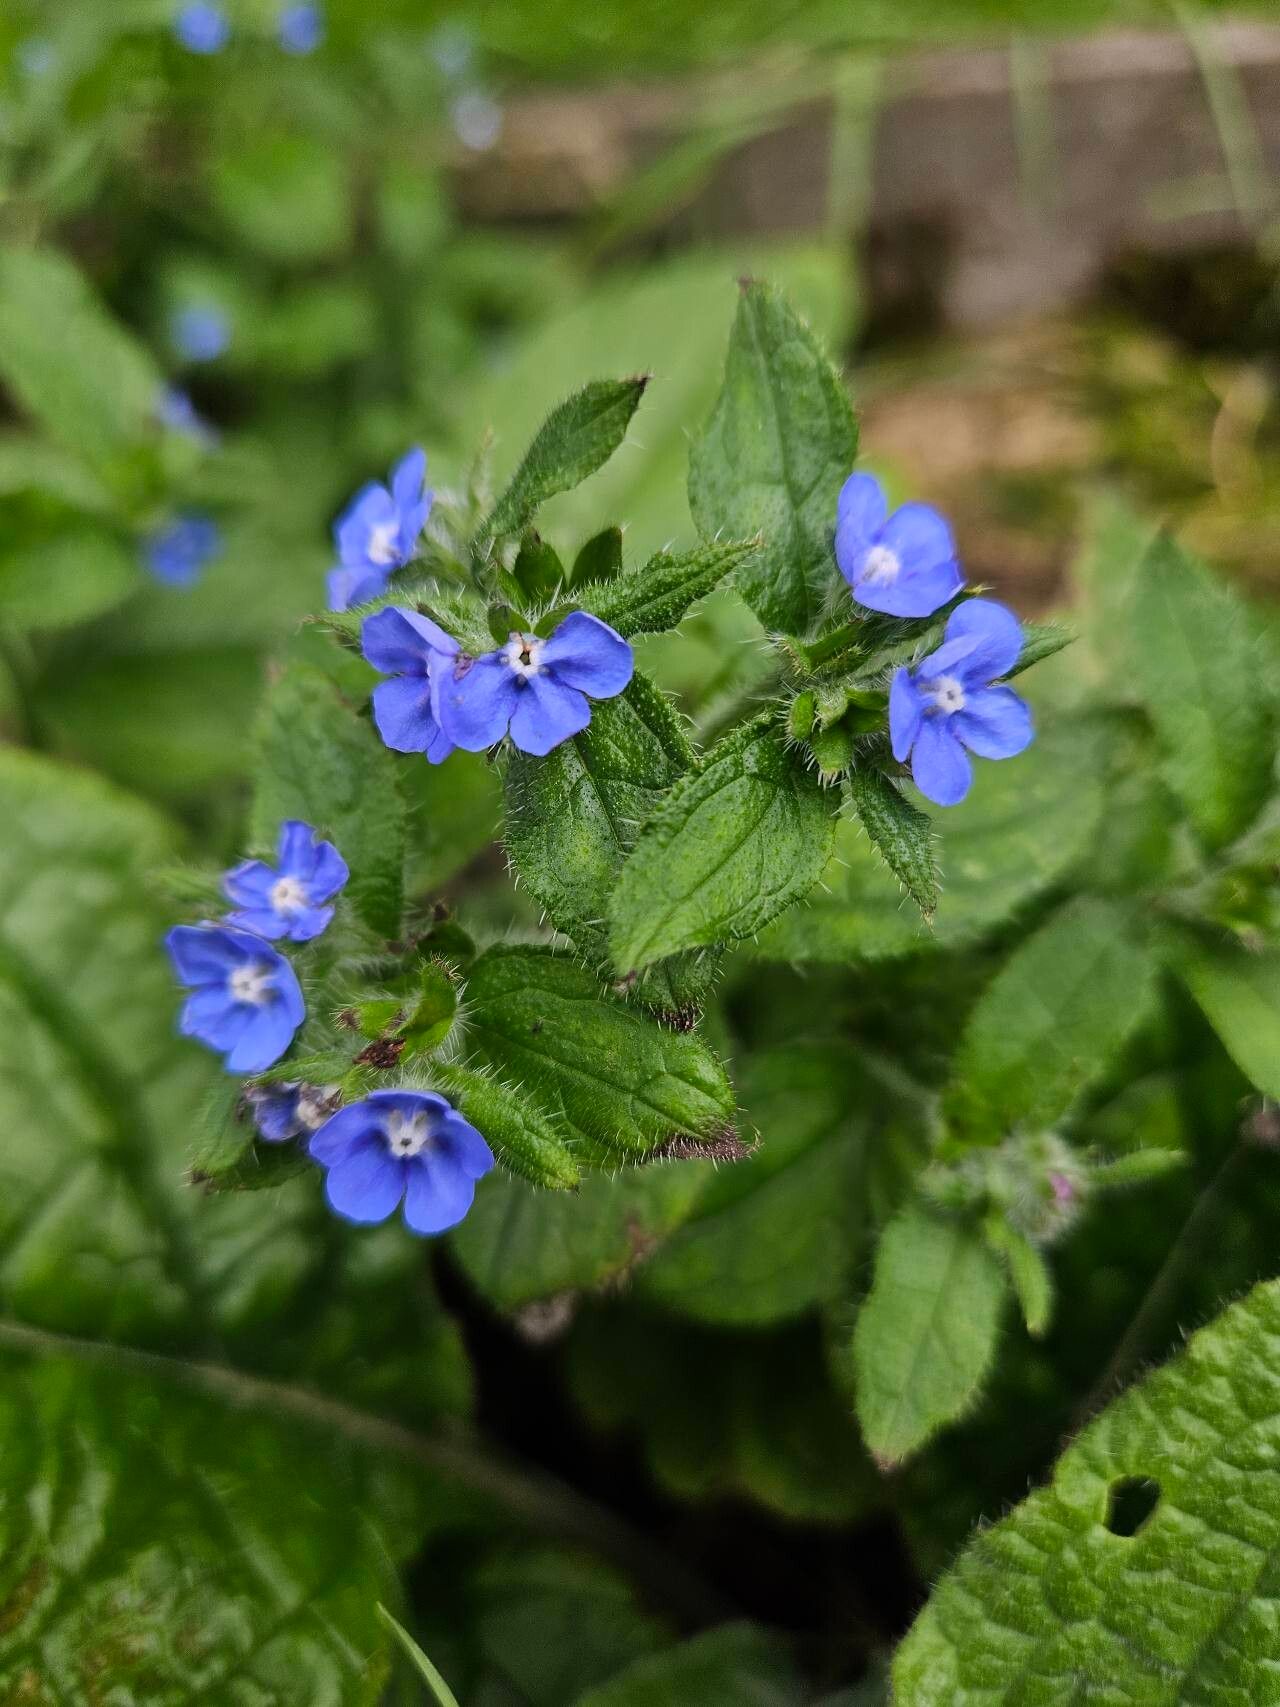
Hello fellow garden enthusiasts! If you’ve ever admired those gorgeous, cheerful, sky-blue flowers that seem to light up any shady corner, you’ve likely met Pentaglottis sempervirens, often called the perennial or evergreen alkanet. I’ve spent many happy years with this delightful plant in my own gardens, and let me tell you, it’s a real joy to behold. The flowers are simply stunning, and they have a way of making even the most unassuming garden bed feel a bit more special.
The best part? Propagating Pentaglottis sempervirens is surprisingly rewarding, and I’m happy to share that it’s a pretty forgiving plant for beginners to try their hand at. You’ll soon have more of these beauties to dot around your garden or share with friends.
The Best Time to Start
For the highest success rate with your Pentaglottis sempervirens propagation, I’ve found that early spring, just as the plant is waking up from winter and starting to send up fresh growth, is your golden window. You can also have good luck with late summer, after the main flowering flush has passed. The key is to work with healthy, vigorous parent plants.
Supplies You’ll Need
Gathering your tools before you begin always makes the process smoother. Here’s what I usually have on hand:
- Sharp pruning shears or a clean knife: For taking clean cuttings.
- Rooting hormone (optional but recommended): A powder or gel to encourage root development.
- Small pots or trays: With drainage holes, of course!
- Well-draining potting mix: I like a 50/50 blend of perlite and peat moss or coco coir, or a good quality seed-starting mix.
- Watering can with a fine rose: For gentle watering.
- Plastic bags or a propagator: To create a humid environment.
Propagation Methods
Pentaglottis sempervirens is quite adaptable, and you can have success with a couple of different methods.
Stem Cuttings
This is my go-to method for increasing my alkanet collection.
- Take your cuttings: In early spring, select healthy, non-flowering shoots from your parent plant. Aim for cuttings that are about 4-6 inches long. Make a clean cut just below a leaf node (where a leaf attaches to the stem).
- Prepare the cuttings: Gently remove the lower leaves from the cutting, leaving just the top couple of leaves. If the leaves are very large, you can cut them in half horizontally to reduce water loss.
- Apply rooting hormone: Dip the cut end of each stem into your rooting hormone, tapping off any excess.
- Pot them up: Fill your small pots or trays with your prepared potting mix. Make a small hole in the center of the mix with a pencil or your finger. Insert the cutting into the hole, ensuring the leaf nodes are below the soil surface. Gently firm the soil around the stem.
- Water gently: Water the potting mix thoroughly but gently, making sure not to dislodge the cuttings.
- Create humidity: Cover the pots loosely with a plastic bag or place them in a propagator. This will help keep the cuttings moist and encourage rooting.
Division
If you have an established, mature plant, division is a wonderfully simple way to get more plants.
- Dig up the plant: In early spring or fall, carefully dig up the entire clump of your Pentaglottis sempervirens.
- Separate the crowns: Gently tease apart the root ball with your fingers or a trowel. You’re looking to divide the plant into sections, ensuring each section has a healthy portion of roots and at least one or two leafy stems (crowns).
- Replant immediately: Replant the divisions into their new locations in the garden or into pots filled with good soil. Water them in well.
The “Secret Sauce” (Pro Tips)
Here are a few little tricks I’ve picked up over the years that can make a big difference:
- Don’t overcrowd your cuttings: Give them a little breathing room in the pot. Too much crowding can lead to humidity building up in the wrong way, potentially encouraging rot.
- Bottom heat is your friend: If you have the space and equipment, placing your pots on a gentle heated propagator mat can significantly speed up root formation. It mimics the warmth of spring soil perfectly.
- Air circulation matters: While humidity is good, stagnant air can be the enemy. Periodically open the plastic bags or propagator lids for a few minutes each day to allow for fresh air exchange. This helps prevent fungal issues.
Aftercare & Troubleshooting
Once your cuttings have rooted (you can gently tug on them – if there’s resistance, roots are forming!), it’s time to transition them.
- Harden them off: Gradually introduce your new plants to the outside air. This means removing the plastic cover for longer periods over a week or two.
- Water consistently: Keep the soil consistently moist but not waterlogged. Overwatering is the most common killer of young plants.
- Fertilize lightly: Once you see new growth, you can start feeding them with a diluted liquid fertilizer every few weeks.
If you notice your cuttings going limp, turning brown, or developing mushy spots, it’s likely a sign of rot, often caused by too much moisture and poor drainage. Don’t be discouraged if it doesn’t work 100% of the time! Sometimes, nature has its own plan for things. Just clean out the pot, adjust your watering, and try again.
A Little Patience Goes a Long Way
Propagating plants can feel like a bit of garden magic, and with Pentaglottis sempervirens, it truly is. Be patient with your new littlelings. Observe them, learn from them, and enjoy the incredibly rewarding process of creating more of these delightful blue blooms. Happy propagating!
Resource: