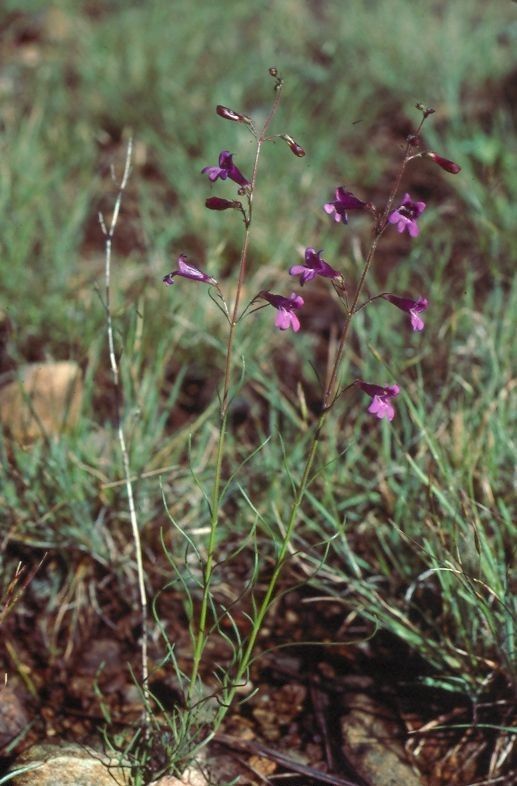
Oh, Penstemon filiformis! You know, those delicate, thread-like leaves and the absolutely charming blooms that seem to dance in the breeze. If you’ve ever fallen in love with this beauty in my garden, you’re probably wondering how to get more of them. Well, you’ve come to the right place! Propagating Penstemon filiformis is a wonderfully rewarding process, and while it might sound a little intimidating, I promise it’s more approachable than you think. With a little care and patience, you’ll be sharing these gems with friends in no time.
The Best Time to Start
For the highest success rate, I always aim to take cuttings in late spring or early summer. This is when the plant is actively growing and has plenty of young, pliable stems that are eager to root. Waiting until the plant has finished its initial flush of flowering can also work, as long as the stems are still relatively soft and not woody.
Supplies You’ll Need
Gathering your tools beforehand makes the whole process so much smoother. Here’s what I recommend:
- Sharp pruning shears or a clean knife: For making clean cuts.
- Seed-starting mix or a well-draining potting mix: A gritty, light mix is key. I often blend equal parts perlite and coco coir.
- Small pots or trays with drainage holes: Cleanliness is important here!
- Rooting hormone (optional, but helpful): A powder or gel can give your cuttings a boost.
- Clear plastic bags or a propagator lid: To create a humid environment.
- Water: For keeping things moist.
- Labels and a permanent marker: To keep track of what’s what!
Propagation Methods
Let’s get our hands dirty! My go-to method for Penstemon filiformis is stem cuttings. It’s reliable and gives you a good yield.
Stem Cuttings:
- Select Your Cuttings: Look for healthy, non-flowering stems. You want them to be about 4-6 inches long.
- Make the Cut: Using your sharp shears, make a clean cut just below a leaf node (where a leaf attaches to the stem). This is where the magic happens for root development.
- Prepare the Cutting: Gently strip off the lower leaves, leaving just a few at the very top. This prevents them from rotting when buried.
- Apply Rooting Hormone (Optional): If you’re using rooting hormone, dip the cut end into the powder or gel. Tap off any excess.
- Plant Your Cuttings: Fill your small pots with your well-draining mix. Make a small hole with your finger or a pencil, and gently insert the cutting, ensuring the leaf nodes are covered by the soil. Firm the soil gently around the stem.
- Water Gently: Water thoroughly but avoid over-saturating. You want the soil to be consistently moist, not soggy.
- Create Humidity: Cover the pot with a clear plastic bag or place it in a propagator. This traps moisture and keeps the cuttings from drying out. Make sure the leaves aren’t touching the sides of the bag if possible.
The “Secret Sauce” (Pro Tips)
Here are a few little tricks I’ve picked up over the years that really make a difference:
- Bottom Heat is Your Friend: Penstemons, like many plants, really appreciate a little warmth from below. Placing your pots on a heated propagator mat can significantly speed up rooting. You’re looking for a soil temperature around 70-75°F (21-24°C).
- Don’t Let Those Leaves Drown!: While humidity is crucial, if the lower leaves are sitting in water or constantly in touch with wet soil, they’ll just rot. Pinch off any that might get submerged when you water. It’s better to have fewer leaves than diseased ones.
- Patience, Grasshopper!: I know it’s tempting, but resist the urge to tug on your cuttings to see if they’ve rooted. You’ll know they’re ready when you see new leaf growth, or when they feel firm and resist gentle pulling. This can take anywhere from 3 to 8 weeks, sometimes longer.
Aftercare & Troubleshooting
Once you spot those first signs of life – usually new leaf growth or a slight tug resistance – it’s time to start thinking about acclimating your new babies.
- Gradual Acclimation: Slowly remove the plastic bag or propagator lid over a week or two. This allows the new plants to adjust to drier air. Start by removing it for a few hours a day, gradually increasing the time.
- Continue Watering: Keep the soil consistently moist but not wet. Water when the top surface of the soil feels dry.
- Light: Provide bright, indirect light. Once they are fully established, you can gradually introduce them to more sun.
- Common Pitfalls: The biggest culprit is usually overwatering, leading to rot. If your cuttings turn black and mushy, unfortunately, they’re likely lost. Another issue can be drying out, especially before roots have formed. If the leaves start to wilt severely and feel papery, it might be too late. Poor drainage is a surefire way to invite rot, so good soil is paramount!
A Encouraging Closing
So there you have it! Propagating Penstemon filiformis is a journey, not a race. Embrace the process, enjoy the gentle care involved, and don’t be discouraged if every single cutting doesn’t make it. Nature has its own rhythm, and with each experiment, you’ll learn and grow. Happy propagating, and may your gardens be filled with these delightful blooms!
Resource: