Oh, hello there! Come on in, let’s chat about one of my favorite subjects: getting more of the plants we love. Today, we’re diving into the wonderful world of Pelargonium griseum.
Why Pelargonium Griseum is So Delightful, and a Treat to Propagate
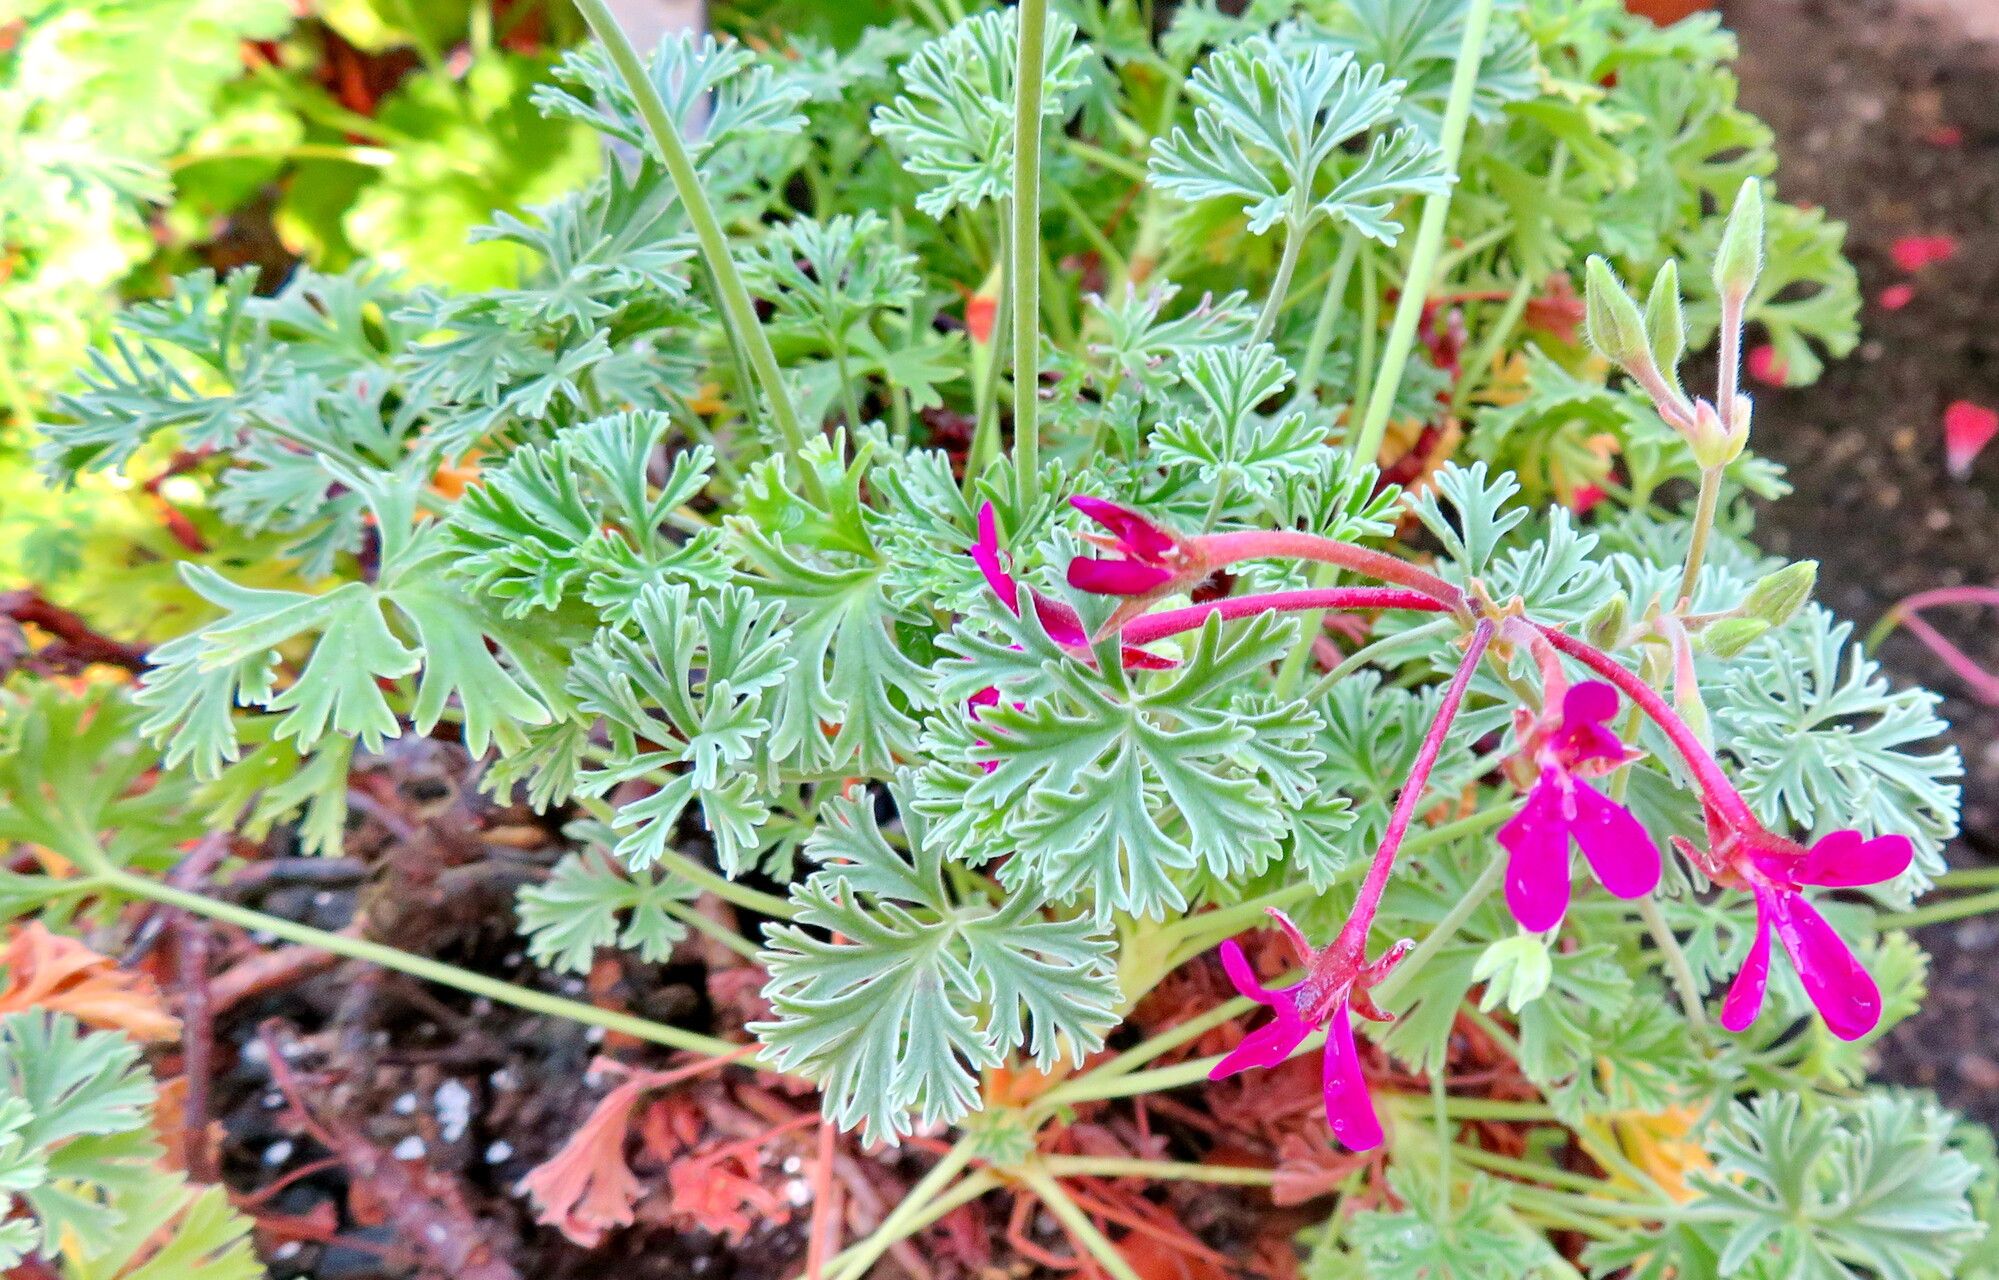
There’s something so charming about Pelargonium griseum, isn’t there? Its silvery-grey, often slightly fuzzy leaves have a unique texture that sets it apart from its more flamboyant cousins. It offers a wonderful backdrop to brighter blooms and brings a touch of understated elegance to any garden or patio. And the best part? Propagating it can be incredibly rewarding. It’s generally a pretty straightforward plant to work with, making it a fantastic choice even if you’re just starting your propagation journey. Seeing a tiny cutting transform into a full-fledged plant is pure garden magic!
When is the Perfect Moment to Get Started?
Timing is everything in the garden, and for Pelargonium griseum, the best time to take cuttings is generally during its active growing season, which usually falls in late spring through summer. This is when the plant is putting on new growth, and those young stems are most likely to root quickly and successfully. Avoid taking cuttings from woody, old stems or during the plant’s dormant period.
What You’ll Need for Success
Gathering your supplies beforehand makes the whole process much smoother. Here’s what I always keep on hand:
- Sharp pruning shears or a clean craft knife: For making clean cuts.
- Rooting hormone powder or gel: While not always strictly necessary for Pelargonium, it can give your cuttings a helpful boost.
- A well-draining potting mix: I often use a mix of equal parts peat moss or coco coir and perlite or coarse sand. You can also buy specific succulent or cutting mixes.
- Small pots or seed trays: Four-inch pots are a good size to start with. Make sure they have drainage holes!
- Water: For misting and watering.
- Plastic bags or a propagator lid: To create a humid environment.
- Labels and a marker: To keep track of what you’ve planted.
Bringing New Life: Stem Cuttings are Key
For Pelargonium griseum, stem cuttings are by far the most effective and common propagation method. Here’s how I do it:
- Select Material: Look for a healthy, non-flowering stem on your mature plant. You want a stem that’s a few inches long and has at least two sets of leaves.
- Make the Cut: Using your sharp shears or knife, make a clean cut just below a leaf node (where a leaf attaches to the stem). This is usually about 3-5 inches from the tip.
- Prepare the Cutting: Gently remove the lower leaves from the cutting, leaving just a few at the top. If there are any flower buds, pinch those off too, as they will drain the cutting’s energy.
- Apply Rooting Hormone (Optional but Recommended): Dip the cut end of the stem into rooting hormone powder or gel. Tap off any excess.
- Plant Your Cuttings: Fill your clean pots with your well-draining potting mix. Make a small hole in the center of the soil with your finger or a pencil. Insert the cut end of your Pelargonium cutting into the hole, ensuring the leaf nodes where you removed leaves are buried in the soil. Gently firm the soil around the stem. You can plant several cuttings in one pot, leaving a little space between them.
- Water Gently: Water the potting mix thoroughly, but gently. You want the soil to be moist, not waterlogged.
My “Secret Sauce” for Extra Success
Over the years, I’ve learned a few little tricks that seem to make a big difference. Here are a couple of my go-to tips:
- Let the Wound Dry First: After you’ve taken the cutting and removed the lower leaves, I like to let the cut end callus over for a few hours or even overnight before dipping it in rooting hormone and planting. This helps prevent rot by allowing the plant to seal its wound.
- The Humid Dome is Your Friend: Once the cuttings are planted, I cover the pot with a clear plastic bag or place it under a propagator lid. This creates a wonderfully humid environment that mimics the conditions cuttings need to form roots. Make sure no leaves are touching the inside of the plastic, as this can encourage rot. I’ll prop up the bag with small stakes if needed.
Looking After Your New Arrivals and What to Watch For
Once your cuttings are planted and have their cozy, humid environment, the waiting game begins!
- Placement: Keep the pots in a bright spot, but out of direct, hot sun. An east- or west-facing window is usually perfect.
- Watering: Check the soil moisture regularly. You want it to stay consistently moist, but never soggy. Misting the leaves occasionally can also be beneficial.
- Rooting Time: Be patient! It can take anywhere from 2 to 6 weeks for Pelargonium cuttings to develop roots. You can gently tug on a cutting – if there’s resistance, it’s a good sign roots have formed.
- Troubleshooting: The most common issue you’ll encounter is rot. If you see a cutting turning black and mushy at the base, it’s likely rotted. This is often due to overwatering or poor drainage. Discard any rotten cuttings immediately and check the moisture levels of the others. If a cutting looks leggy and pale, it might need a bit more light.
Keep Growing, Keep Enjoying!
Propagating plants is such a beautiful way to connect with nature and expand your garden without spending a fortune. Don’t be discouraged if a few cuttings don’t make it – it’s all part of the learning process! Just enjoy the journey, be patient with your new little Pelargoniums, and soon you’ll have a whole collection to share. Happy propagating!
Resource:
https://identify.plantnet.org/k-world-flora/species/Pelargonium%20griseum%20R.Knuth/data