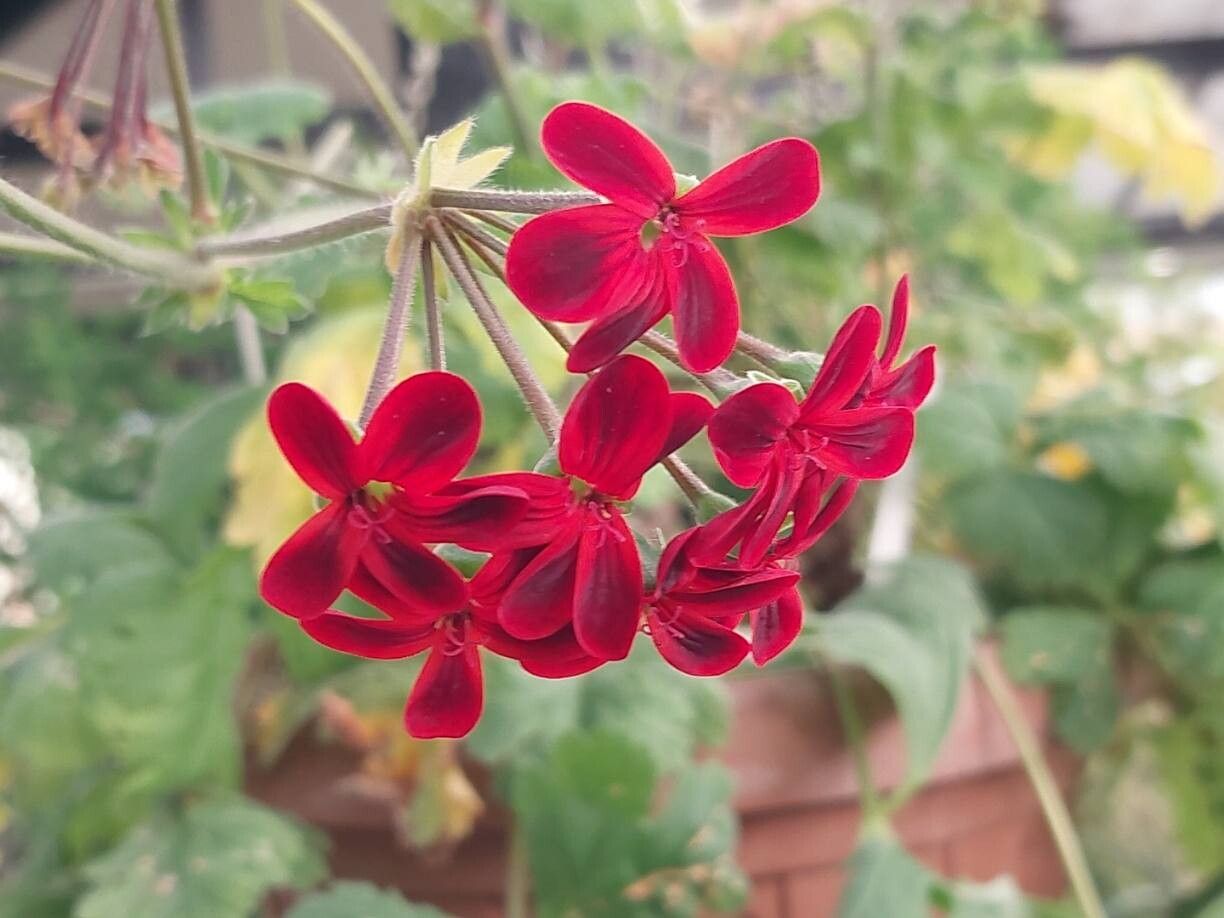
Oh, Pelargonium fulgidum! If you haven’t met this beauty yet, you’re in for a treat. Sometimes called Scarlet Stork’s-bill, it’s got these wonderfully intricate, deeply lobed leaves, and when it flowers, it puts on a spectacular show of dainty, vibrant red blossoms. It has a slightly wild, almost architectural look that I just adore.
Propagating plants like this is one of my favorite parts of gardening. It’s like magic, watching a little piece of an existing plant grow into something entirely new. And Pelargonium fulgidum? It’s generally a pretty rewarding plant to propagate, even for those who are just dipping their toes into the world of cuttings. I wouldn’t call it tricky, but a little patience and the right approach go a long way.
The Best Time to Start
For the absolute best chance of success, I like to propagate Pelargonium fulgidum in late spring or early summer. This is when the plant is actively growing and has plenty of energy to put into developing new roots. You’re looking for healthy, non-flowering stems – the ones that feel firm but not woody.
Supplies You’ll Need
Here’s what I usually have on hand when I’m ready to get my hands dirty:
- A sharp, clean pair of pruning shears or a sharp knife. Cleanliness is key to preventing disease!
- A well-draining potting mix. I often use a 50/50 blend of potting soil and perlite or coarse sand. A specific cactus/succulent mix works beautifully here too.
- Small pots or trays with drainage holes. Old yogurt containers with holes poked in the bottom work in a pinch!
- Rooting hormone (optional, but it can give your cuttings a nice boost). I prefer the powder form.
- A spray bottle filled with water.
Propagation Methods
Pelargonium fulgidum is wonderfully amenable to stem cuttings, which is my go-to method.
Stem Cuttings:
- First, select a healthy, vigorous stem. Look for one that’s about 4 to 6 inches long.
- Using your clean shears or knife, make a clean cut just below a leaf node. A leaf node is where a leaf attaches to the stem. This is where roots love to form.
- Gently remove the lower leaves. You want to expose that leaf node. You can leave a couple of leaves at the top, but don’t be tempted to pack them in.
- If you’re using rooting hormone, dip the cut end into the powder, tapping off any excess.
- Fill your small pots with your well-draining mix. Make a small pilot hole in the center of the soil with a pencil or your finger.
- Gently insert the cutting into the hole, making sure the leaf node is below the soil surface.
- Water gently to settle the soil around the cutting. You want the soil to be moist but not waterlogged.
The “Secret Sauce” (Pro Tips)
Now, here are a few little tricks that I’ve picked up over the years that can really make a difference:
- Let them callus! After you take your cuttings and before you pot them, let the cut end air dry for a few hours, or even overnight. This creates a protective layer, called a callus, which helps prevent rot and encourages rooting. This is especially helpful if you’re in a humid environment.
- Provide bottom heat. If you have a heat mat you use for seedlings, placing your pots on it can significantly speed up root development. It mimics the warmth of spring soil which the plants love.
- Don’t crowd your cuttings. Give each cutting a little space in its pot, or use individual small pots. This improves air circulation and reduces the risk of fungal issues.
Aftercare & Troubleshooting
Once your cuttings are potted, the real waiting game begins. Keep the soil consistently moist but not soggy. I like to mist the leaves lightly every few days, especially if it’s warm and dry.
The first sign that things are going well is when you see new leaf growth appearing at the top of the cutting. This usually happens within 3-6 weeks. You can also give your cuttings a gentle tug. If you feel resistance, it means roots have started to form!
The most common problem you might encounter is rot. If your cutting looks mushy, black, or just plain unhappy, it’s likely succumbed to rot, usually from overwatering. If you catch it early, you might be able to save a healthier section by taking a new cutting and starting over.
A Little Encouragement
Propagating plants is a journey that teaches you patience and observation. Don’t be discouraged if your first few attempts aren’t perfect. Learn from them! With Pelargonium fulgidum, you’ve got a good chance of success. Enjoy the process, and soon you’ll have even more of these lovely plants to share or plant out in your garden. Happy propagating!
Resource:
https://identify.plantnet.org/k-world-flora/species/Pelargonium%20fulgidum%20(L.)%20L’Hér./data