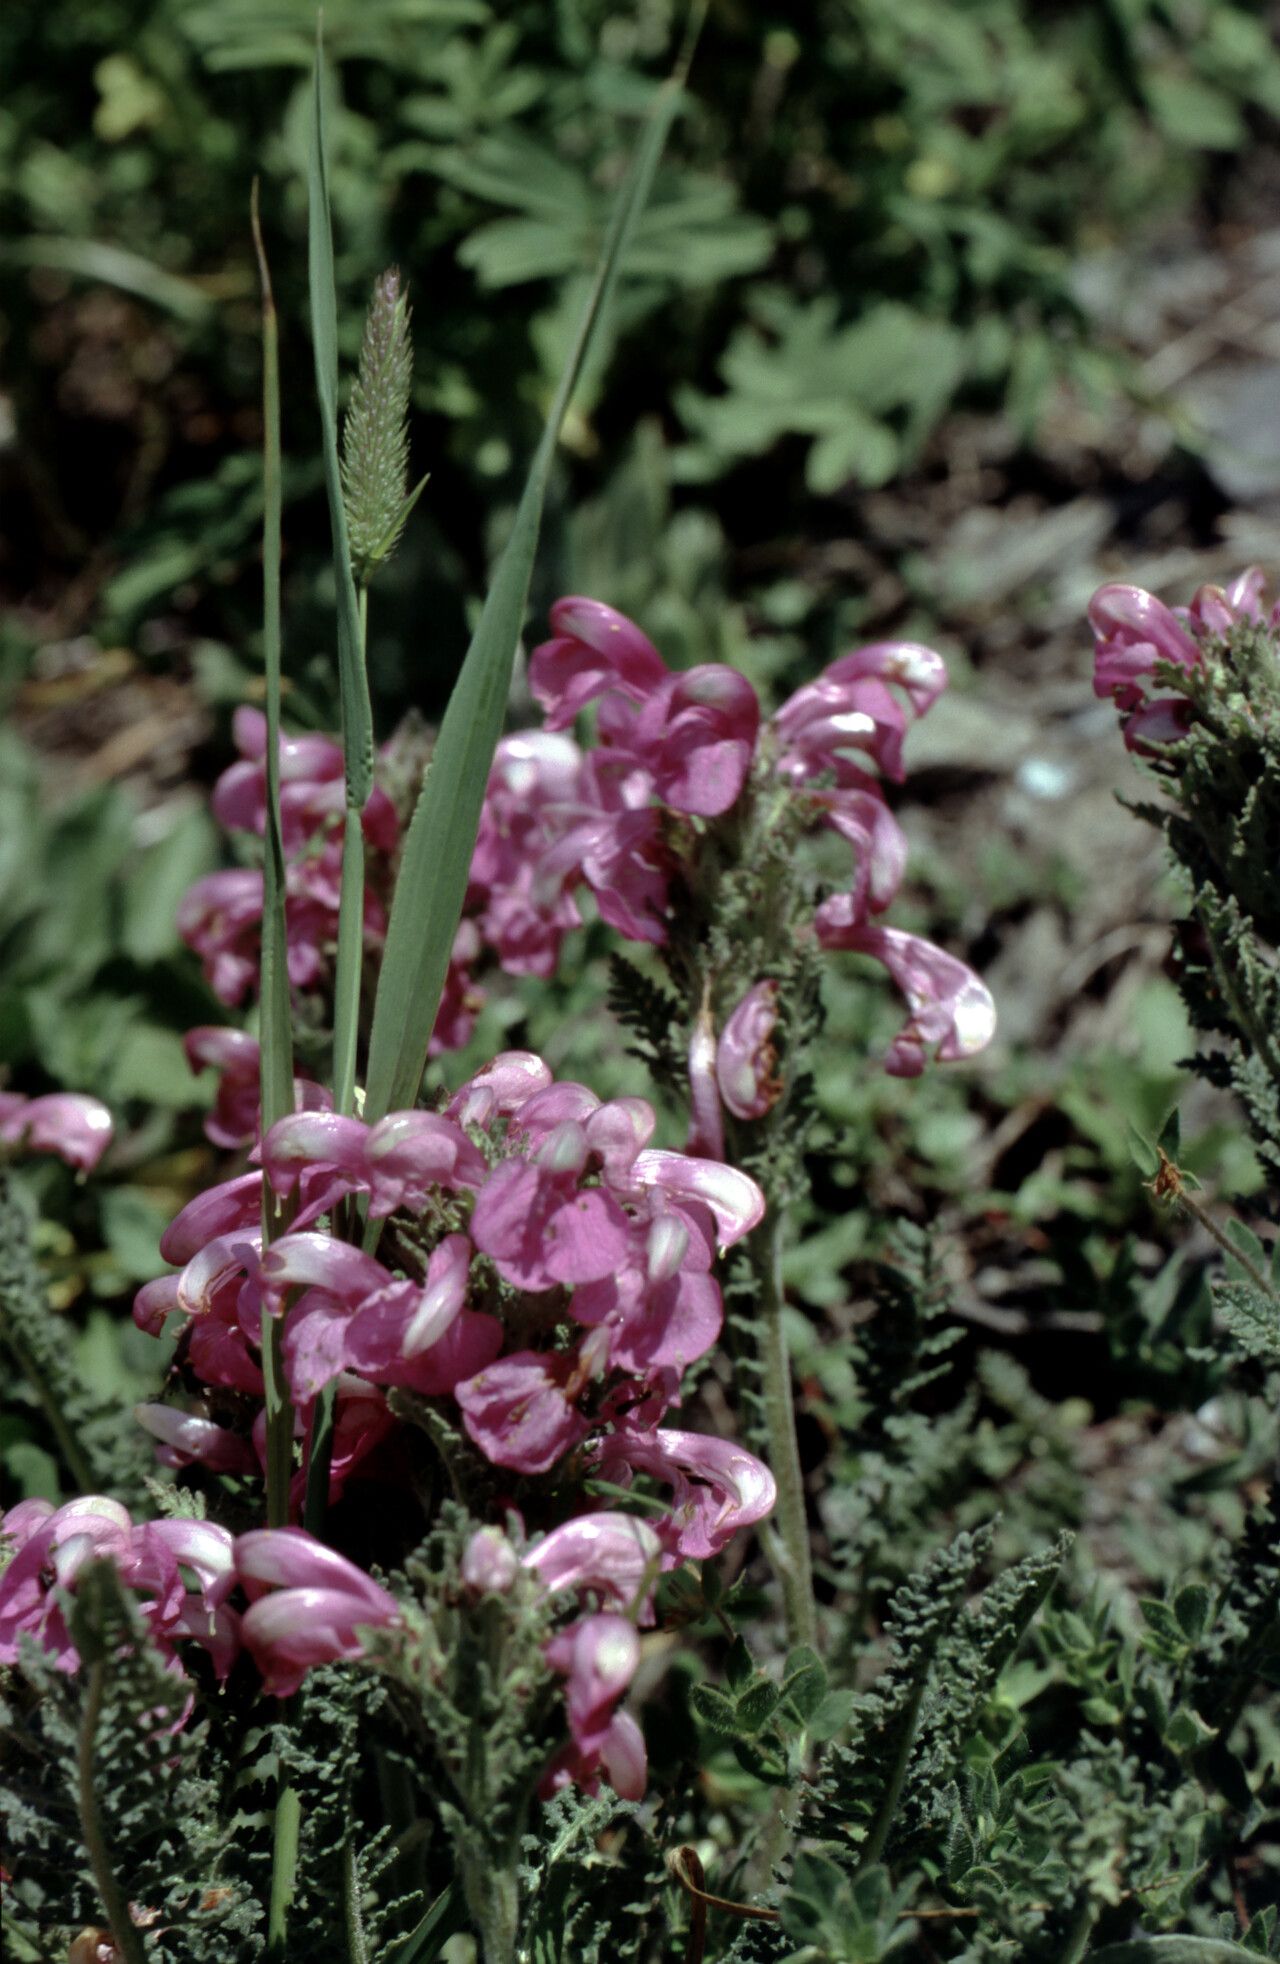
Hello, fellow plant lovers! I’m so excited to talk to you today about a truly special plant: Pedicularis gyroflexa. If you’ve ever seen this beauty in a garden, you’ll know why it captures hearts. Its intricate, often vibrant floral spikes are simply stunning, adding a touch of wild elegance to any space. Growing more of these for yourself is incredibly satisfying. Now, I won’t lie to you – Pedicularis gyroflexa can be a bit of a diva when it comes to propagation. It’s definitely a project for the more adventurous gardener, not quite a beginner’s first step, but oh-so-worth the effort for the patient hand!
The Best Time to Start
Timing is everything when you’re coaxing new life from a plant. For Pedicularis gyroflexa, I’ve found the sweet spot is after flowering, in late summer or early autumn. The plant has put all its energy into making those beautiful blooms and now it’s ready to focus on gathering strength for the next season. This is also when you’re most likely to find the right kind of stems for propagation.
Supplies You’ll Need
Before we dive in, let’s gather our tools. Having everything ready will make the process so much smoother.
- Sharp, clean pruning shears or a razor blade: For making precise cuts.
- Potting mix: A well-draining blend is crucial. I like to use a mix of equal parts sterile potting soil, perlite, and fine-grained bark. This ensures great aeration and prevents soggy soil, which is a no-go for this plant.
- Small pots or seed trays: Clean, with drainage holes, of course.
- Rooting hormone (optional but recommended): A powdered or gel form can give your cuttings a helpful boost.
- Clear plastic bags or propagation domes: To create a humid environment for your cuttings.
- Spray bottle: For misting.
- Labels: To keep track of your efforts!
Propagation Methods
While Pedicularis gyroflexa can be a bit tricky, we’ll focus on the method that’s generally most successful: stem cuttings.
- Select Your Cuttings: Look for healthy, non-flowering stems that are about 4-6 inches long. You want stems that are firm but not woody – think of them as being in that “half-ripe” stage. A good sign is if a stem bends a little without snapping.
- Make the Cut: Using your clean, sharp shears or razor blade, make a clean cut just below a leaf node. A leaf node is where a leaf attaches to the stem. This is where the magic happens, where roots are most likely to form.
- Prepare the Cutting: Gently remove the lower leaves from the stem, leaving just the top few leaves. If the remaining leaves are very large, you can even cut them in half horizontally to reduce water loss. This is a really important step!
- Apply Rooting Hormone (Optional): If you’re using rooting hormone, dip the cut end of the stem into it, tapping off any excess.
- Plant Your Cuttings: Fill your small pots with your prepared potting mix. Make a hole in the center with a pencil or your finger. Gently insert the cut end of the stem into the hole, and firm the soil around it. Make sure no leaves are touching the soil surface.
- Water Gently: Water thoroughly but carefully. You don’t want to disturb the cuttings.
- Create Humidity: Cover the pots with a clear plastic bag or a propagation dome. This traps moisture and creates the humid environment your cuttings need to thrive. Make sure the bag or dome doesn’t touch the leaves.
The “Secret Sauce” (Pro Tips)
Here are a few tricks I’ve learned over the years that can really make a difference.
- Bottom Heat is Your Friend: Pedicularis gyroflexa loves a bit of warmth from below. Placing your pots on a gentle heat mat (set to around 70-75°F or 21-24°C) can significantly speed up root development. It mimics the comforting warmth of the soil in their natural habitat.
- Don’t Drown Them: I cannot stress this enough: avoid soggy soil at all costs. While humidity is key, the soil itself needs to be just moist, not waterlogged. If you see water pooling on the surface after watering, your soil mix might be too dense.
- Patience with the Mist: You’ve covered your cuttings for humidity, right? Great! Now, check on them every couple of days, lifting the bag or dome to allow for some air circulation and to lightly mist the soil surface if it feels dry. But resist the urge to over-water; a light mist is usually enough.
Aftercare & Troubleshooting
Once you start seeing signs of new growth, like tiny new leaves emerging or a bit of resistance when you gently tug on a cutting (about 4-6 weeks later, sometimes longer!), you know your Pedicularis gyroflexa is happy. Gradually acclimate your new plants to normal room humidity by slowly opening the plastic bag or dome over about a week. Continue to keep the soil consistently moist but not wet.
The biggest challenge you’ll likely face is rot. If you notice your cuttings turning mushy or black, it’s a sure sign of too much moisture. If you catch it early, you might be able to save it by removing the affected part and replanting the healthy portion in fresh, dry soil, making sure to improve drainage. Sometimes, despite your best efforts, a cutting just won’t take. That’s okay! Gardening is all about learning and trying again.
A Warm Encouragement
Propagating Pedicularis gyroflexa is a journey, not a race. It requires a keen eye, a tender touch, and a healthy dose of patience. But the reward of nurturing a brand-new plant from a simple stem is incredibly fulfilling. So, grab your tools, find a sunny spot, and enjoy the process of connecting with nature. Happy growing!
Resource:
https://identify.plantnet.org/k-world-flora/species/Pedicularis%20gyroflexa%20Vill./data