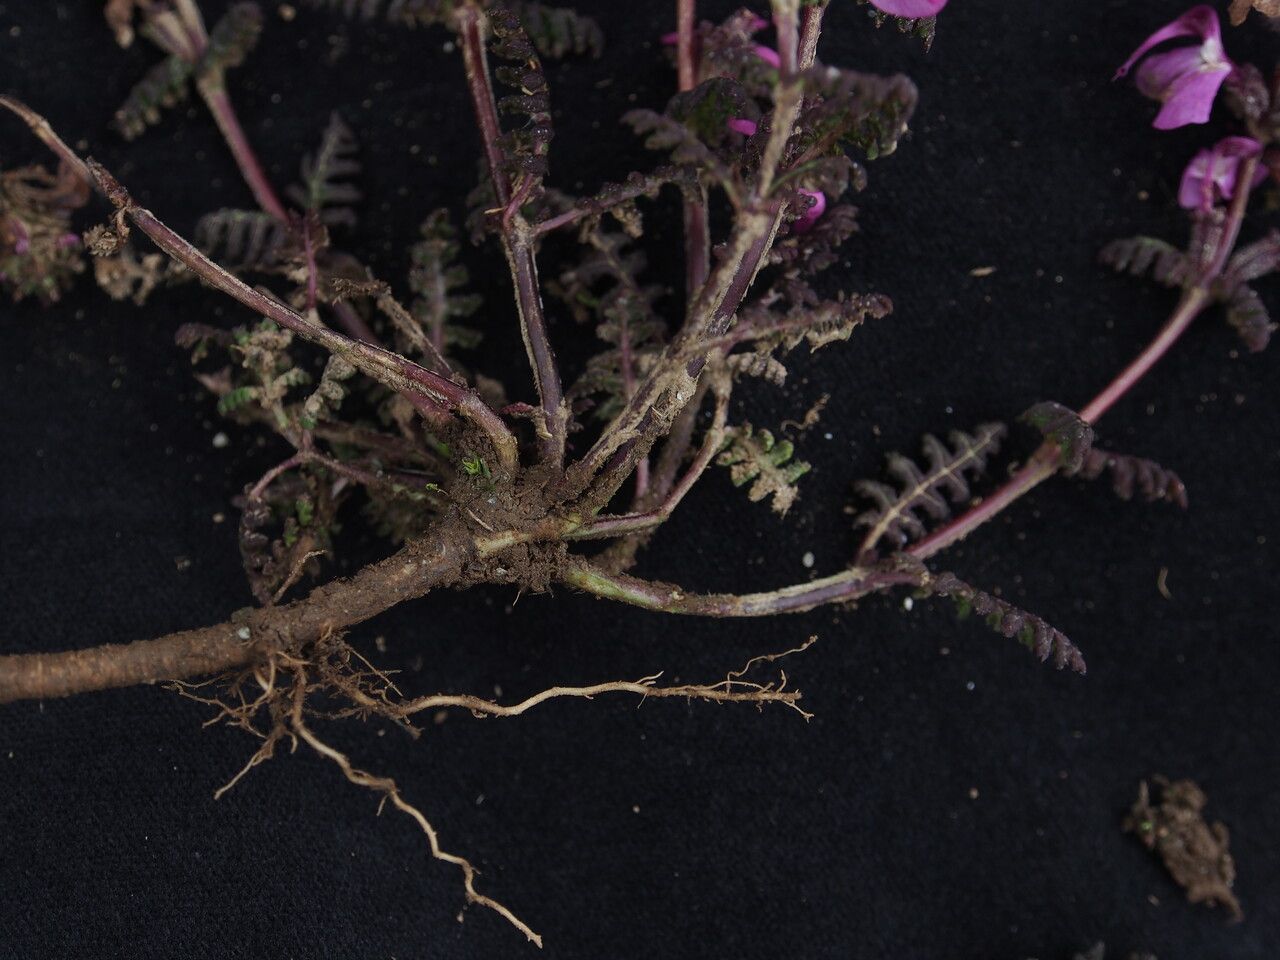
Hello, fellow plant lovers! If you’ve ever admired the delicate charm of Pedicularis gracilis, you know it’s a captivating addition to any garden. Its intricate blooms and unique texture add such a special touch, and growing more of them from your existing plants is incredibly rewarding. Now, while Pedicularis gracilis isn’t the absolute easiest plant to multiply for complete beginners, it’s certainly achievable with a little care and attention. Think of it as a delightful challenge, a stepping stone to mastering more of your garden’s secrets.
The Best Time to Start
The sweet spot for propagating Pedicularis gracilis is generally in late spring to early summer. This is when the plant is actively growing, meaning it has plenty of energy to put into developing new roots. Look for healthy, vigorous stems that haven’t yet flowered, or if you’re considering division, wait until the plant is just starting to emerge from its dormant period in the spring.
Supplies You’ll Need
To give your cuttings the best chance of success, gather these essentials:
- Sharp, sterile pruning shears or a craft knife: Cleanliness is key to preventing disease.
- Rooting hormone (optional, but recommended): A powder or gel can significantly boost root development.
- A well-draining potting mix: A good blend would be 50% peat moss or coco coir and 50% perlite or coarse sand.
- Small pots or propagation trays: Ensure they have drainage holes.
- A clear plastic bag or propagation dome: To maintain humidity.
- Water: For misting and initial watering.
Propagation Methods
Let’s dive into how we can bring more beauty into your garden! The most reliable method for Pedicularis gracilis is typically stem cuttings.
Propagating by Stem Cuttings:
- Take the Cuttings: Select healthy, non-flowering stems that are about 4-6 inches long. Using your sterilized shears or knife, make a clean cut just below a leaf node (where a leaf attaches to the stem).
- Prepare the Cuttings: Gently remove the lower leaves from the cutting, leaving just a couple of leaves at the top. This helps the plant focus its energy on rooting rather than supporting too many leaves.
- Apply Rooting Hormone (Optional): Dip the cut end of the stem into your rooting hormone, tapping off any excess.
- Plant the Cuttings: Fill your small pots or trays with your prepared potting mix. Make a small hole with your finger or a pencil, and gently insert the cutting, ensuring the leaf nodes are below the soil surface. Firm the soil around the cutting.
- Water and Cover: Water the soil lightly until it’s consistently moist but not soggy. Then, cover the pot or tray with a clear plastic bag or a propagation dome to create a humid environment.
The “Secret Sauce” (Pro Tips)
Here are a few things I’ve learned over the years that can really make a difference:
- Don’t let the leaves of your cuttings touch the water when you’re misting. If you’re keeping them in a covered container and misting, make sure the water droplets aren’t sitting on the foliage. This can lead to rot, and we want to encourage roots, not fungus!
- Use bottom heat. Even a gentle warming mat placed under your propagation tray can dramatically speed up root formation. It mimics the conditions of being nestled in warm soil. If you don’t have a mat, find a warm spot in your home, away from direct, harsh sun.
- Don’t obsess over watering. The covered environment helps keep things moist, so check the soil every few days. If the top half-inch feels dry, give it a gentle watering. Overwatering is your enemy here!
Aftercare & Troubleshooting
Once you start seeing new growth at the tip of your cuttings, that’s a great sign that roots are forming! You can gently tug on a cutting – if there’s resistance, roots are developing. Gradually begin to acclimate your new plants to lower humidity by opening the plastic bag or dome for increasingly longer periods over a week or two. Once they seem sturdy, they’re ready to be moved into slightly larger individual pots or planted out into their permanent garden spot.
The most common issue you might encounter is rot. If your cuttings turn mushy or black, it’s usually a sign of overwatering or poor air circulation. If you spot this, remove the affected cutting immediately to prevent it from spreading to others. Sometimes, a cutting just doesn’t take – that’s part of the process! Don’t get discouraged.
A Encouraging Closing
Propagating plants is a journey of observation and patience. Each cutting is a little experiment, and the success of each one is a small victory. Be patient with your Pedicularis gracilis, give them a good start, and enjoy the wonder of seeing them thrive. Happy gardening!
Resource: