Hello fellow garden enthusiasts!
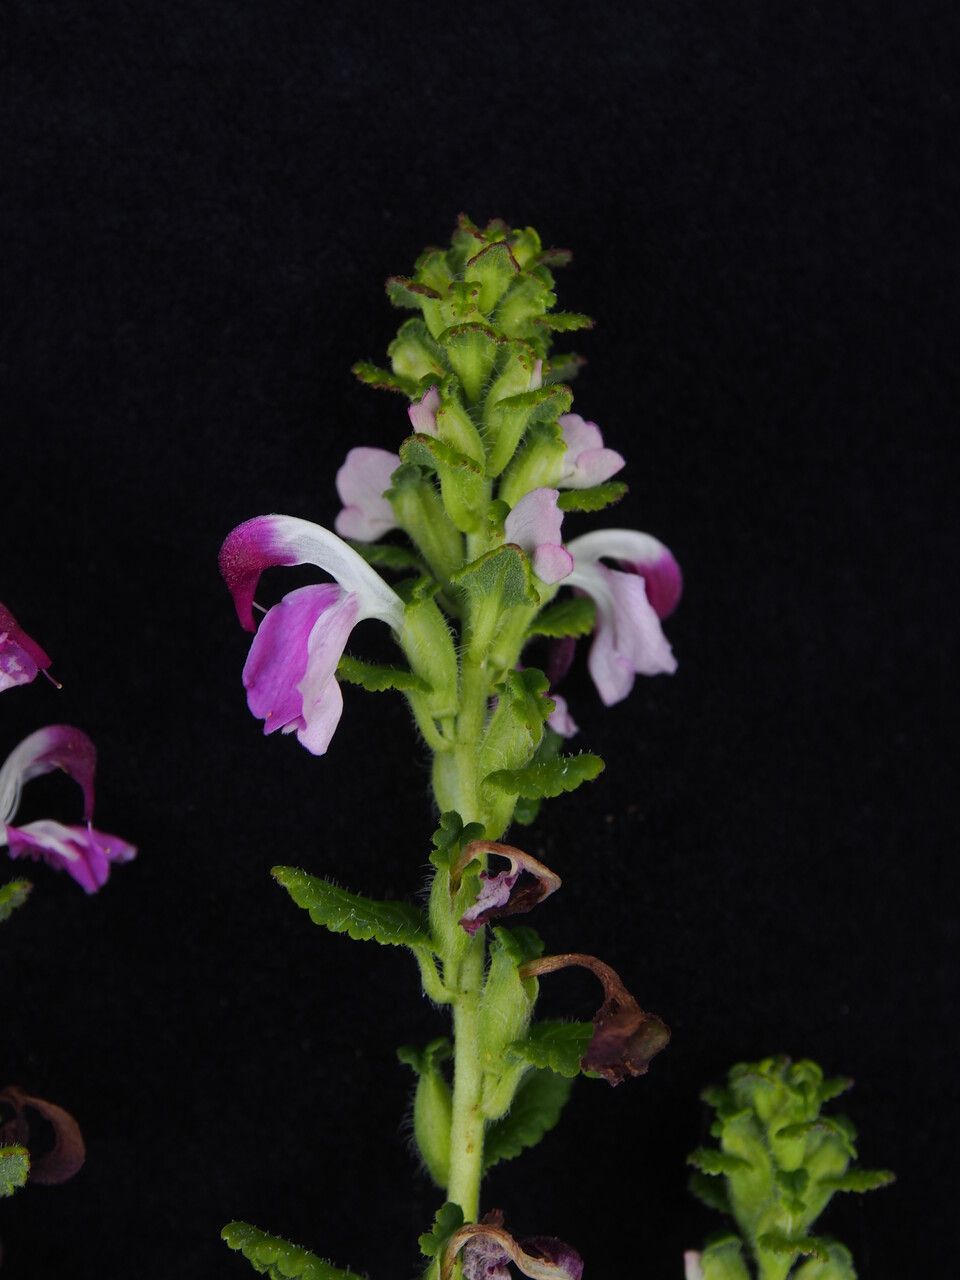
Today, we’re diving into the wonderful world of Pedicularis bifida, also known as the “common lousewort.” I’ve been growing and talking about this little beauty for years. Its delicate, often whimsical flowers and interesting foliage bring such a unique charm to any border. Plus, successfully propagating it yourself? That’s a special kind of satisfaction.
Now, I’ll be honest, Pedicularis bifida can be a bit of a temperamental plant when it comes to propagation. It’s not necessarily for the absolute beginner who’s never picked up a trowel, but with a little patience and attention, it’s certainly achievable. Don’t let that deter you! The reward of seeing your own little lousewort sprout and thrive is well worth the effort.
The Best Time to Start
For the highest success rate with Pedicularis bifida, I find it best to propagate during its active growing season. This usually means late spring or early summer. The plant is full of vigor then, meaning it has plenty of energy to put into forming new roots. Trying to start cuttings when the plant is dormant or stressed is just asking for disappointment.
Supplies You’ll Need
To get your propagation station set up, here’s what I like to have on hand:
- Fresh, sharp pruning shears or a clean knife.
- A well-draining seed-starting mix or a blend of peat moss and perlite. Honestly, I often use a 50/50 mix of my regular potting soil and perlite – it works wonders!
- Small pots or propagation trays with drainage holes.
- A clear plastic bag or humidity dome to create a microclimate.
- Optional: Rooting hormone (I find it helps, especially with this plant).
- A spray bottle filled with clean water.
Propagation Methods
While louseworts can be a little tricky, the most reliable method for home gardeners is usually stem cuttings.
- Select Your Cuttings: Look for healthy, non-flowering stems on your established Pedicularis bifida. You want stems that are firm but not woody. Aim for cuttings that are about 3-4 inches long.
- Make the Cut: Using your clean pruning shears or knife, make a clean cut just below a leaf node. This is where new roots are most likely to form. Remove any lower leaves that would be submerged in the soil to prevent rot.
- Prepare the Cutting: If you’re using rooting hormone, dip the cut end of the stem into the powder or gel, tapping off any excess. This step is quite helpful for louseworts.
- Plant Your Cuttings: Fill your small pots with your prepared potting mix. Make a small hole in the center with your finger or a pencil. Gently insert the cut end of your Pedicularis bifida cutting into the hole and firm the soil around it so it stands upright.
- Water Gently: Water the soil thoroughly but be careful not to dislodge your cuttings. You want the soil to be evenly moist, not waterlogged.
- Create a Humid Environment: Place the pots into your propagation tray or into larger pots and cover the whole thing with a clear plastic bag or a humidity dome. This traps moisture, which is crucial for cuttings waiting to root. Make sure the leaves don’t touch the plastic.
- Provide Light: Place your propagation setup in a location that receives bright, indirect light. Avoid direct sunlight, which can scorch the delicate cuttings and overheat the enclosed environment.
The “Secret Sauce” (Pro Tips)
Here are a couple of things I’ve learned over the years that can really boost your chances:
- Bottom Heat is Your Friend: If you can, place your propagation tray on a gentle heat mat. This little bit of warmth from below encourages root development, and for fussier plants like Pedicularis, it can make all the difference.
- Don’t Fear the “Misting Ritual”: Even with a humidity dome, I like to lightly mist the cuttings and the inside of the dome every couple of days. It helps keep things consistently moist and prevents the leaves from drying out while they’re trying to establish roots.
- Patience with the Leaf Drop: If you see a few lower leaves start to yellow and drop off, don’t panic! It’s often the plant shedding what it can’t support while it focuses on rooting. As long as the stem still looks healthy, give it time.
Aftercare & Troubleshooting
Once you start seeing signs of new growth – a tiny new leaf emerging or a bit of resistance when you gently tug on a cutting – you know you’re on the right track! This usually takes several weeks.
- Gradual Acclimation: When your cuttings have developed a decent root system (you can often see them through the drainage holes), it’s time to gradually acclimate them. Start by removing the plastic bag for just an hour or two each day, then gradually increase the time until they’re used to open air.
- Transplanting: Once they’re fully acclimated, you can carefully transplant them into slightly larger pots with a good quality potting mix.
- Watch for Rot: The most common sign of failure is rot. This usually happens if the soil stays too wet or if the humidity is too high for too long without any air circulation. If you see mushy stems or blackened bases, unfortunately, that cutting is likely lost. Remove it immediately to prevent the spread.
- Wilting Can Be Normal (at first): Newly rooted plants can sometimes wilt a bit after transplanting. Keep them well-watered but not soggy, and they should perk up.
A Little Encouraging Word
Propagating plants, especially those with a bit of a reputation, is a journey. You might have some failures along the way, and that’s perfectly okay! Celebrate the successes, learn from the setbacks, and most importantly, enjoy the process of nurturing new life. With a bit of care and these tips, I have no doubt you’ll be well on your way to enjoying your own home-grown Pedicularis bifida. Happy gardening!
Resource: