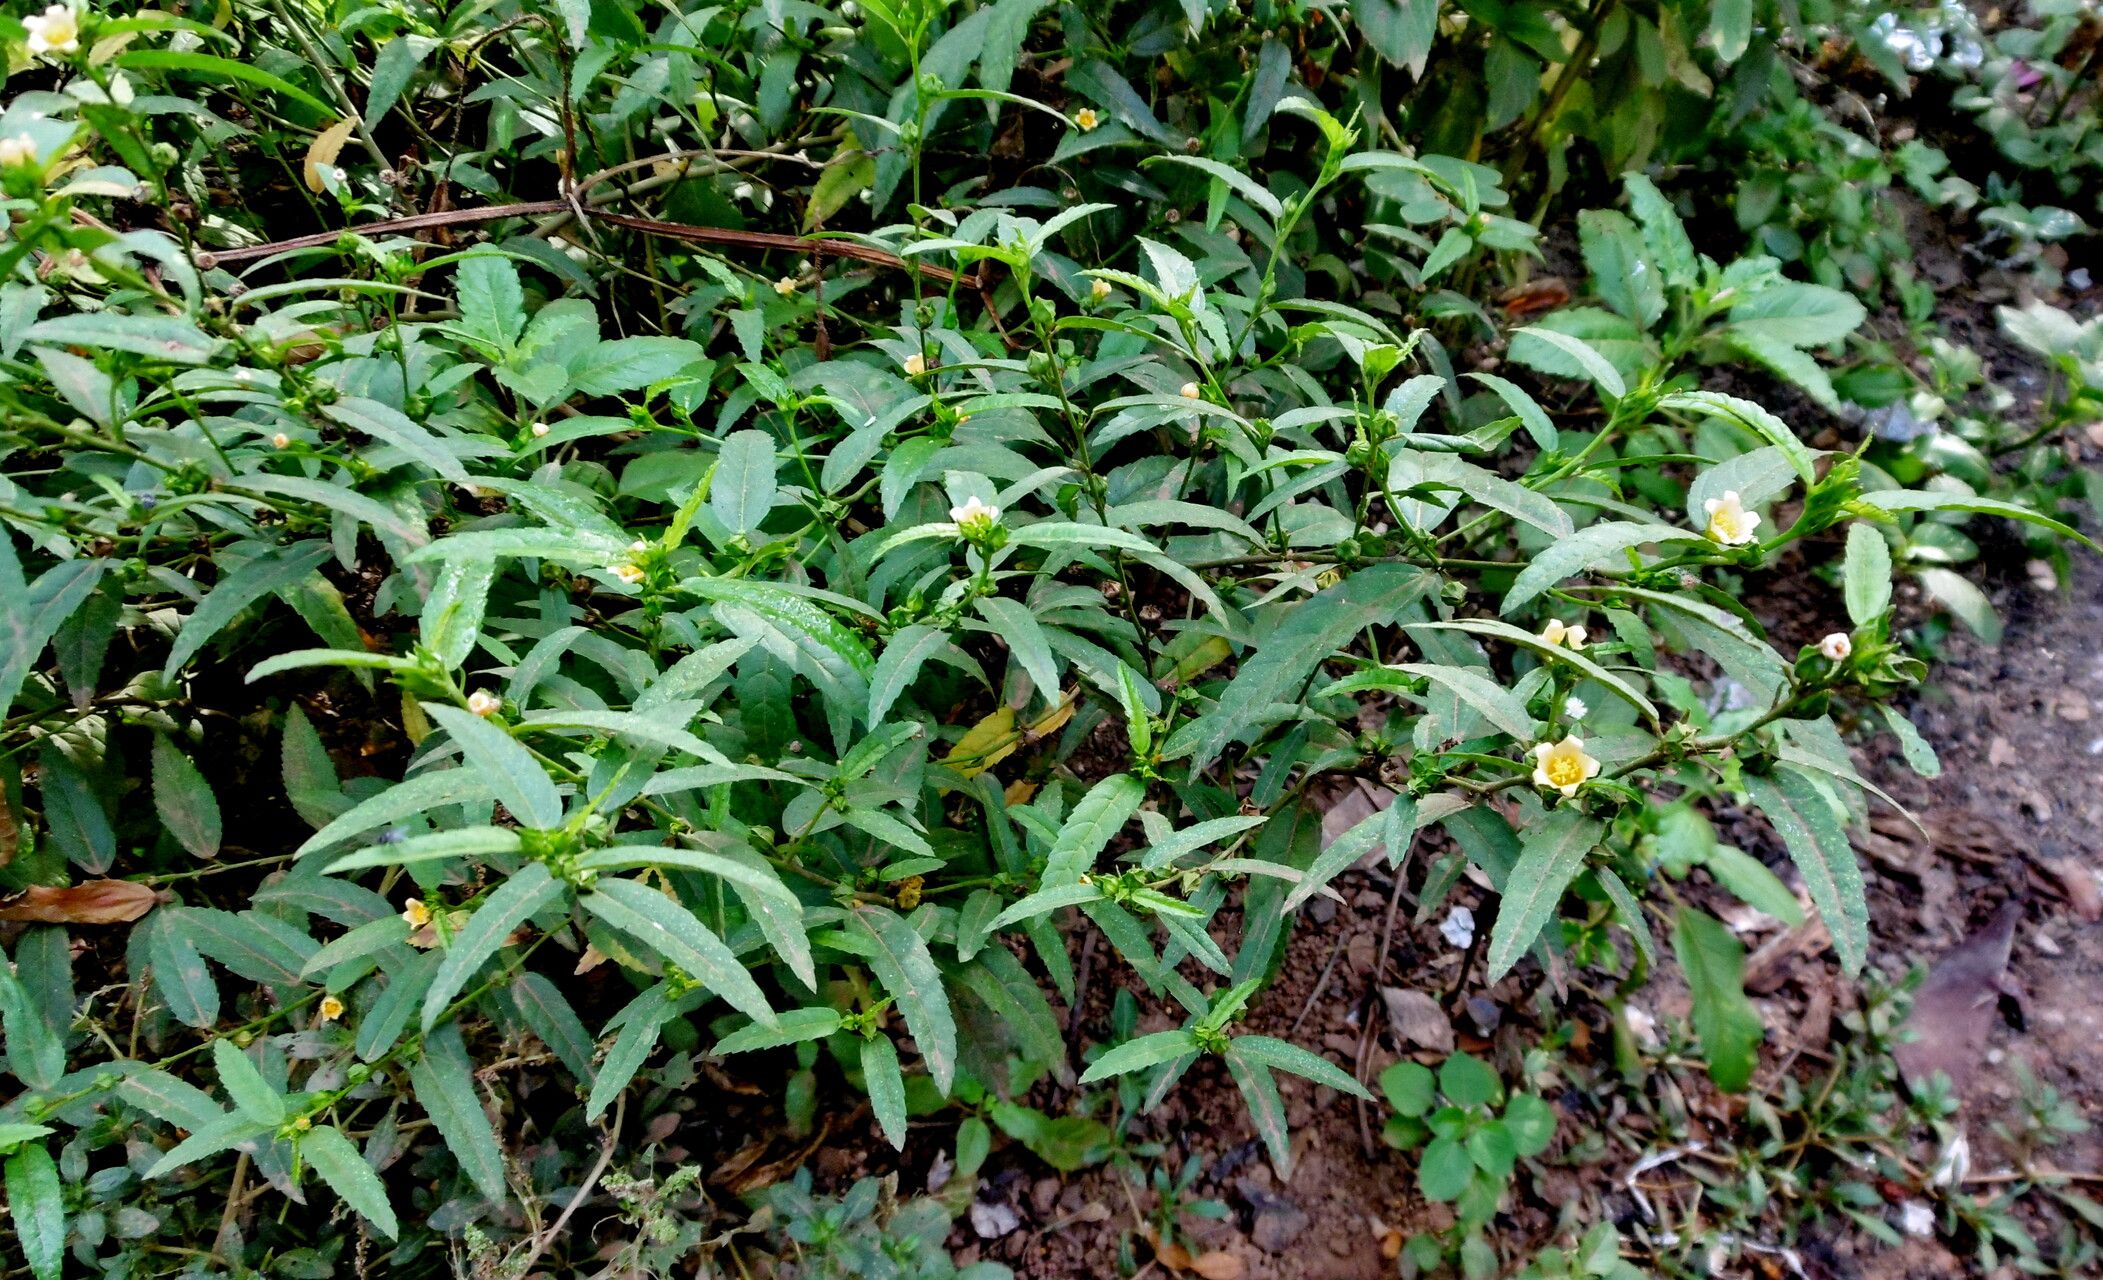
Oh, hello there! Pull up a chair and let’s chat about one of my favorite garden treasures: Pavonia spinifex. If you’ve ever seen this beauty in bloom, you know exactly why it captured my heart. Its delicate, hibiscus-like flowers, often in vibrant shades of pink and orange, are simply captivating. They unfurl their petals, beckoning the pollinators, and bring such a cheerful splash of color to any sunny spot.
And guess what? Propagating Pavonia spinifex is a truly rewarding endeavor. It’s like giving the gift of a new garden friend, and it’s not as tricky as you might think. For beginners, I’d say it falls into the “moderately easy” category. A little patience and a few key steps, and you’ll be well on your way to a whole patch of these delightful plants.
The Best Time to Start
If you want the absolute highest success rate, think late spring or early summer. This is when your Pavonia spinifex is actively growing and has plenty of energy to put into developing new roots. You’re essentially tapping into its prime growing season.
Supplies You’ll Need
Here’s what you should have on hand before you get started:
- Sharp pruning shears or a clean knife: For making clean cuts.
- Rooting hormone (optional, but recommended): Helps encourage faster root development. Look for one suitable for softwood cuttings.
- Well-draining potting mix: A blend of equal parts peat moss, perlite, and coarse sand works wonderfully. You can also use a good quality seedling starter mix.
- Small pots or seed trays: Clean and with drainage holes, of course!
- Plastic bags or a propagator: To create a humid environment.
- Watering can or spray bottle: For gentle watering.
- Soft tip tweezers (optional): For handling tiny cuttings.
Propagation Methods
Let’s get our hands dirty! We’ll focus on the most reliable method for Pavonia spinifex: stem cuttings.
- Take Your Cuttings: On a healthy, non-flowering stem, make a clean cut just below a leaf node. A leaf node is where a leaf attaches to the stem. Aim for cuttings that are 4-6 inches long. Remove the lower leaves, leaving just a couple of leaves at the top.
- Prepare the Cutting: If you’re using rooting hormone, dip the cut end of the stem into it. Gently tap off any excess.
- Plant Your Cuttings: Fill your pots or trays with the prepared potting mix. Make a small hole in the center with your finger or a pencil. Firmly insert the cutting, ensuring that the leaf nodes are buried in the soil. Gently firm the soil around the base of the cutting.
- Create Humidity: Water the soil lightly. Then, cover the pot or tray with a plastic bag or place it in a propagator. This traps moisture and keeps the humidity high, which is crucial for successful rooting. Make sure the leaves don’t touch the sides of the bag if possible.
The “Secret Sauce” (Pro Tips)
Here are a few things I’ve learned over the years that can really give your cuttings a boost:
- Don’t let leaves touch the water: If you’re water propagating (which is less reliable for Pavonia spinifex than soil, but some try!), make sure the leaves are above the water line. Submerged leaves tend to rot before roots can form.
- Bottom heat makes a difference: If you have a heat mat designed for seedlings, place your pots or propagator on it. This gentle warmth from below encourages root development and can significantly speed up the process.
- Location, location, location: Place your cuttings in a bright spot, but out of direct, harsh sunlight. Too much sun will scorch the delicate cuttings before they have a chance to root.
Aftercare & Troubleshooting
Once your cuttings are planted, the waiting game begins! Keep the soil consistently moist, but not waterlogged. You can use a spray bottle to mist the leaves occasionally if the humidity seems low. Keep the plastic bag on for the first few weeks.
You’ll know your cuttings have taken root when you see new growth emerging from the tips. You can also give them a very gentle tug; if there’s resistance, roots have likely formed. This can take anywhere from 3 to 8 weeks, depending on the conditions.
The most common issue you might encounter is rot. This usually happens if the soil is too wet or the humidity is too low, leading to fungal problems. If a cutting looks slimy or black at the base, it’s best to discard it to prevent the rot from spreading.
A Encouraging Closing
So there you have it! Propagating Pavonia spinifex is a journey of patience and observation. Don’t get discouraged if your first few attempts aren’t perfect. Every gardener has had their share of cuttings that didn’t make it. Just keep trying, enjoy the process of nurturing something new, and soon you’ll have a beautiful collection of Pavonia spinifex to share with friends or simply to fill your own garden with joy. Happy growing!
Resource:
https://identify.plantnet.org/k-world-flora/species/Pavonia%20spinifex%20(L.)%20Cav./data