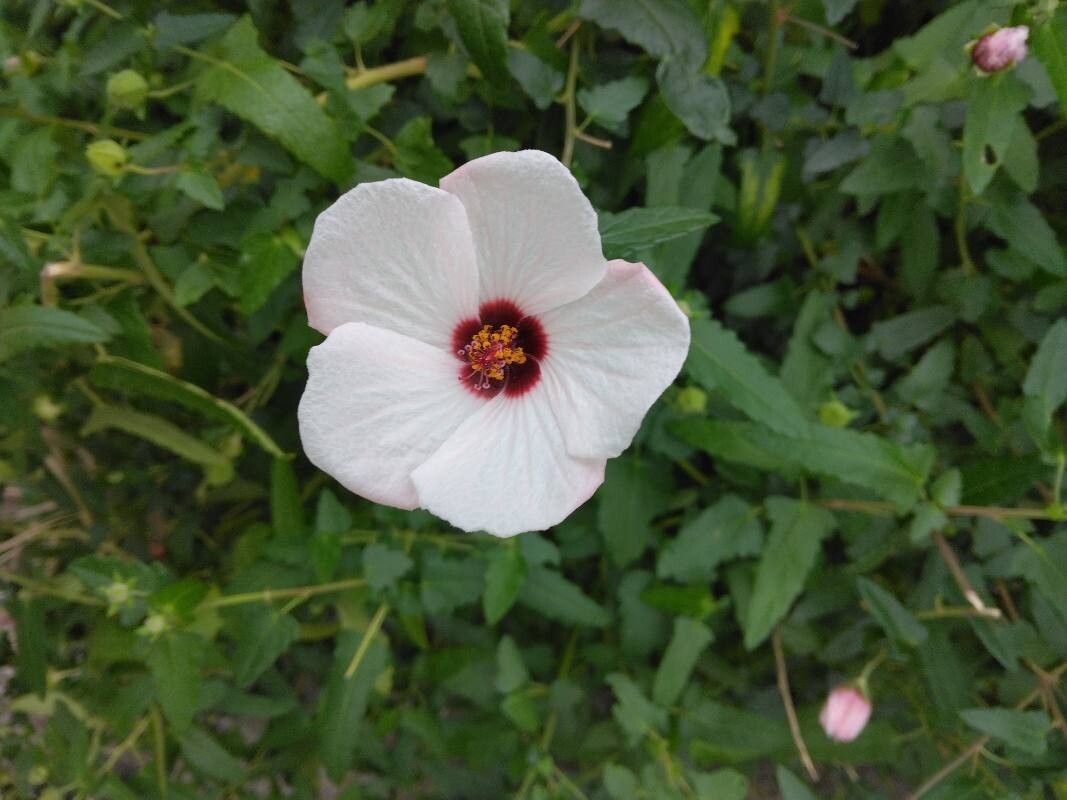
Well hello there, fellow plant enthusiast! If you’re anything like me, you’ve probably fallen head over heels for the charming little blooms of Pavonia hastata. Those delicate, pink to lavender flowers, often with a darker blush at their heart, seem to dance in the breeze. They bring such a cheerful presence to any garden, and the fact that they keep coming back for more is just icing on the cake.
The really wonderful thing about Pavonia hastata, or Swamp Hibiscus as it’s sometimes known, is that it’s quite generous. Propagating it is a genuinely rewarding experience, and I’m happy to report that it’s generally quite an approachable plant for beginners. You won’t be tearing your hair out trying to get this one going!
The Best Time to Start
For the highest chance of success, I always aim to propagate Pavonia hastata from late spring through the summer. This is when the plant is in its active growing phase. You’ll see plenty of new growth developing, which means those cuttings will be full of life and ready to root. Trying to do it too early in the spring or late in the fall, when things are winding down, can be a bit more of a struggle.
Supplies You’ll Need
Gathering your supplies beforehand makes the whole process smoother. Here’s what I usually have on hand:
- Sharp pruning shears or a clean knife: For taking cuttings.
- Rooting hormone (optional but recommended): This really gives cuttings a boost.
- Seed starting mix or a well-draining potting mix: A good blend of peat moss and perlite works wonders.
- Small pots or seed trays: Clean ones, of course!
- Plastic bags or a propagator: To create a humid environment.
- Watering can or spray bottle: For gentle watering.
Propagation Methods
Pavonia hastata is quite happy to be propagated from stem cuttings, which is my go-to method. Here’s how I do it:
- Select your cuttings: Look for healthy, non-flowering stems. You want pieces that are about 4-6 inches long. Gently snap or cut them from the parent plant. Try to get stems that have at least a couple of leaf nodes (where the leaves attach to the stem).
- Prepare the cuttings: Remove any lower leaves from the bottom half of the stem. This prevents them from rotting once they’re in the soil. If the leaves are very large, you can even snip them in half to reduce water loss.
- Apply rooting hormone (optional): Dip the cut end of the stem into your rooting hormone powder or gel. Tap off any excess.
- Plant the cuttings: Make a small hole in your potting mix with a pencil or finger. Insert the cut end of the stem into the hole, making sure at least one leaf node is below the soil surface. Gently firm the soil around the stem.
- Water gently: Water thoroughly but gently, so you don’t dislodge the cuttings.
- Create humidity: Cover the pot with a plastic bag or place the pot inside a propagator. Make sure the leaves aren’t touching the plastic if possible. This helps keep the cuttings from drying out.
The “Secret Sauce” (Pro Tips)
Over the years, I’ve picked up a few little tricks that seem to make all the difference for Pavonia hastata:
- Don’t be afraid of the “heel”: Sometimes, taking a cutting from a slightly older, woody stem and including a tiny sliver of the old wood (a “heel”) at the base can encourage faster rooting. It’s not always necessary, but it can be beneficial.
- Bottom heat is your friend: If you have a heated propagator or can place your pots on a gentle seedling heat mat, it can significantly speed up root development. The warmth encourages the plant to send out those precious roots.
- Air circulation is key (eventually): While you want humidity initially, once you see signs of roots, it’s good to gradually introduce more air by opening the propagator or poking a few holes in the plastic bag. This helps prevent fungal issues.
Aftercare & Troubleshooting
Once your cuttings have been in their humid environment for a few weeks, you can start checking for roots. Gently tug on a stem. If there’s resistance, you’ve got roots!
Continue to keep the soil consistently moist but not soggy. Once they’ve developed a good root system, you can transplant them into individual pots filled with a good quality potting mix.
The most common issue you’ll encounter is rot. If your cuttings start to look mushy or turn black, it’s usually a sign of too much moisture and not enough air circulation. Don’t despair; sometimes you can salvage a cutting by trimming away the rotted parts and trying again with slightly less watering and more airflow. Another sign of failure is if the cuttings simply shrivel up and dry out – this is usually due to insufficient humidity or being placed in too bright a spot too soon.
A Word of Encouragement
Propagating Pavonia hastata is such a satisfying journey. Be patient with your little cuttings; they work at their own pace. Watching those tiny roots emerge and then seeing a whole new plant unfurl is a gardening joy you truly earn. So go on, give it a try! Happy propagating!
Resource:
https://identify.plantnet.org/k-world-flora/species/Pavonia%20hastata%20Cav./data