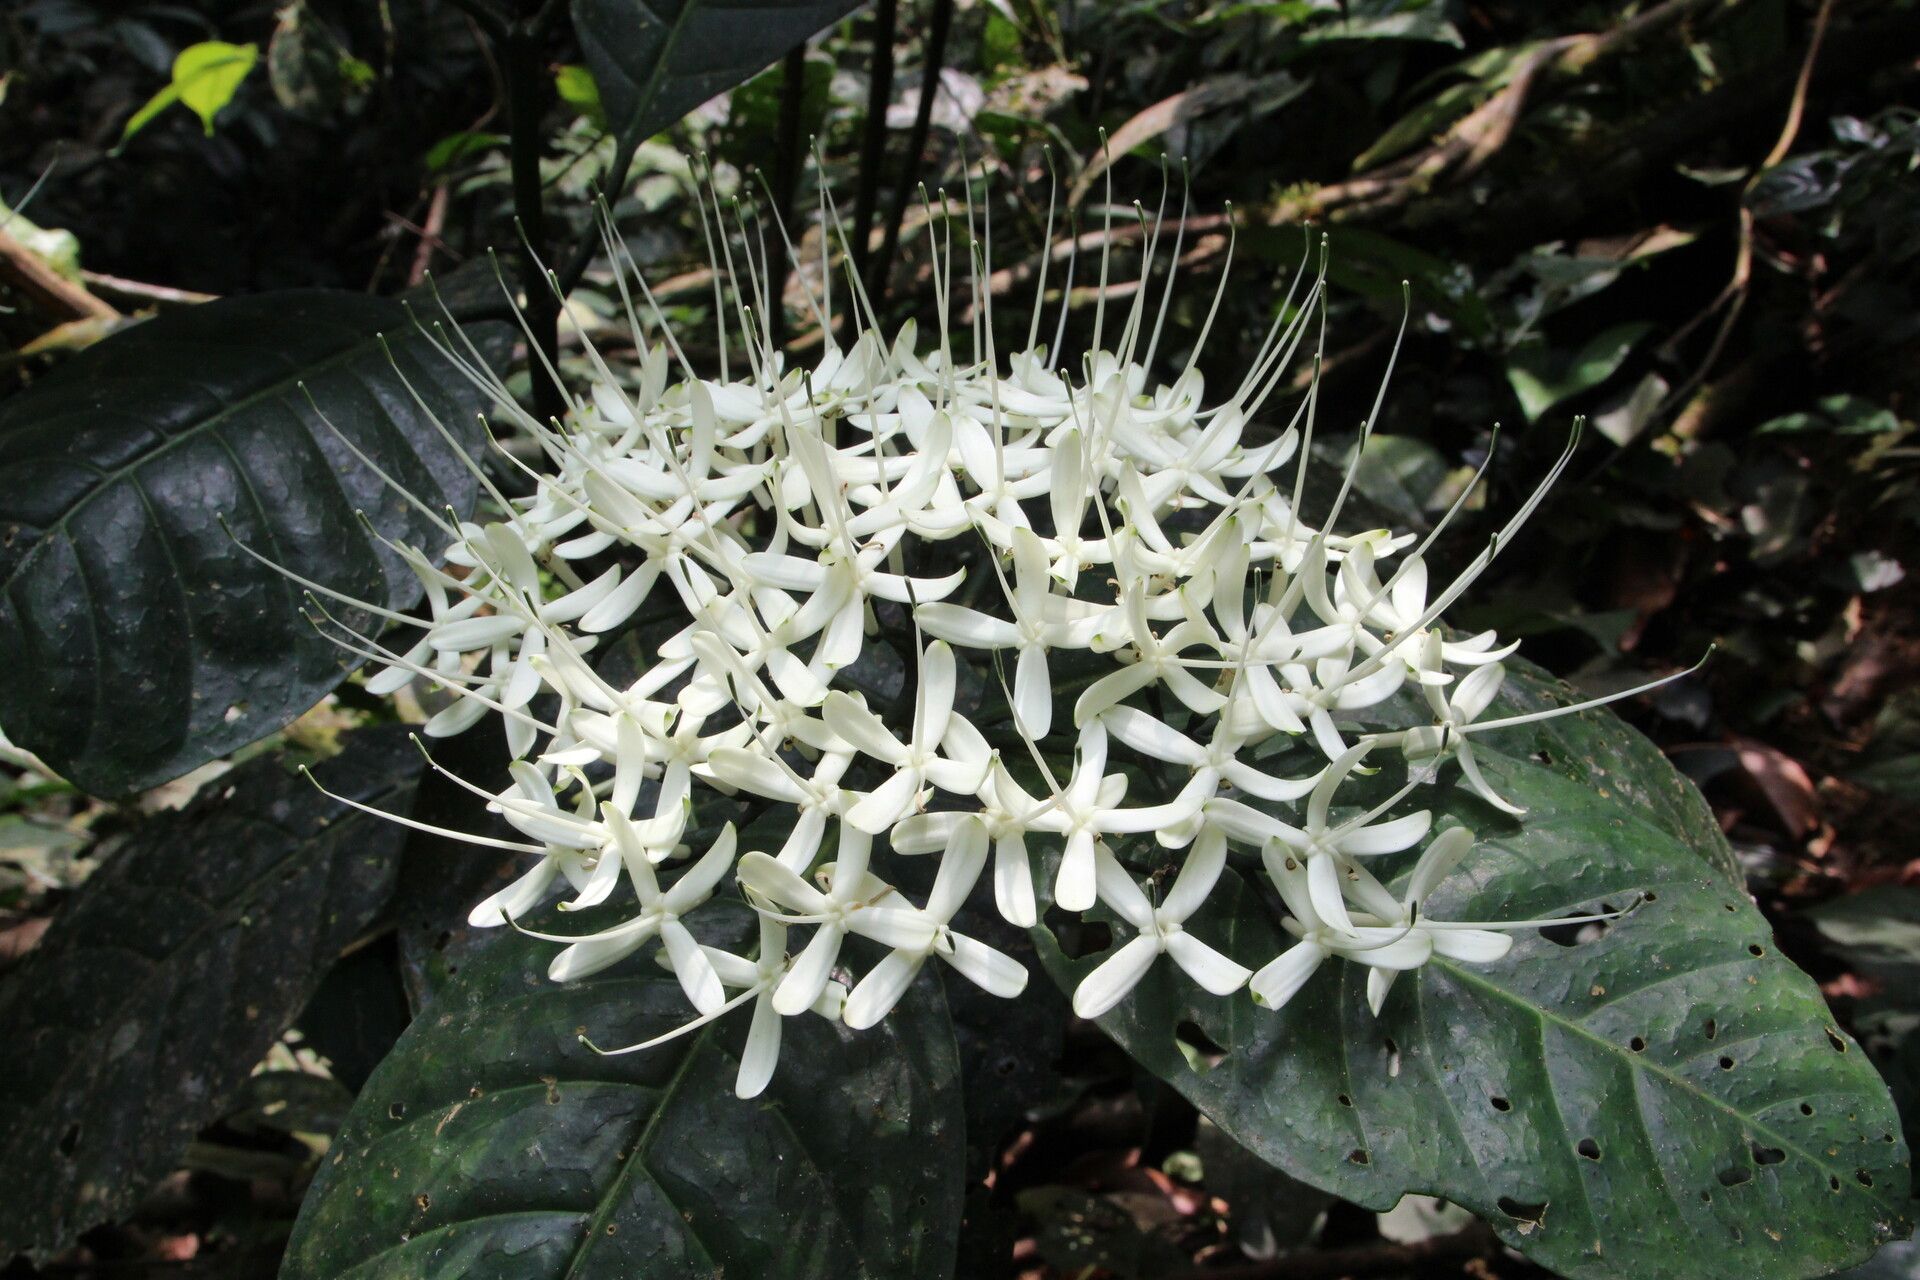
Hello fellow plant lovers! Today, we’re diving into something truly special: coaxing new life from Pavetta rigida. If you’re drawn to its delicate white blooms and the promise of pretty flowers gracing your garden for years to come, then propagating your own is an absolute joy. It’s a wonderful way to share this beauty with friends or simply expand your collection without emptying your wallet. Now, is it a walk in the park for a complete beginner? Honestly, it can be a little less forgiving than, say, a pothos, but with a bit of care and these tips, you’ll be well on your way to success!
The Best Time to Start
For Pavetta rigida, the sweet spot for propagation is definitely late spring to mid-summer. This is when the plant is actively growing and has plenty of energy to put into developing new roots. You want to aim for semi-hardwood cuttings. This means they should snap cleanly when bent gently, not bend limply (too soft) or be brittle (too hard). They’ll feel slightly firm and mature.
Supplies You’ll Need
Gathering your tools beforehand makes the whole process much smoother. Here’s what you should have on hand:
- Sharp pruning shears or a clean, sharp knife: For taking precise cuttings.
- Rooting hormone: A powder or gel helps significantly.
- Potting mix: A well-draining blend is crucial. I like a mix of equal parts peat moss or coir, perlite, and a little coarse sand.
- Small pots or trays: Clean ones are a must to prevent disease.
- Plastic bag or propagator lid: To create a humid environment.
- Water mister: For keeping the cuttings hydrated.
- Labels: To remind you what you’ve planted and when!
Propagation Methods
We’ll focus on the most reliable method for Pavetta rigida: stem cuttings.
- Take Cuttings: On a bright but not scorching day, select healthy, current-season shoots. Using your sharp shears, make a clean cut just below a leaf node. A node is where a leaf joins the stem. Aim for cuttings that are about 4-6 inches long.
- Prepare the Cuttings: Gently remove the lower leaves from your cuttings, leaving just the top set or two. This prevents them from rotting in the soil.
- Apply Rooting Hormone: Dip the cut end of each prepared cutting into your rooting hormone, tapping off any excess.
- Plant the Cuttings: Fill your clean pots with your prepared potting mix. Make a hole in the center of the mix with a pencil or your finger. Insert the hormone-coated end of the cutting into the hole, ensuring at least one leaf node is below the soil surface. Firm the soil gently around the stem.
- Water and Cover: Water the potting mix thoroughly until it feels evenly moist, but not waterlogged. Place the pot inside a plastic bag or cover it with a propagator lid. This creates a mini-greenhouse, keeping the humidity high, which is vital for cuttings to root before they dry out.
The “Secret Sauce” (Pro Tips)
Here are a couple of things I’ve learned over the years that can really boost your success rate:
- Bottom Heat is Your Friend: If you have the option, placing your pots on a gentle heat mat can dramatically speed up the rooting process. It encourages root development from the bottom up. Just make sure it’s not too hot – think lukewarm bathwater, not a sauna!
- Don’t Be Afraid of a Little Scratch: Sometimes, for tougher-to-root plants, I’ll very gently scrape a sliver of the outer bark off the bottom inch of the stem before applying rooting hormone. This can expose more of the cambium layer, which is rich in rooting hormones naturally present in the plant. Be careful not to damage the entire stem!
Aftercare & Troubleshooting
Once your cuttings are potted, keep them in a bright spot out of direct sunlight. The misting is key here. Mist the leaves daily, especially if using a plastic bag, to maintain that high humidity.
You’ll know they’re starting to root when you see new leaf growth or feel a slight resistance when you gently tug on the cutting. This can take anywhere from 4 to 8 weeks, sometimes longer.
The most common problem you’ll encounter is rot. If a cutting turns black and mushy, it’s usually a sign of too much moisture and not enough air circulation, or possibly disease. Remove any rotten cuttings immediately to prevent it from spreading. If the leaves start yellowing and drooping, it might be too dry, or they’re just not getting enough light. Sometimes, a bit of wilting is normal as they establish, so don’t panic at the first sign of a droop!
A Encouraging Closing
Be patient with your new Pavetta rigida cuttings. Gardening is as much about the journey as it is about the destination. You’re nurturing life, and that’s a beautiful thing. Enjoy the process, learn from each attempt, and soon you’ll be rewarded with your very own, home-grown masterpieces! Happy growing!
Resource:
https://identify.plantnet.org/k-world-flora/species/Pavetta%20rigida%20Hiern/data