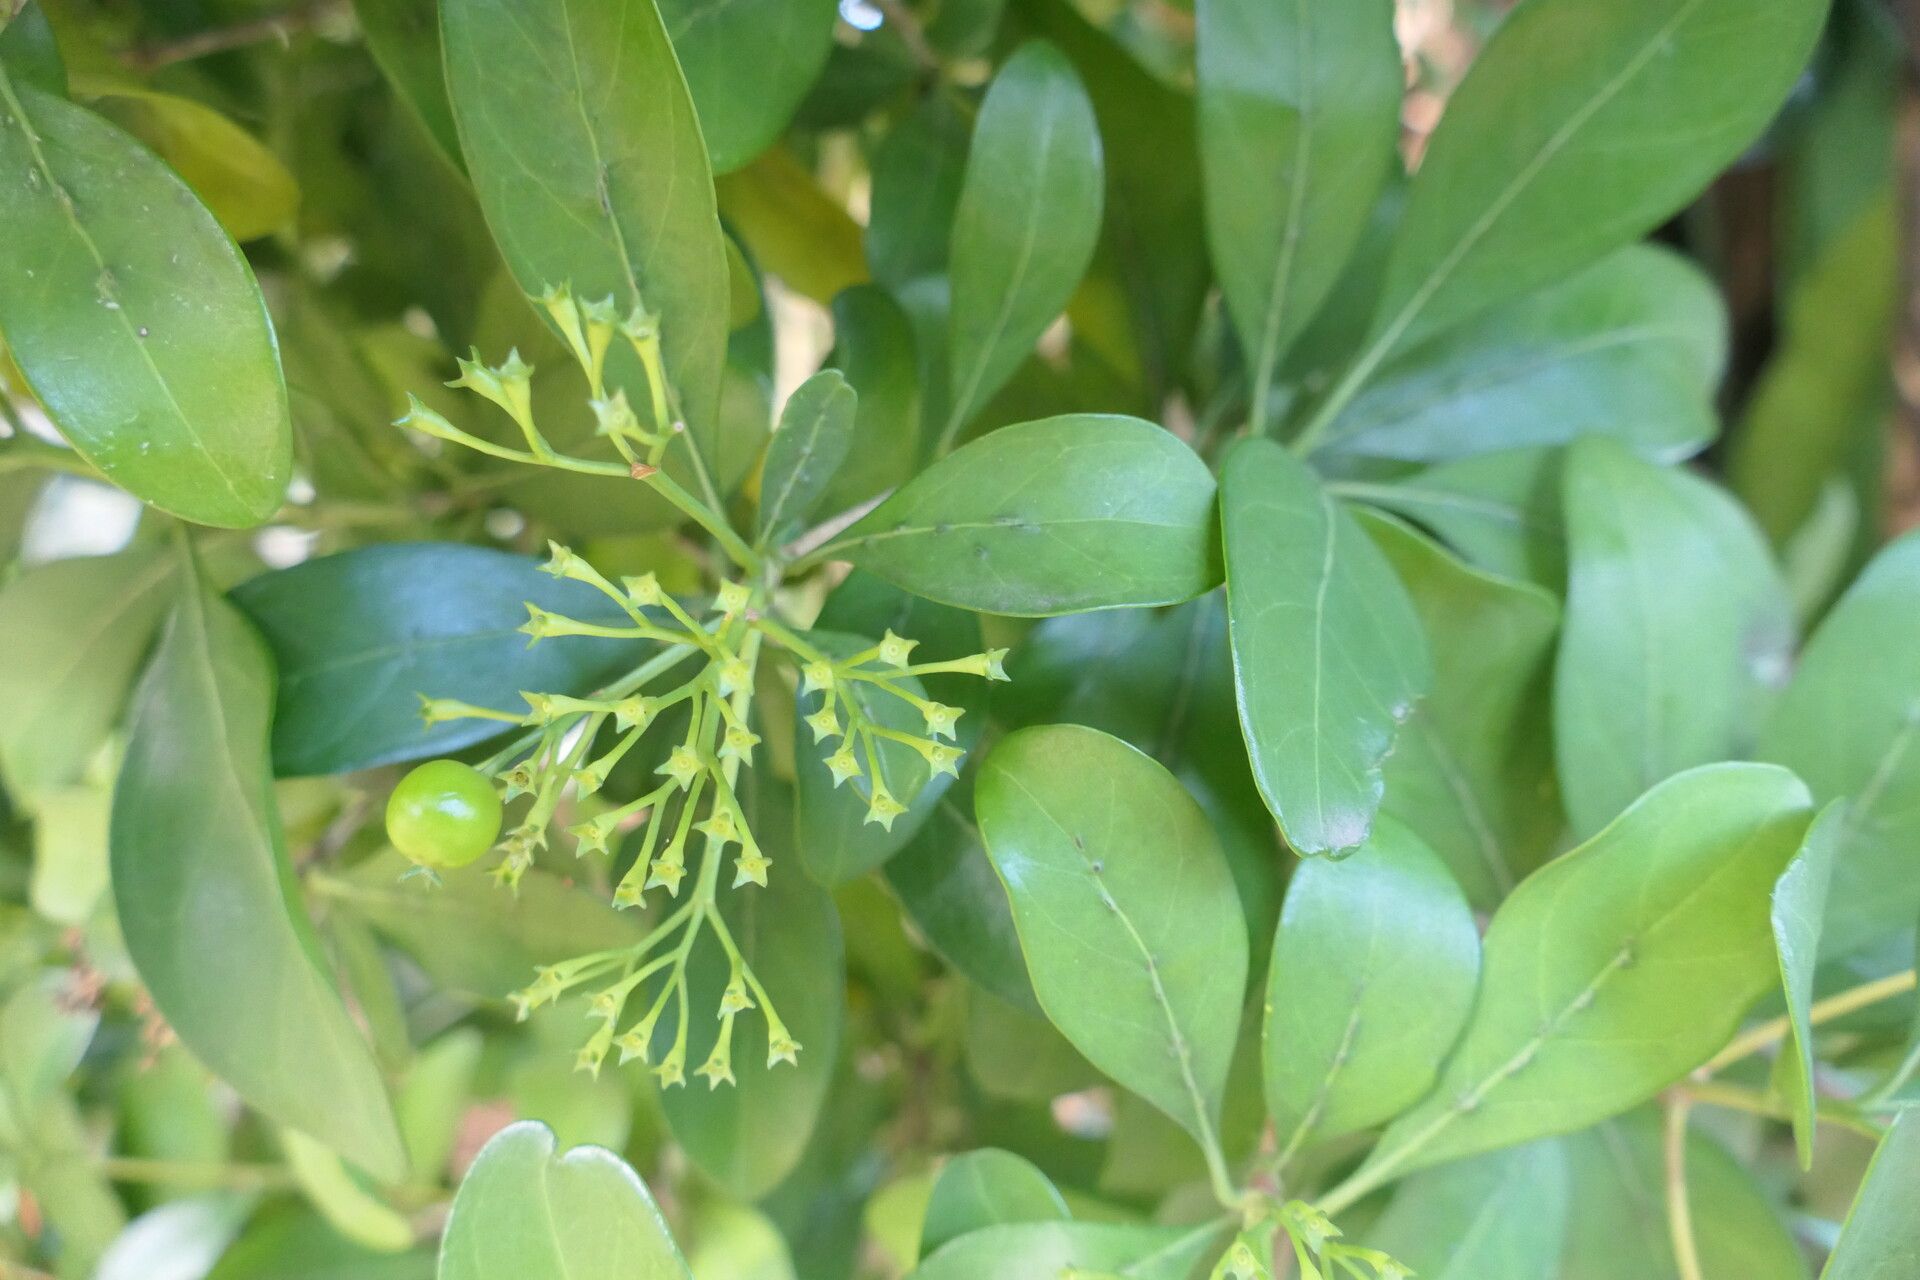
Oh, Pavetta revoluta! If you haven’t met this beauty yet, you’re in for a treat. Its clusters of delicate, starry flowers are simply divine, and the glossy, evergreen foliage adds a lushness to any garden. It’s one of those plants that whispers elegance. Best of all, multiplying this gem for yourself or to share with friends is a genuinely rewarding endeavor. It’s not a plant that throws tantrums when you try to propagate it, which is always a good sign!
The Best Time to Start
For Pavetta revoluta, spring is your golden ticket. Think of it as the plant waking up after a winter’s nap. Its energy levels are high, and new growth is bursting forth. This is when it’s most receptive to taking cuttings and establishing new roots. Aim for when the plant is actively growing, not when it’s stressed or dormant.
Supplies You’ll Need
Here’s what I usually gather before I get my hands dirty:
- Sharp pruning shears or a clean, sharp knife. Cleanliness is key to preventing disease.
- Small pots or seed trays. Make sure they have drainage holes!
- A well-draining potting mix. I often use a blend of coco coir, perlite, and a bit of compost. You want it airy.
- Rooting hormone (optional but recommended). This gives your cuttings a helping hand.
- A plastic bag or propagation dome. To create a humid environment.
- Water mister. For keeping things consistently moist.
- Labels and a pen. Trust me, you’ll thank yourself later.
Propagation Methods
Let’s get down to business! Stem cuttings are my go-to for Pavetta revoluta.
- Select Your Cuttings: Look for healthy, non-flowering stems from your mature plant. You want stems that are a bit firm but not woody. Aim for pieces about 4-6 inches long.
- Make the Cut: Using your clean shears or knife, make a clean cut just below a leaf node. A leaf node is where a leaf attaches to the stem; this is where roots often begin to form.
- Prepare the Cutting: Gently remove the lower leaves, leaving just a couple at the very top. This prevents them from rotting in the soil.
- Dip in Rooting Hormone (Optional): If you’re using rooting hormone, lightly dip the cut end of the stem into the powder or gel. Tap off any excess.
- Plant the Cuttings: Fill your pots with your prepared potting mix. Make a small hole in the center of the mix with your finger or a pencil. Insert the cut end of your Pavetta cutting into the hole, ensuring the leaf nodes that you removed are below the soil line. Gently firm the soil around the stem.
- Create a Humid Environment: Water the soil lightly. Then, cover the pot with a plastic bag or place it under a propagation dome. This traps humidity, which is crucial for cuttings to root. Make sure the leaves aren’t touching the plastic.
The “Secret Sauce” (Pro Tips)
Over the years, I’ve learned a few tricks that often make all the difference:
- Bottom Heat is Your Friend: If you have it, placing your pots on a gentle heat mat can significantly speed up root development. It mimics the warmth of spring soil and encourages those roots to get going.
- Don’t Overwater, but Don’t Let Them Dry Out: This is a delicate balance. When you’ve first potted your cuttings, water them well. Then, check the moisture of the soil regularly. Mist the leaves and the surface of the soil if it starts to feel dry. You want it consistently moist, not soggy.
- Fresh Air Breaks: Even though they love humidity, your cuttings still need to breathe. Open the plastic bag or dome for a few minutes each day to allow for air circulation. This helps prevent fungal issues.
Aftercare & Troubleshooting
Once you start seeing new leaf growth or gently tugging on a cutting and feeling resistance (meaning roots have formed!), it’s time for a little shift.
Carefully remove the plastic bag or dome gradually. Let the plant acclimatize to the drier air over a few days. Continue to keep the soil consistently moist. Once the roots are well established and you can see them peeking out of the drainage holes, you can transplant your new Pavetta into its own slightly larger pot with fresh potting mix.
The most common casualty you might see is rot. This usually happens from overwatering or poor drainage. If a cutting looks limp and mushy and has a foul smell, it’s likely succumbed to rot. Don’t be disheartened; just discard it and try again, adjusting your watering. Yellowing leaves that aren’t due to overwintering can sometimes mean too much direct sun.
A Encouraging Closing
Growing new plants from cuttings is such an intimate way to connect with your garden. It takes a little patience, a touch of observation, and a whole lot of hope. Celebrate every little sign of progress, learn from any setbacks, and most importantly, enjoy the green magic unfolding before your eyes. Happy propagating!
Resource:
https://identify.plantnet.org/k-world-flora/species/Pavetta%20revoluta%20Hochst./data