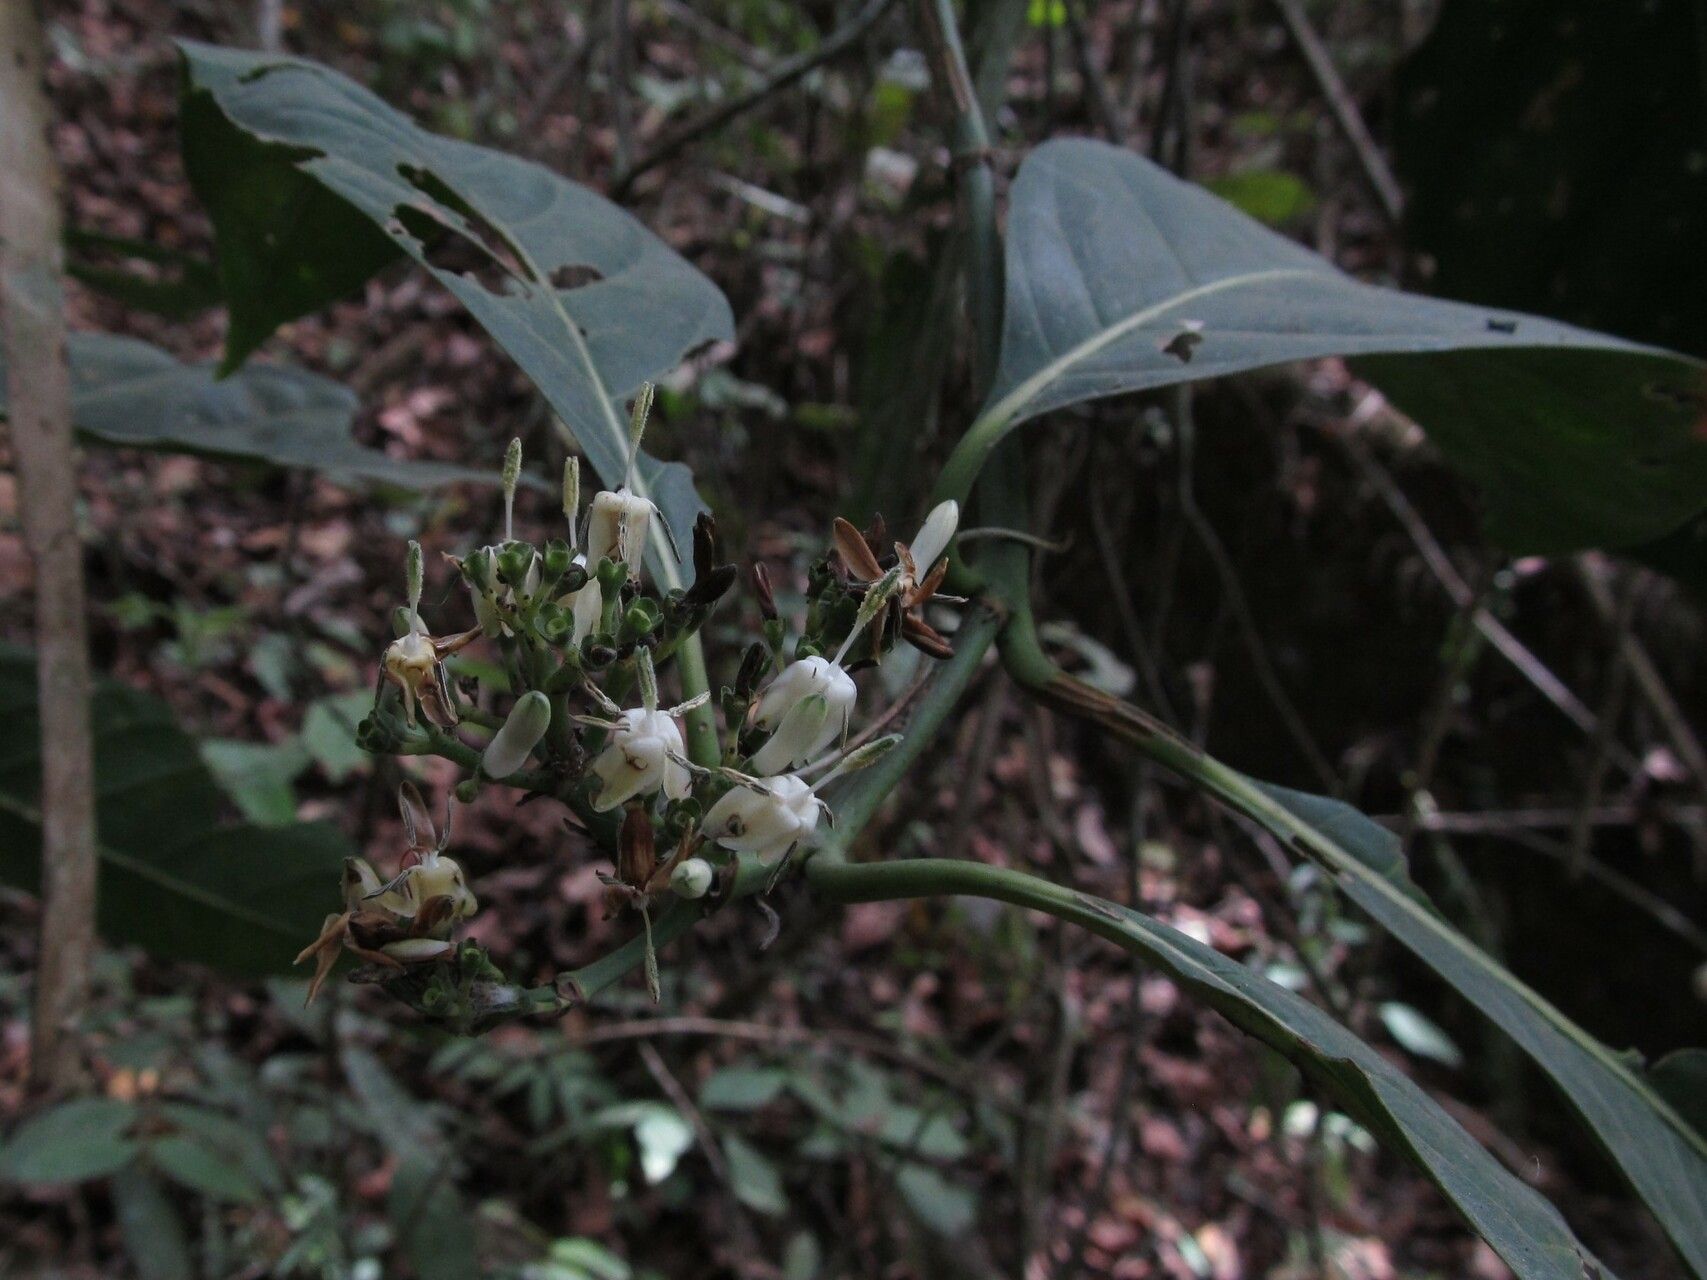
Oh, Pavetta calothyrsa! If you’re looking for a plant that brings a touch of the tropics with its lovely clusters of starry white flowers and glossy leaves, you’ve found a winner. It’s truly a joy to see these bloom, and there’s something incredibly satisfying about growing a whole new plant from a little piece of your existing one. Now, I’ll be honest, Pavetta calothyrsa isn’t quite a “stick it in water and watch it go” kind of plant, but with a little care and attention, it’s definitely achievable, even for those of you who are just starting to explore the world of plant propagation.
The Best Time to Start
My favorite time to take cuttings for Pavetta calothyrsa is in the late spring or early summer. This is when the plant is in its active growing phase, meaning it has plenty of energy to put into developing new roots. You’re looking for stems that are mature but not too woody – think “semi-hardwood.” They should be firm yet still have a bit of flexibility. Avoid taking cuttings from flowering stems; you want the plant’s energy directed towards roots, not blooms!
Supplies You’ll Need
Here’s what you’ll want to have on hand before you get started:
- Sharp, clean pruning shears or a craft knife: Crucial for making clean cuts.
- Rooting hormone (optional, but recommended): This will significantly boost your success rate. Look for one containing IBA.
- A well-draining potting mix: I like to use a 50/50 mix of perlite and coco coir, or a good quality seed-starting mix. You want good aeration.
- Small pots or trays: Clean containers with drainage holes are a must.
- Plastic bags or a propagator: To create a humid environment.
- Water: For misting.
Propagation Methods: Stem Cuttings
This is my go-to method for Pavetta calothyrsa, and it’s usually the most successful.
- Select the right stem: Look for a healthy, non-flowering stem that’s about 4-6 inches long. It should have several sets of leaves.
- Make the cut: Using your sharp pruners or knife, make a clean cut just below a leaf node (where a leaf attaches to the stem). This is where roots are most likely to form.
- Prepare the cutting: Gently remove the lower leaves from the cutting, leaving about 2-3 leaves at the top. This prevents them from rotting in the soil. If the remaining leaves are very large, you can cut them in half to reduce water loss.
- Apply rooting hormone: Dip the cut end of the stem into your rooting hormone powder or gel. Tap off any excess.
- Plant your cutting: Fill your small pots with your prepared potting mix. Make a small hole in the center with your finger or a pencil. Insert the cutting into the hole, ensuring the nodes where you removed leaves are below the soil surface. Gently firm the soil around the stem.
- Water and cover: Water the potting mix gently but thoroughly. Then, place the pot inside a plastic bag or cover it with a clear propagator lid. This creates a miniature greenhouse, keeping the humidity high, which is vital for cuttings. You can stick a few small watering cans or twigs into the soil to keep the bag from resting directly on the leaves.
The “Secret Sauce”
My two biggest tricks for Pavetta calothyrsa?
First, bottom heat is your best friend. If you can place your pots on a heat mat designed for plants, it makes a world of difference. This gentle warmth encourages root development from below, giving your cuttings the best possible start.
Second, don’t let those leaves touch the soil! I know I mentioned removing lower leaves, but it bears repeating. Any leaf that dips into the damp soil is an invitation for rot. Keep them trimmed, or as I said, even halve larger ones. It’s all about reducing moisture loss and preventing fungal issues.
Aftercare & Troubleshooting
Once your cuttings are potted and covered, place them in a bright, indirect light location. Avoid direct sun, as it can scorch those tender new leaves. Check the soil moisture regularly. It should feel consistently moist but not waterlogged. Open the plastic bag or propagator lid for a few minutes each day to allow for some air circulation.
You’ll know your cutting is taking root when you see new leaf growth or feel a slight resistance when you gently tug on the stem. This can take anywhere from 4 to 8 weeks, so be patient!
The most common problem you’ll encounter is rot. If you see your cutting turning black and mushy, it’s usually a sign of too much moisture and not enough air circulation. Unfortunately, a rotten cutting is usually a goner. If you’re just starting out, don’t be discouraged by a few failures – it’s all part of the learning process!
A Little Patience Goes a Long Way
Propagating Pavetta calothyrsa is a rewarding journey. It teaches you to observe your plant, understand its needs, and celebrate those small victories. Don’t rush the process, and enjoy the satisfaction of nurturing a new life from a simple cutting. Happy propagating!
Resource:
https://identify.plantnet.org/k-world-flora/species/Pavetta%20calothyrsa%20Bremek./data