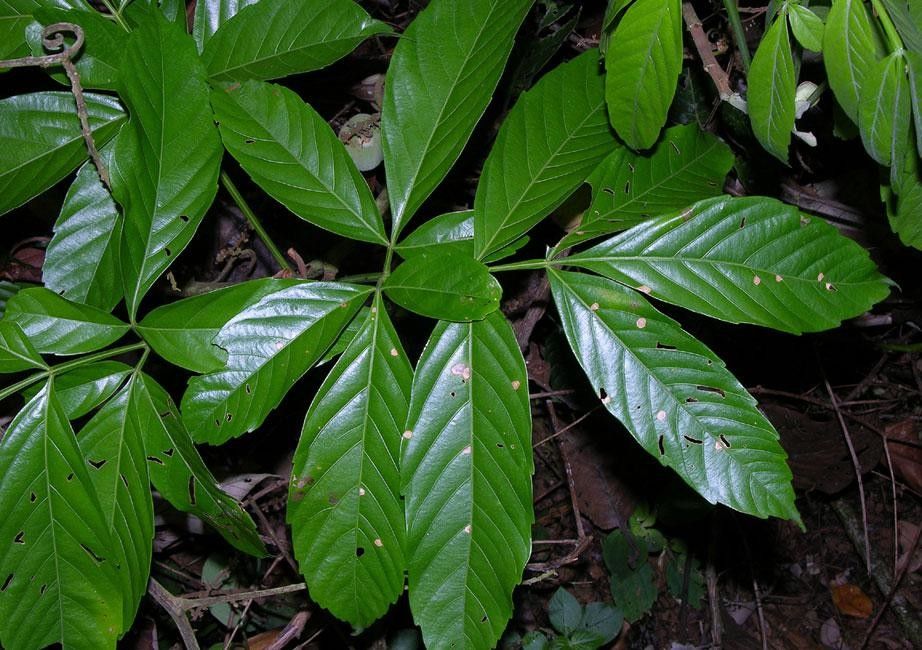
Oh, hello there! Grab a mug of your favorite brew, and let’s talk about a truly delightful plant: Paullinia ingifolia. If you’ve ever spotted this beauty with its lush foliage and intriguing glossy leaves, you know it’s got a certain charm. And the best part? You can bring that charm into your own home, and even share it with others, by propagating it yourself!
For those new to the gardening scene, Paullinia ingifolia can be a little on the sensitive side, but don’t let that deter you. With a bit of patience and these tips, I’m confident you’ll have success. It’s incredibly rewarding to watch a tiny cutting transform into a thriving plant – it feels like a little bit of garden magic!
The Best Time to Start
Honestly, for Paullinia ingifolia, the sweet spot is when the plant is actively growing, usually in late spring or early summer. You want to be taking cuttings from healthy, non-flowering stems. Think of it as tapping into the plant’s most vigorous phase; it’s full of energy and ready to make new roots!
Supplies You’ll Need
Here’s what you’ll want to have on hand to give your cuttings the best possible start:
- Sharp Pruning Shears or a Clean Knife: For making clean cuts.
- Rooting Hormone (Optional but Recommended): A gentle touch can really encourage root development. I like the kind in powder form.
- Well-Draining Potting Mix: A mix of perlite, peat moss, and a bit of good quality potting soil works wonders. You can also use a specific seed starting mix.
- Small Pots or Propagation Trays: Clean ones, of course!
- Plastic Bag or Dome: To create a humid environment.
- Water: For watering and, if you choose, water propagation.
- Labels: So you don’t forget what’s what!
Propagation Methods
I’ve found two methods work particularly well for Paullinia ingifolia. Let’s dive in!
Stem Cuttings
This is my go-to method for this plant.
- Select Your Cuttings: Look for healthy, semi-hardwood cuttings. These are stems that are a bit firm but not old and woody. Aim for pieces about 4-6 inches long.
- Make the Cut: Using your clean shears or knife, make a clean cut just below a leaf node. This is where roots are most likely to form. Remove the leaves from the bottom half of the cutting.
- Dip in Hormone (Optional): If you’re using rooting hormone, lightly dip the cut end into the powder. Tap off any excess.
- Plant Your Cuttings: Fill your small pots with your prepared potting mix. Make a small hole in the center with your finger or a pencil. Gently insert the cutting so at least one leaf node is below the surface of the soil. Firm the soil gently around the base of the stem.
- Water and Cover: Water thoroughly until you see water draining from the bottom of the pot. Then, place a plastic bag over the pot to create a mini-greenhouse. You can prop up the bag with a stake if needed, so it doesn’t touch the leaves.
Water Propagation
This is a bit more visual and can be quite satisfying to watch!
- Take Your Cuttings: Follow steps 1 and 2 from the stem cutting method. You can leave a couple of leaves on your cutting.
- Place in Water: Fill a clean jar or glass with fresh, room-temperature water. Submerge the bottom 1-2 inches of the cutting. Make sure no leaves are submerged in the water, as this can lead to rot.
- Find a Spot: Place the container in a bright location that receives indirect sunlight.
- Change Water Regularly: Change the water every few days, or whenever it starts to look cloudy. This helps prevent bacterial growth.
The “Secret Sauce” (Pro Tips)
Here are a few things I’ve learned over the years that can really boost your success:
- Bottom Heat is Your Friend: If you have the space, placing your pots on a propagation mat or a warm windowsill can make a huge difference. The warmth encourages root development from below.
- Humidity is Key, But Not Soaking Wet: While creating that humid environment with a bag is crucial, ensure your soil is moist, not soggy. Overwatering at this stage is a fast track to root rot. Let the top layer of soil dry out slightly between waterings.
- Patience, Grasshopper! Paullinia ingifolia can sometimes take its sweet time developing roots. Don’t be discouraged if you don’t see immediate results. I’ve had cuttings take 4-6 weeks or even longer to show good root growth.
Aftercare & Troubleshooting
Once you start to see new growth or gently tug on a cutting and feel resistance (indicating roots), it’s time for a little adjustment.
- Acclimatization: Slowly start to acclimatize your new plant to the drier air outside of the plastic bag. For stem cuttings, gradually increase the time the bag is off over a week. For water cuttings, once roots are about an inch long, you can pot them up in your well-draining mix.
- Consistent Moisture: Keep the soil consistently moist but not waterlogged. This is the golden rule for young plants.
- Bright, Indirect Light: Continue to provide bright, indirect light. Avoid direct sun, which can scorch tender new leaves.
The most common problem you might encounter is rot. If you see yellowing leaves, wilting, or a mushy stem, it’s usually a sign of too much moisture. If you catch it early, you might be able to salvage a healthy section by taking a new cutting.
A Little Encouragement
Growing new plants is a journey, and it’s always filled with learning. Don’t be discouraged if your first attempt isn’t perfect. Every gardener has had their share of cuttings that didn’t make it. The most important thing is to keep trying, observe your plant, and enjoy the process. You’re cultivating life, and that’s a wonderful thing! Happy propagating!
Resource:
https://identify.plantnet.org/k-world-flora/species/Paullinia%20ingifolia%20Rich./data