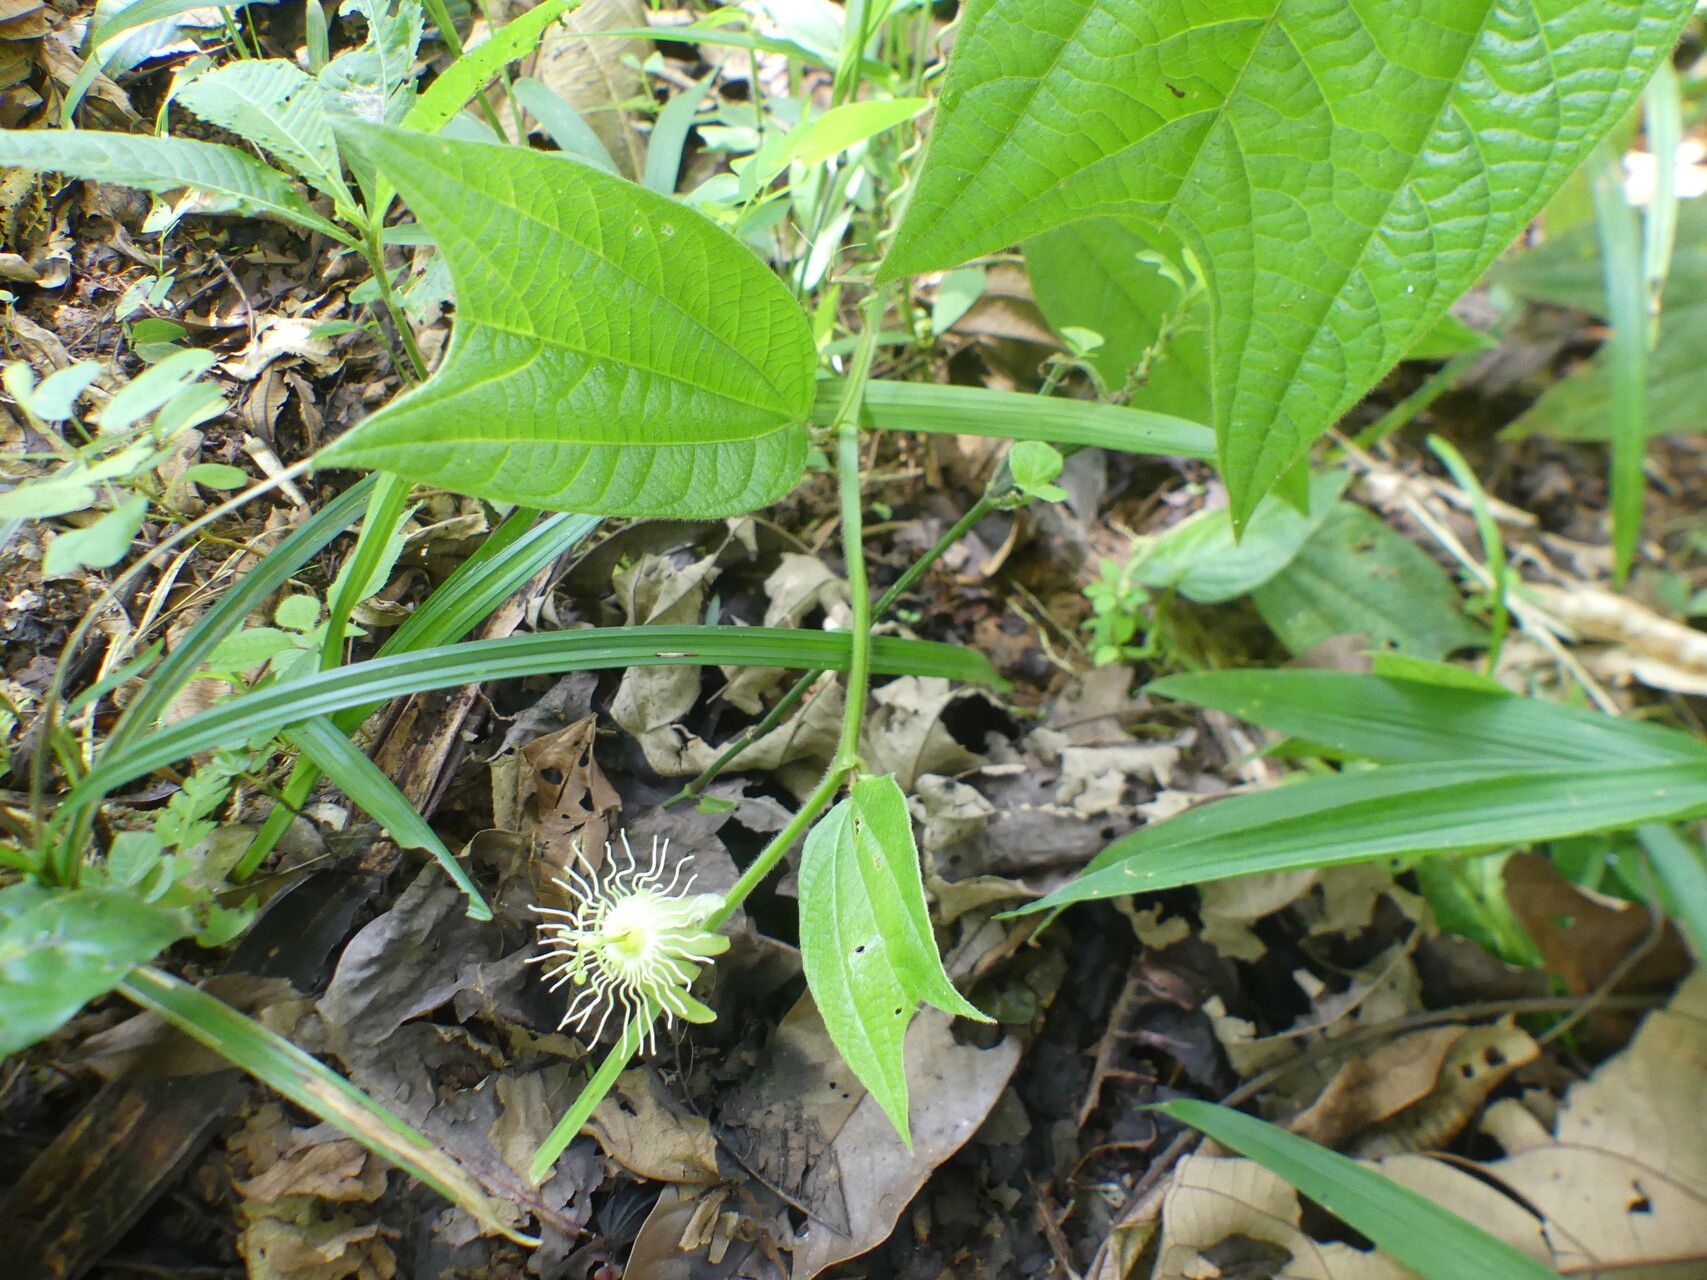
Oh, Passiflora costaricensis! It’s a vine that truly sings, isn’t it? Its intricate, exotic blooms, often tinged with that lovely crimson, are just a feast for the eyes. And the promise of delicious fruit? Well, that just elevates it to a whole new level! Propagating this beauty yourself is such a rewarding adventure, like unlocking a little bit of its magic to share and multiply. Now, if you’re just dipping your toes into the world of plant propagation, I’d say Passiflora costaricensis leans a bit towards the “moderately easy” side. It’s not as fickle as some, but it does appreciate a bit of know-how.
The Best Time to Start
For the highest success rate with Passiflora costaricensis, I always recommend starting in late spring to early summer. This is when the plant is actively growing, full of life, and has plenty of energy to put into forming new roots. You want to work with healthy, vigorous stems that haven’t yet started to flower or set fruit. Think of it as harvesting from a plant that’s feeling its best!
Supplies You’ll Need
Gathering your tools beforehand makes the whole process much smoother. Here’s what you’ll want on hand:
- Sharp Pruning Shears or a Clean Knife: For making clean cuts.
- Well-Draining Potting Mix: A good blend for cuttings is often one part peat moss or coco coir to one part perlite or coarse sand. This provides aeration and retains just enough moisture.
- Rooting Hormone (Optional but Recommended): Especially for Passiflora, a rooting hormone can give those cuttings a significant boost. Look for one containing IBA (indole-3-butyric acid).
- Small Pots or Seed Trays: Clean, with drainage holes, of course!
- Plastic Bags or a Propagator: To create a humid environment.
- Watering Can with a Fine Rose: For gentle watering.
- Labels: Don’t forget to label your cuttings!
Propagation Methods
While you can sometimes divide established plants, my favorite and most reliable method for Passiflora costaricensis is stem cuttings. It’s straightforward and usually yields great results.
Stem Cuttings:
- Select Your Cuttings: On a healthy, non-flowering stem, identify a section that’s about 4-6 inches long. Look for a section that’s semi-hardwood – it should be flexible but not floppy green, and not woody and stiff.
- Make the Cut: Use your sharp pruning shears or knife to make a clean cut just below a leaf node. A leaf node is where a leaf or bud emerges from the stem. This is where rooting material is concentrated.
- Prepare the Cutting: Gently remove the bottom leaves, leaving just one or two at the very top of the cutting. This prevents them from rotting when placed in the soil and reduces moisture loss.
- Apply Rooting Hormone (If Using): Lightly dip the bottom inch of the cutting into your rooting hormone powder. Tap off any excess.
- Plant the Cuttings: Fill your small pots or trays with the well-draining potting mix. Make a small hole in the center with your finger or a pencil.
- Insert the Cutting: Gently push the bottom of the cutting into the hole, ensuring the leaf node where you made the cut is buried. Firm the soil gently around the stem to support it.
- Water Gently: Water thoroughly but gently so the soil is moist but not waterlogged.
- Create Humidity: Cover the pots with a plastic bag or place them in a propagator. This is crucial to keep the humidity high, preventing the cuttings from drying out before they can root. Ensure the leaves don’t touch the plastic if possible.
The “Secret Sauce” (Pro Tips)
Here are a couple of things I’ve learned over the years that really make a difference:
- Don’t Be Afraid of a Little Heat: Passiflora really loves a bit of warmth. Placing your pots on a heated propagator mat can dramatically speed up root formation. It mimics the temperature of a summer soil surface and gives those root cells a gentle nudge to get going.
- Fresh is Best (and Maybe a Little Water Bath): If you can’t plant your cuttings immediately, don’t let them wilt for too long. You can temporarily store them by wrapping the cut ends in a damp paper towel and popping them in a plastic bag in the fridge for a day or two. Some folks even like to let the cut end sit in a shallow glass of clean water for a couple of hours before applying rooting hormone and planting. It’s like giving them a quick drink before their big challenge.
Aftercare & Troubleshooting
Once your cuttings are planted and covered, keep them in a bright, indirect light location. Avoid direct sun, as it can scorch them under the plastic. Check the soil moisture regularly and water when the surface feels slightly dry.
You won’t see roots overnight, so patience is key! It can take anywhere from 4 to 8 weeks, sometimes longer, for Passiflora cuttings to root. You’ll know they’re rooting when you see new leaf growth emerging from the top. Gently tugging on the cutting will also reveal some resistance if roots have formed.
The most common issue you might encounter is rot. If you see your cutting turning black and mushy, or if the soil stays constantly soggy, that’s a sign of trouble. This usually means too much water and not enough drainage or aeration. Make sure your potting mix is loose, and if you suspect rot, it’s often best to discard the affected cutting and start again, ensuring better airflow and less moisture next time.
A Encouraging Closing
Propagating Passiflora costaricensis is a beautiful way to connect with nature and expand your garden. Remember, every gardener has a few compost bin casualties along the way – it’s all part of the learning curve! So take a deep breath, enjoy the process, and soon you’ll be admiring your own baby passionflowers, ready to climb and bloom. Happy propagating!
Resource:
https://identify.plantnet.org/k-world-flora/species/Passiflora%20costaricensis%20Killip/data