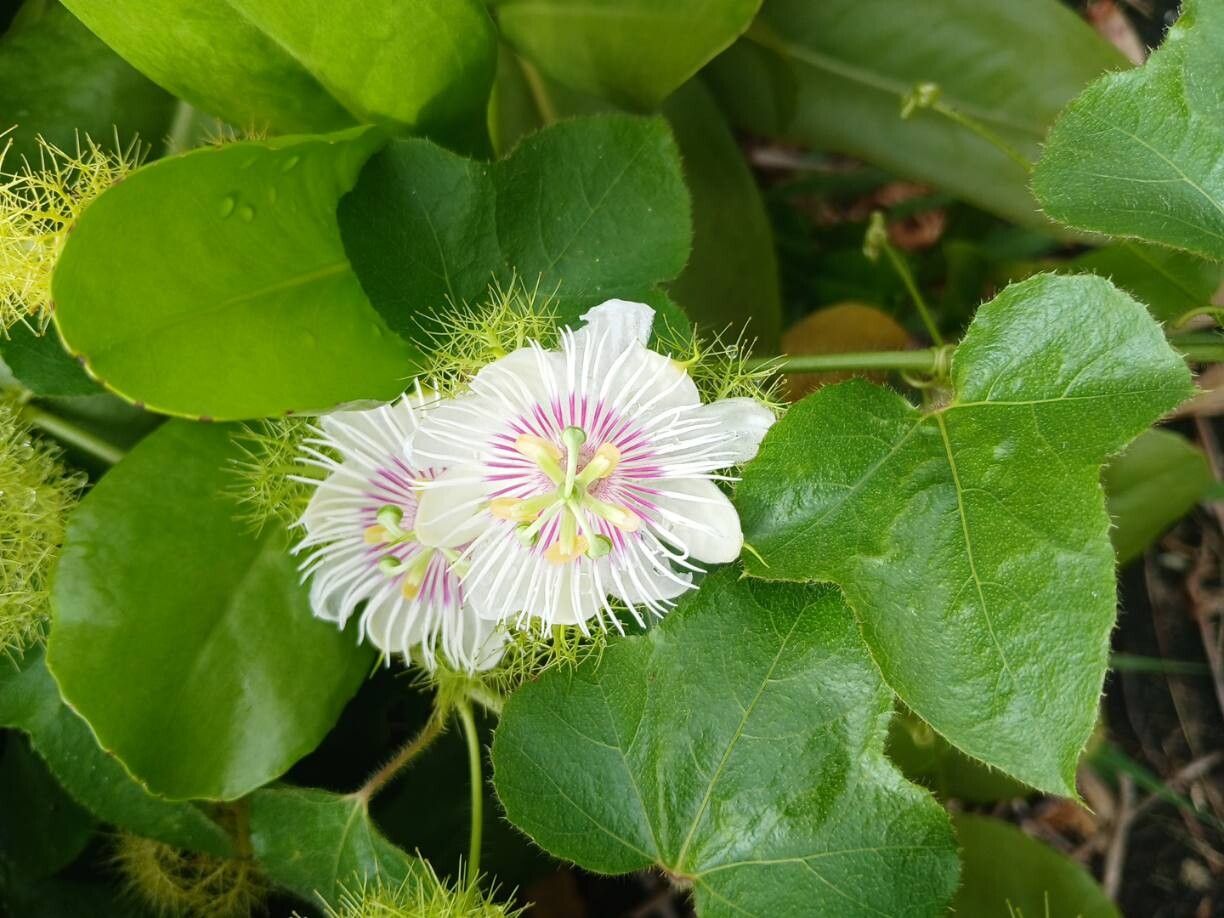
Hello there, fellow plant lovers! I’m so excited to chat with you today about one of my absolute favorite passionflowers: Passiflora ciliata. If you’re looking for a vine that brings a touch of exotic elegance to your garden, with its delicate fringed flowers and vibrant energy, this is the one. And the best part? You can easily multiply this beauty yourself!
Propagating Passiflora ciliata is incredibly satisfying. It’s a way to share this charm with friends, fill more spaces in your own garden, or simply enjoy the process of coaxing new life from a healthy parent plant. Now, I won’t lie and say it’s as foolproof as a pothos, but with a little attention, Passiflora ciliata is quite manageable. Beginners can absolutely succeed with these methods.
The Best Time to Start
The sweet spot for propagating Passiflora ciliata is during its active growing season, typically late spring through summer. This is when the plant is energized, producing new growth that has plenty of vigor to draw upon. Starting when the days are longer and the temperatures are warmer gives your cuttings the best chance to root quickly. Look for stems that are semi-hardwood – not brand new and floppy, but not old and woody either. They should snap cleanly when bent, not just bend over.
Supplies You’ll Need
Gathering your tools beforehand makes the whole process smoother. Here’s what I always have on hand:
- Sharp Pruning Shears or a Clean Knife: For making clean cuts. Sterilize them with rubbing alcohol to prevent disease.
- Seed Starting Mix or a Well-Draining Potting Mix: I often use a blend of equal parts peat moss (or coco coir), perlite, and a little bit of compost. This provides good aeration and prevents waterlogging.
- Small Pots or Trays: Clean pots or even recycled yogurt cups with drainage holes work perfectly.
- Rooting Hormone (Optional, but Recommended): A rooting hormone powder or gel can significantly speed up root development and increase success rates.
- Clear Plastic Bags or a Mini Greenhouse: To create a humid microclimate around your cuttings.
- Watering Can with a Fine Rose: For gentle watering.
- Labels and a Waterproof Marker: Don’t forget to label your cuttings!
Propagation Methods
Let’s get our hands dirty! Stem cuttings are the most reliable way to propagate Passiflora ciliata.
Stem Cuttings:
- Select Your Cuttings: Choose healthy, non-flowering stems from your mature plant. Aim for cuttings that are about 4-6 inches long, with at least two sets of leaves.
- Make the Cut: Using your sterilized pruners or knife, make a clean cut just below a leaf node. This is the bump on the stem where a leaf or bud emerges – it’s where roots are most likely to form.
- Prepare the Cutting: Gently remove the lower leaves, leaving just one or two at the top. This prevents them from rotting in the soil and directs the plant’s energy towards root formation. If the remaining leaves are very large, you can even snip them in half horizontally to further reduce water loss.
- Apply Rooting Hormone: If you’re using rooting hormone, dip the cut end of the stem into the powder or gel. Tap off any excess. This step is a real booster for Passiflora.
- Plant Your Cuttings: Fill your small pots with your prepared potting mix. Make a small hole in the center with your finger or a pencil. Insert the cutting, ensuring the leaf nodes that were closest to the cut end are buried in the soil. Gently firm the soil around the stem.
- Water Gently: Water the soil thoroughly but gently, ensuring good contact between the cutting and the soil.
- Create Humidity: Place the pot inside a clear plastic bag, sealing it around the pot to create a mini-greenhouse. Alternatively, place the pot in a mini-greenhouse with the lid on. Make sure the leaves don’t touch the plastic bag if possible!
Water Propagation (Less Reliable for Passiflora, but Worth a Try):
For a simpler approach, you can try rooting cuttings in water.
- Prepare the Cutting: Follow steps 1-3 above, preparing your 4-6 inch stem cuttings.
- Place in Water: Fill a clean jar or glass with fresh water. Place the cuttings in the water, ensuring the leaf nodes are submerged.
- Location: Place the jar in a bright spot out of direct sunlight.
- Change Water Regularly: Change the water every 2-3 days to keep it fresh and prevent bacterial growth.
- When to Pot: Once you see tiny roots at least an inch long, carefully transfer the cutting to a pot with well-draining soil. This is often more delicate than soil propagation, so handle with care.
The “Secret Sauce” (Pro Tips)
Here are a couple of things I’ve learned over the years that really make a difference with passionflowers:
- Bottom Heat is Your Friend: Passionflowers, especially Passiflora ciliata, absolutely love a bit of warmth from below. If you have a seedling heat mat, place your pots on it. This gentle warmth encourages root development, acting like a cozy incubator for your cuttings.
- Don’t Rush the Transplant: Be patient after potting. Resist the urge to tug on the cutting to see if it has rooted. Look for new leaf growth as the primary indicator that roots are forming and the plant is establishing itself. It can take several weeks, sometimes longer.
- A Little Bit of Shade Helps: While cuttings need bright light, direct, scorching sun can quickly dehydrate them. Once potted in their humid enclosure, placing them in a bright spot with indirect light is ideal.
Aftercare & Troubleshooting
Once your cuttings show signs of life – usually new leaf growth appearing – it’s time for a bit of adjustment. Gradually acclimate them to your home’s regular humidity by opening the plastic bag or greenhouse lid for increasing periods over a week or so. Continue to keep the soil consistently moist, but not soggy.
The most common sign of trouble is rot. If your cutting turns black and mushy, it’s a sign of too much moisture and not enough air circulation, or potentially a pathogen. Sadly, a rotten cutting can’t be saved. Another issue is if the cutting simply shrivels and dries out – this means it’s losing water faster than it can absorb it, often due to insufficient humidity or being in too bright a location. Don’t be discouraged if a few don’t make it; it’s part of the learning curve!
A Encouraging Closing
There you have it! Propagating Passiflora ciliata is a wonderful journey that connects you more deeply with your plants. Be patient with the process, observe your cuttings, and celebrate each tiny success. Soon you’ll have a whole collection of these exquisite vines, each a testament to your growing skills. Happy propagating!
Resource:
https://identify.plantnet.org/k-world-flora/species/Passiflora%20ciliata%20Aiton/data