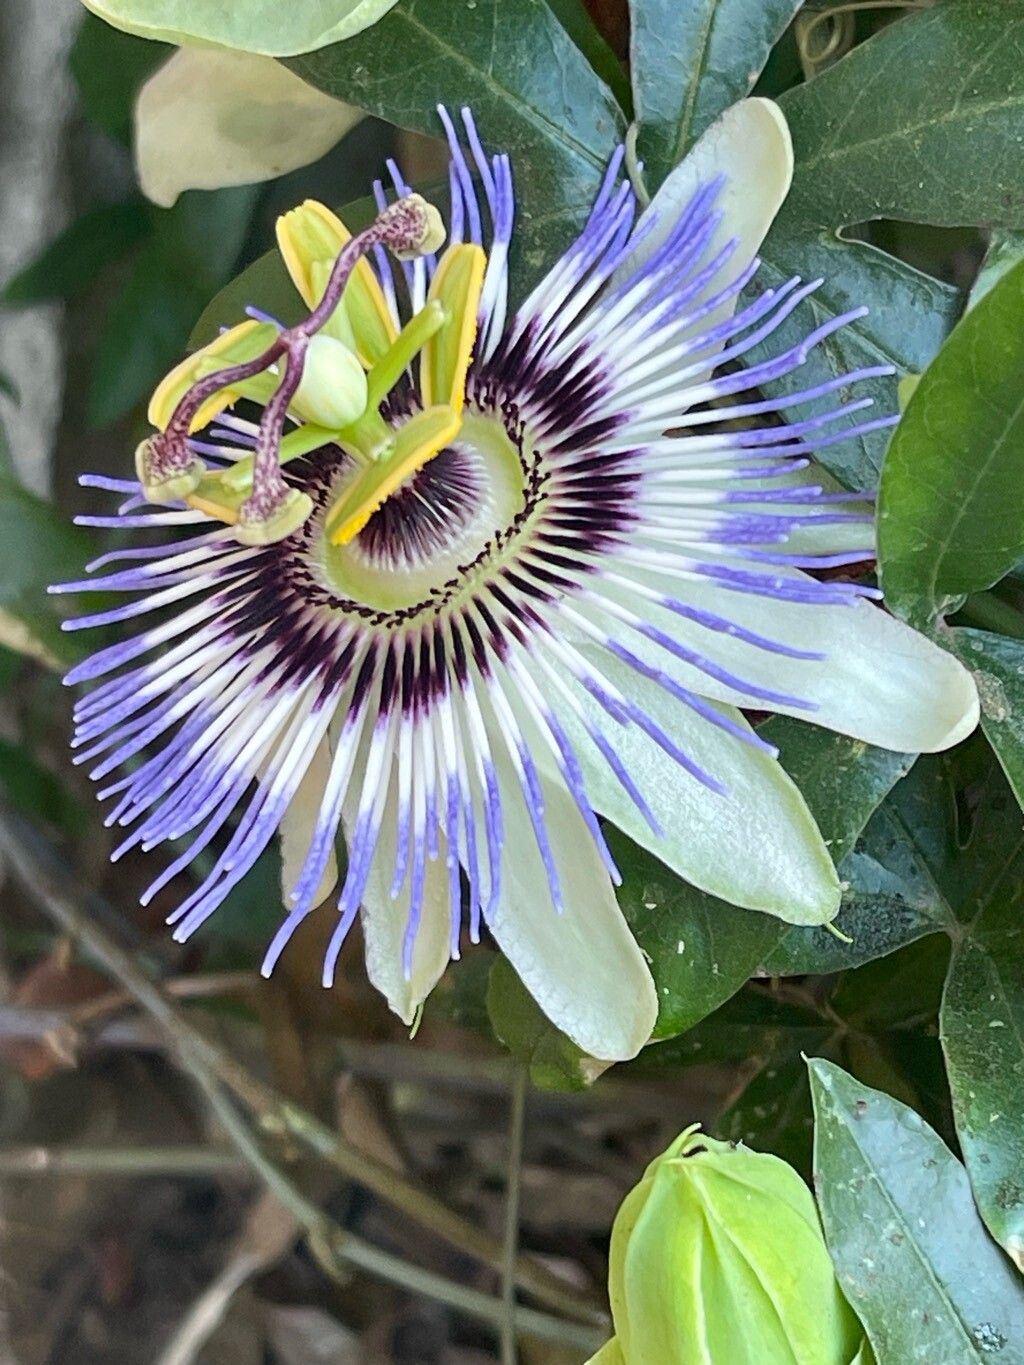
Oh, hello there! It’s so lovely to have you join me today. If you’re like me, you’ve probably been utterly captivated by the ethereal beauty of the Blue Passionflower, Passiflora caerulea. Those intricate, celestial blooms look like something a fairy would weave! And the best part? You can fill your whole garden with them! Propagating this stunner is incredibly rewarding, and I’m here to tell you, it’s a joy you can absolutely achieve. For beginners, I’d say Passiflora is a forgiving friend, and taking cuttings is a fantastic way to start your propagation journey.
The Best Time to Start
Timing is everything in the garden, isn’t it? For Passiflora caerulea, the sweet spot for taking cuttings is in late spring to early summer. This is when the plant is in active growth. You’re looking for new, but slightly hardened growth. Think of it as wood that’s no longer brand new and floppy, but not yet old and woody. This kind of stem has the best balance of flexibility and energy to root.
Supplies You’ll Need
Gathering your tools beforehand makes the whole process smoother. Here’s what you’ll want to have on hand:
- Sharp, clean pruning shears or a sharp knife: A clean cut is crucial to prevent disease.
- Rooting hormone: While not always strictly necessary for Passiflora, it definitely gives your cuttings a helpful boost.
- A small pot or seeding tray: With drainage holes, of course!
- A good quality potting mix: I like a mix of seed-starting compost and perlite for excellent drainage. You can also use a peat-free alternative these days.
- A plastic bag or propagator lid: To create a humid environment for your cuttings.
- A small watering can or mister: To keep things nicely moist.
Propagation Methods
Let’s get our hands dirty! Stem cuttings are by far the most straightforward and successful method for Passiflora caerulea.
- Taking the Cuttings: Find a healthy stem on your parent plant. Using your clean shears, take a cutting that’s about 4-6 inches long. Make your cut just below a leaf node (where a leaf attaches to the stem). Remove the lower leaves, leaving just one or two at the top.
- Preparing the Cuttings: Dip the cut end of each stem into your rooting hormone. Gently tap off any excess.
- Planting Them Up: Fill your small pots or tray with your prepared potting mix. Make a small hole in the center of the soil using your finger or a pencil. Insert the treated end of the cutting into the hole, ensuring a leaf node is buried in the soil, as this is where roots will emerge. Gently firm the soil around the stem.
- Creating a Humid Environment: Water the soil gently. Then, cover the pot with a clear plastic bag or place it in a propagator, securing it to create a mini greenhouse. This traps humidity, which is vital for preventing the cuttings from drying out before they can root. Place the pot in a bright spot, but out of direct, harsh sunlight.
The “Secret Sauce” (Pro Tips)
Here are a few little tricks I’ve picked up over the years that can make a big difference:
- Don’t let those leaves touch the water (if you were to try water propagation). While Passiflora can root in water, I find it’s a bit more prone to rot. If you do try it, make sure no leaves are submerged, as this will encourage decay. Soil is your friend here.
- Bottom heat works wonders! If you have a heated propagator mat, pop your pot on it. A gentle warmth from below really encourages those roots to get going. You’ll often see results much faster.
- Be patient with the ‘stick test’. After a few weeks, you might be tempted to tug gently on a cutting. Resist! The best way to check for roots is to see new growth appearing at the tip of the stem. A gentle tug can disrupt delicate new roots.
Aftercare & Troubleshooting
Once you start to see new growth on your cuttings, that’s a fantastic sign that roots are forming! Gradually remove the plastic bag or propagator lid over a few days to acclimate the new plant to normal humidity. Continue to keep the soil evenly moist but not waterlogged.
The most common problem you might encounter is rot, which usually happens if the soil is too wet or the humidity is too high for too long. If a cutting looks limp, blackened, or mushy, sadly, it’s probably best to discard it and try again. Don’t be discouraged – it happens to the best of us! Keep things airy and avoid overwatering.
A Encouraging Closing
So there you have it! Propagating Passiflora caerulea is a wonderfully fulfilling endeavor. It requires a little patience and observation, but the reward of nurturing a whole new plant from a tiny cutting is truly special. Don’t be afraid to experiment, and remember to enjoy the process. Happy gardening!
Resource:
https://identify.plantnet.org/k-world-flora/species/Passiflora%20caerulea%20L./data