Hey there, fellow plant lovers! So, you’ve fallen under the spell of Passiflora actinia, haven’t you? I don’t blame you one bit. Those intricate, starry blooms and the promise of a homegrown passionfruit (well, maybe a small one!) are just irresistible. Growing this beauty is a joy, and honestly, sharing that joy by creating more plants from your own is incredibly rewarding. If you’re wondering if Passiflora actinia is a good plant to start propagating with, I’d say it’s moderately easy. A little patience and these steps, and you’ll be well on your way!
The Best Time to Start
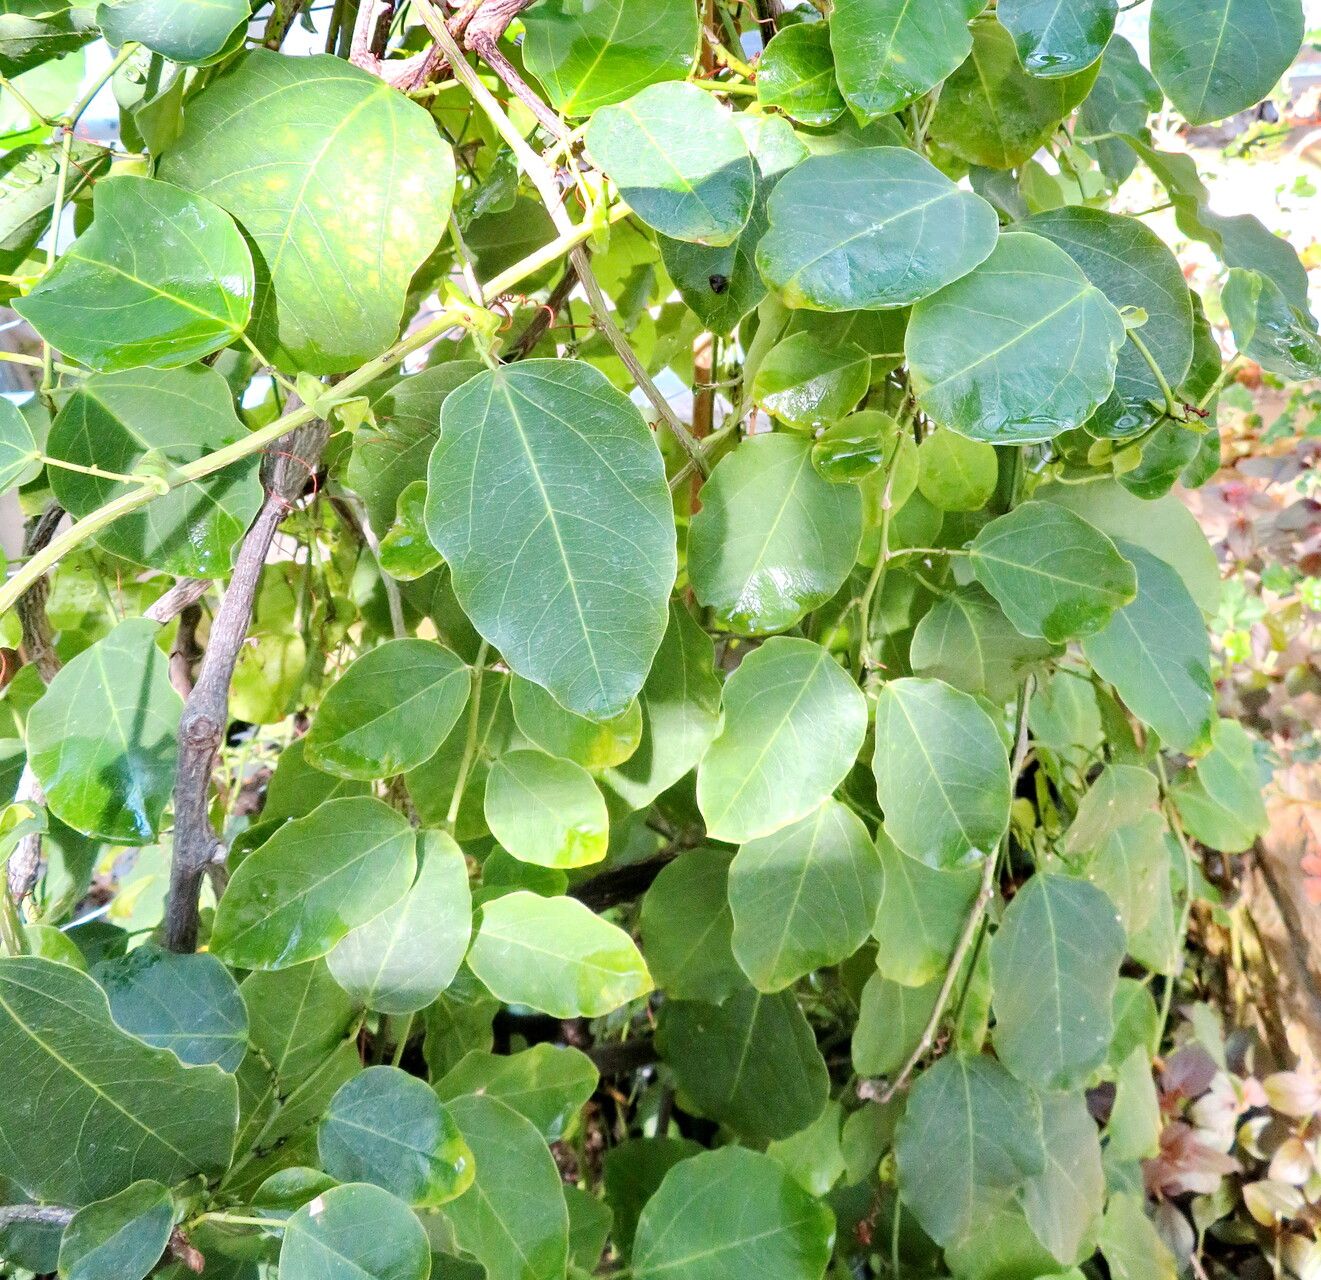
For the best chance of success, spring and early summer are your golden windows. This is when the plant is in its active growth phase. You’ll want to take cuttings from healthy, new, semi-hardwood growth. Think stems that are firm but still a little bendy – not the brand-new, tender shoots, nor the old, woody branches.
Supplies You’ll Need
Here’s what I always have on hand when I’m propagating:
- Sharp Pruning Shears or a Craft Knife: Cleanliness is key here to prevent disease.
- Rooting Hormone (Optional, but Recommended): A powder or gel makes a big difference, especially for woody plants.
- Well-Draining Potting Mix: I like a mix of perlite, peat moss, and a bit of compost. A standard seed-starting mix works well too.
- Small Pots or Trays: Clean pots are a must!
- Clear Plastic Bags or a Propagation Dome: To create a humid environment.
- Water: For watering and, in one method, for rooting.
- Plant Labels: Trust me, you’ll thank yourself later.
Propagation Methods
Let’s get our hands dirty! I find stem cuttings to be the most reliable method for Passiflora actinia.
Stem Cuttings:
- Select Your Cuttings: Look for healthy stems that are about 4-6 inches long. Make sure each cutting has at least two or three leaf nodes (where the leaves attach to the stem).
- Make the Cut: Using your clean shears or knife, make a clean cut just below a leaf node. This is where roots are most likely to form.
- Prepare the Cuttings: Gently remove the lower leaves, leaving just one or two at the top. If the leaves are very large, you can even cut them in half horizontally to reduce water loss.
- Apply Rooting Hormone (If Using): Dip the cut end of the stem into the rooting hormone, tapping off any excess.
- Plant Your Cuttings: Fill your small pots with your soilless mix. Make a small hole in the center with your finger or a pencil. Insert the cutting into the hole, ensuring the node with the remaining leaves is above the soil line. Gently firm the soil around the base.
- Water and Cover: Water the soil thoroughly but gently. Then, cover the pot with a clear plastic bag or a propagation dome. Make sure the leaves don’t touch the plastic if possible.
Water Propagation (A Simpler Option):
- Follow steps 1-3 above for selecting and preparing your cuttings.
- Place the cuttings in a jar or glass of clean water. Ensure the water covers at least one or two leaf nodes.
- Change the Water Regularly: Every few days, replace the water to keep it fresh and prevent bacterial growth.
- Wait for Roots: You should start to see tiny white roots forming from the nodes within a few weeks. Once the roots are about an inch long, you can carefully plant them into your well-draining potting mix.
The “Secret Sauce” (Pro Tips)
Here are a few tricks I’ve picked up over the years that really boost my success rates:
- Bottom Heat is Your Friend: Passionflowers love warmth. Placing your pots on a heating mat specifically designed for propagation can significantly speed up root development.
- Don’t Let Leaves Touch the Water (in Water Propagation): While it’s tempting to submerge everything, if leaves constantly sit in water, they’ll rot. Roots emerge from nodes, so focus on keeping those submerged and the foliage out.
- Mimic a Greenhouse: High humidity is crucial for cuttings. My trick is to gently mist the inside of the plastic bag with water if it looks dry, or ensure the propagation dome is sealed well.
Aftercare & Troubleshooting
Once your cuttings have developed a good root system (you can gently tug on them – if there’s resistance, they’ve rooted!), it’s time to treat them like little established plants. Gradually acclimate them to the regular garden environment by opening the bag or dome for longer periods over a week. Water them consistently, keeping the soil moist but not waterlogged.
The most common problem you might encounter is rot. If you see leaves turning yellow and mushy, or the stem going black and soft at the soil line, it’s usually a sign of too much moisture and not enough air circulation. If you catch it early, you might be able to salvage the cutting by trimming away the rotted parts and repotting in fresh, drier mix. Another sign of failure is if the cutting simply dries out and wilts, which means it didn’t root and lost too much moisture.
A Encouraging Closing
Gardening is all about patience and observation, and propagation is no different. Don’t get discouraged if not every cutting takes. Learn from each attempt, adjust your methods, and celebrate the ones that thrive! Enjoy the journey of helping your beautiful Passiflora actinia spread its magic. Happy propagating!
Resource:
https://identify.plantnet.org/k-world-flora/species/Passiflora%20actinia%20Hook./data