Hello, fellow green thumbs! Today, we’re diving into the wonderful world of propagating Parthenium confertum. If you’ve ever admired this plant for its delicate, daisy-like flowers and its ability to bring a touch of wild beauty to your garden, you’re in for a treat. Nurturing a new plant from a piece of an old one is one of the most satisfying parts of gardening, and Parthenium confertum is a fantastic subject to practice on. For beginners, I’d say it’s moderately easy – a little patience and the right technique go a long way!
The Best Time to Start
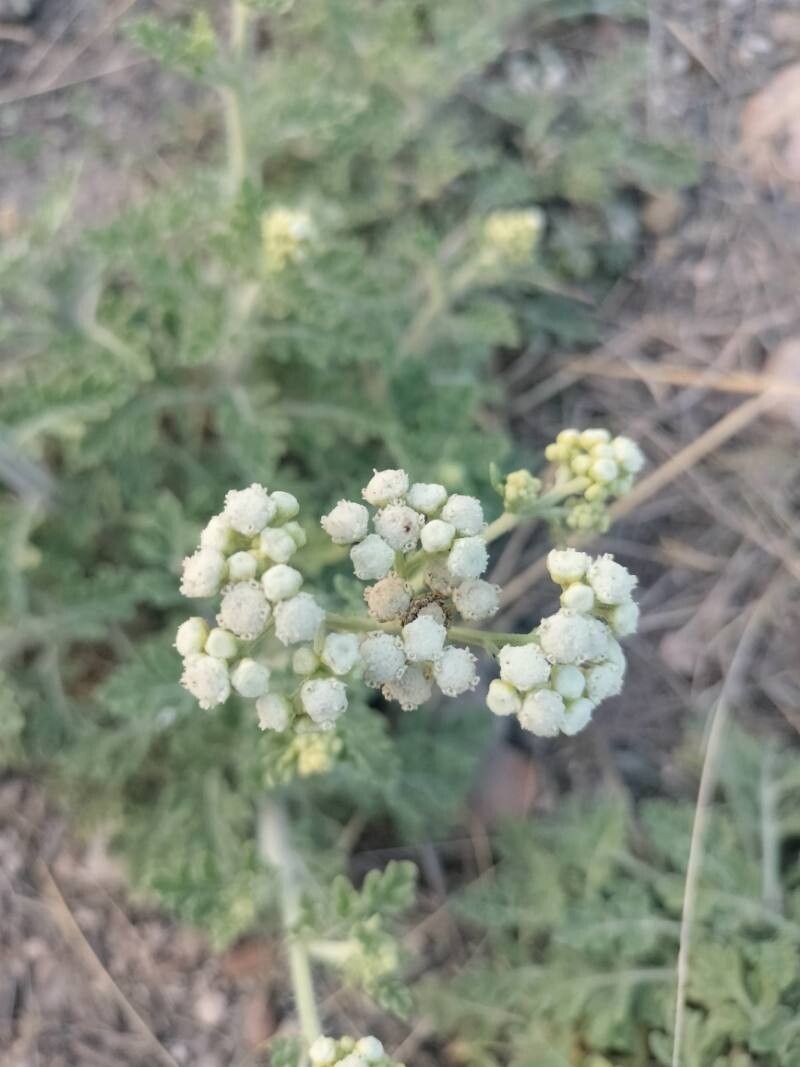
My go-to time for propagating Parthenium confertum is late spring to early summer. This is when the plant is actively growing and has plenty of energy to put into developing new roots. You’ll want to take cuttings from healthy, vigorous stems that aren’t currently in bloom. Think of it as a little mother plant getting ready to expand its family at the most opportune moment.
Supplies You’ll Need
Gathering your supplies beforehand makes the whole process much smoother. Here’s what I usually have on hand:
- Sharp pruning shears or a clean knife: For making clean cuts on your parent plant and cuttings.
- Rooting hormone (optional): While not strictly necessary for Parthenium confertum, it can give your cuttings a nice boost. I prefer the powdered form.
- Well-draining potting mix: A mix of perlite, peat moss, and a bit of compost works wonderfully. You can also use a specific seed-starting mix or cactus/succulent mix.
- Small pots or trays: Clean, small pots are perfect for individual cuttings.
- Plastic bags or domes: To create a humid environment for your cuttings.
- Watering can or spray bottle: For gentle watering.
- Labels: To keep track of what you’ve propagated and when!
Propagation Methods
Parthenium confertum is quite amenable to stem cuttings, and it’s my favorite way to get new plants going.
Stem Cuttings
- Select your source: Find a healthy, non-flowering stem on your mature Parthenium confertum.
- Make the cut: Using your sharp shears or knife, take a cutting about 4-6 inches long. Make the cut just below a leaf node (that little bump where a leaf attaches to the stem). This is where the magic happens, where roots are most likely to emerge.
- Prepare the cutting: Gently remove the leaves from the bottom half of the cutting. You want at least a couple of leaf nodes buried in the soil.
- Apply rooting hormone (if using): Dip the cut end of the stem into your rooting hormone, tapping off any excess.
- Plant the cutting: Fill your clean pots with your well-draining potting mix. Make a small hole with your finger or a pencil, and carefully insert the cut end of the stem. Firm the soil gently around it.
- Water gently: Water the soil thoroughly but gently to settle it around the cutting.
The “Secret Sauce” (Pro Tips)
Here are a couple of things I’ve picked up over the years that really help boost success rates with cuttings:
- Keep those leaves out of the water: If you’re tempted to try water propagation (which is possible with Parthenium confertum, but I find soil easier for long-term success), make absolutely sure no leaves are submerged. They’ll just rot and invite disease. Only the stem should be in the water.
- Bottom heat is your friend: If you have trouble getting cuttings to root, think about adding a little bottom heat. A seedling heat mat placed under your pots can significantly speed up root development. It mimics the warmth of the soil surface after a sunny day.
Aftercare & Troubleshooting
Once your cuttings are planted, it’s time for a little nurturing.
- Humidity is key: Cover your pots loosely with a plastic bag or a propagator lid to create a humid environment. This prevents the cuttings from drying out while they’re trying to form roots.
- Bright, indirect light: Place your cuttings in a spot with bright, indirect light. Avoid direct sun, which can scorch the young leaves.
- Check for roots: Be patient! It can take anywhere from 2-6 weeks for roots to develop. You can gently tug on a stem to feel for resistance, or if you’re daring, carefully peek at the drainage holes to see if roots are emerging.
- Signs of trouble: The most common enemy here is rot. If your cutting turns mushy or black at the base, it’s a sign of too much moisture and poor drainage. Unfortunately, this one is usually a goner. Yellowing leaves can also indicate too much watering or sometimes not enough. If you’re seeing rot, pull the cutting out, discard it, and try again with drier soil and better airflow.
A Little Patience Goes a Long Way
Propagating plants is a journey, and not every cutting will make it – and that’s perfectly okay! Think of it as gaining valuable experience. Don’t get discouraged if you have a few failures. Just keep trying, keep observing, and most importantly, keep enjoying the process of bringing new life into your garden. Happy propagating, friends!
Resource:
https://identify.plantnet.org/k-world-flora/species/Parthenium%20confertum%20A.Gray/data