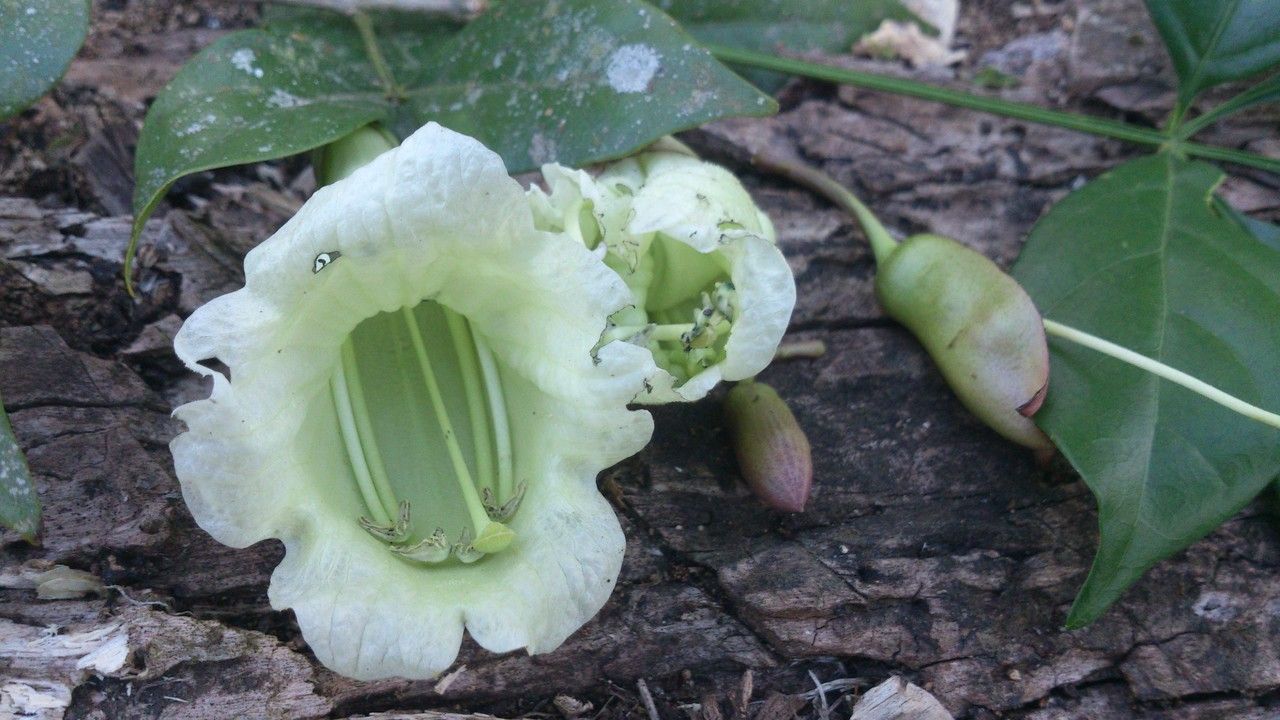
Hey there, fellow green thumbs! Today, we’re diving into the wonderful world of Parmentiera macrophylla, often called the Candle Tree or Florentine Candle Plant. If you’re drawn to its unique, long, white flowers that appear directly on the trunk and branches, you’re in good company! These beauties are a sight to behold and, thankfully, quite rewarding to propagate. For beginners, I’d say it’s moderately easy – a little patience is key, but the payoff is absolutely worth it.
The Best Time to Start
The sweet spot for propagating Parmentiera macrophylla is generally late spring through summer. This is when the plant is in its most active growth phase. You’ll be looking for healthy, new growth that’s still a bit pliable but not overly soft. Think of it as capturing that youthful energy!
Supplies You’ll Need
Gathering your tools beforehand makes the whole process go so much smoother. Here’s what you’ll want on hand:
- Sharp pruning shears or a clean, sharp knife: For making clean cuts.
- Rooting hormone powder or gel (optional but recommended): This really helps give your cuttings a boost.
- Well-draining potting mix: A blend of peat moss, perlite, and a bit of compost works wonders. You can also find specialized succulent or cactus mixes that do the trick.
- Small pots or a propagation tray: Around 4-6 inches in diameter is usually good. Make sure they have drainage holes!
- Plastic bags or a clear plastic dome: To create a humid environment for your cuttings.
- Watering can with a fine spray: To avoid disturbing your new babies.
- Labels: Don’t forget to label what you’ve propagated and when!
Propagation Methods
Let’s get our hands dirty! The most reliable way I’ve found to propagate Parmentiera macrophylla is through stem cuttings.
- Taking the Cuttings: Select a healthy stem that’s about 6-8 inches long. Look for stems that have at least a few sets of leaves. Using your clean shears, make a clean cut just below a leaf node (where a leaf attaches to the stem). Remove the lower leaves, leaving just a couple at the very top.
- Applying Rooting Hormone (Optional): If you’re using rooting hormone, dip the cut end of the stem into the powder or gel. Tap off any excess.
- Planting the Cuttings: Fill your pots with your well-draining potting mix. Make a small hole in the center of the soil with your finger or a pencil. Insert the cut end of the stem into the hole, ensuring it’s firm in the soil. Gently firm the soil around the base of the cutting.
- Creating a Humid Environment: Water the soil gently until it’s moist but not soggy. Then, cover the pot with a plastic bag (you can use a stake to keep the bag from touching the leaves) or place it under a clear plastic dome. This traps humidity, which is crucial for cuttings to root.
- Placement: Place your pots in a bright spot that receives indirect sunlight. Avoid direct sun, which can scorch the young cuttings.
The “Secret Sauce” (Pro Tips)
Here are a couple of things I’ve learned over the years that make a difference:
- Don’t Crowd Your Cuttings: Give each cutting some space in its pot or tray. Overcrowding can lead to poor air circulation and increase the risk of fungal issues. Sometimes, one or two cuttings per 4-inch pot is perfect.
- The Magic of Bottom Heat: If you have the setup, placing your propagation tray on a gentle heat mat can significantly speed up root development. The warmth encourages root growth from below, giving your cuttings a fantastic head start.
Aftercare & Troubleshooting
Once your cuttings are planted, keep the soil consistently moist but not waterlogged. You’ll want to mist them every few days if you’re not using a dome, or lift the dome/bag daily for a few minutes to allow for some air exchange.
You’ll know your cuttings have rooted when you see new leaf growth or feel a gentle resistance when you lightly tug on the stem. This usually takes several weeks to a couple of months. Once they’ve established a good root system, you can carefully transplant them into slightly larger pots.
The biggest problem you might encounter is rot. This is usually a sign of overwatering or poor drainage. If you see a cutting turning mushy or black at the base, unfortunately, it’s probably too far gone. Remove it immediately and check your soil mix and watering habits.
A Warm Farewell
Propagating a new plant is such a fulfilling experience, isn’t it? Watching a tiny cutting transform into a thriving specimen is a special kind of magic. Be patient with your Parmentiera macrophylla cuttings. They’ll let you know when they’re ready. Enjoy the journey, and happy propagating!
Resource:
https://identify.plantnet.org/k-world-flora/species/Parmentiera%20macrophylla%20Standl./data