Hello, fellow plant lovers! Today, we’re diving into the wonderful world of propagating Paphiopedilum slipper orchids, specifically the exquisite acmodontum.
Why Propagate Paphiopedilum acmodontum?
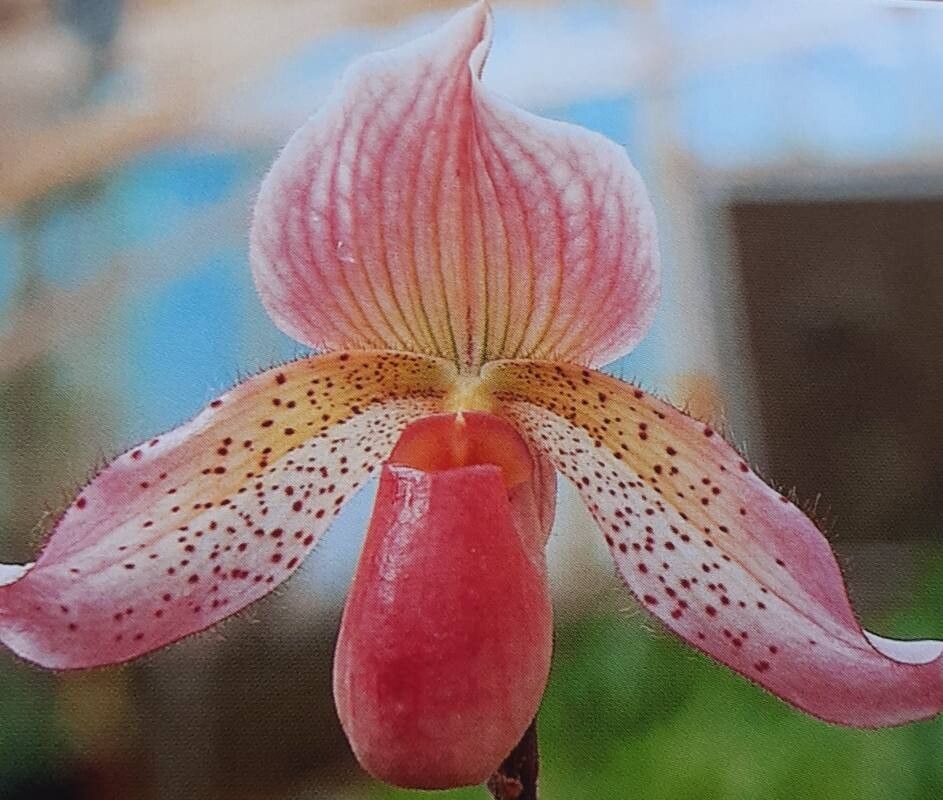
There’s something truly magical about nurturing a new life from an existing plant. Paphiopedilum acmodontum, with its graceful pouch and intricate spotting, is a real showstopper in any orchid collection. Propagating it is a fantastic way to expand your collection or share these beauties with friends. Now, I’ll be honest, Paphiopedilum aren’t the easiest orchids to propagate for absolute beginners. They prefer specific conditions and can be a little fussy. But with a bit of patience and some good guidance, it’s definitely achievable, and oh-so-rewarding!
The Best Time to Start
For Paphiopedilum acmodontum, the spring and early summer are your golden tickets. This is when the plant is actively growing after its rest period. You’ll want to propagate when you see new growth emerging from the base or when you’re repotting a mature plant. This vibrant growth phase means the orchid has the energy reserves it needs to dedicate to forming new roots.
Supplies You’ll Need
Gathering your tools beforehand makes the whole process smoother. Here’s what I usually have on hand:
- Sharp, sterile pruning shears or a clean knife: For making precise cuts. Sterilize them with rubbing alcohol or a flame to prevent disease.
- Orchid bark mix: A coarse, well-draining mix is crucial. I often use a blend of medium-grade bark, perlite, and a touch of horticultural charcoal.
- New pots: Small orchid pots or even clean yogurt containers with drainage holes will work.
- Rooting hormone (optional but helpful): A powdered or gel form can encourage root development.
- Sphagnum moss: For maintaining humidity around cuttings.
- Watering can with a fine rose: For gentle watering.
- Patience: The most important tool of all!
Propagation Methods: Division is Key!
For Paphiopedilum acmodontum, the most reliable and common propagation method is division. These orchids typically grow into clumps, sending up new shoots from the base.
Here’s how I do it:
- Gently remove the plant from its pot. If it’s a bit stuck, give it a gentle squeeze or use a narrow tool to ease it out.
- Inspect the root ball. You’re looking for distinct, separate growths that have their own set of roots. Ideally, each division should have at least two or three healthy leaves and a good amount of roots.
- Carefully separate the divisions. Use your sterile shears or knife to cut through the rhizome (the horizontal stem connecting the growths). Be as gentle as possible to avoid damaging the roots. If the roots are tangled, it’s often better to tease them apart gently with your fingers if you can.
- Pot up the divisions. Each division should be put into its own small pot with your fresh, well-draining orchid mix. Make sure the roots are spread out nicely, not all balled up.
- Water sparingly at first. Your newly potted divisions are stressed and don’t have a fully established root system. Water lightly after potting, and then wait until the potting medium is almost dry before watering again.
The “Secret Sauce” (Pro Tips)
Here are a few things I’ve learned over the years that can really give your propagation efforts a boost:
- Don’t be afraid of a little shake: When repotting, gently shake off some of the old potting medium. This allows you to clearly see where new growths are emerging and where you can make clean divisions.
- Consider a humidity dome: For the first few weeks, those divisions can really benefit from a humid environment. You can create this by placing the potted divisions inside a clear plastic bag (with a few small holes for air circulation) or a small clear plastic container. Just make sure the leaves don’t directly touch the condensation.
- Bottom heat can work wonders: If you have a seedling heat mat, placing your newly potted divisions on it can encourage root growth. Keep the temperature around 70-75°F (21-24°C).
Aftercare & Troubleshooting
Once your divisions have settled in, the care is much the same as for a mature Paphiopedilum. Keep the potting mix consistently moist but never soggy. Good air circulation is vital to prevent rot.
The biggest challenge you might face is rot. This usually happens if the potting medium stays too wet, or if there isn’t enough air movement. You’ll see the leaves turn mushy, yellow, and eventually black. If you spot this, act quickly. Remove the affected part with your sterile tool and try to let the remaining healthy tissue dry out a bit.
Another sign things aren’t going well is if the leaves start to shrivel and dry out. This indicates the plant isn’t taking up enough water, likely due to insufficient root development. Keep an eye out for new root growth, which is the ultimate sign of success!
Keep Nurturing
Propagating Paphiopedilum acmodontum is a journey, not a race. Some divisions will take off immediately, while others might take their sweet time. Be patient, observe your new plants, and don’t get discouraged by setbacks. The joy of watching a tiny division grow into a magnificent slipper orchid is truly unparalleled. Happy propagating!
Resource:
https://identify.plantnet.org/k-world-flora/species/Paphiopedilum%20acmodontum%20M.W.Wood/data