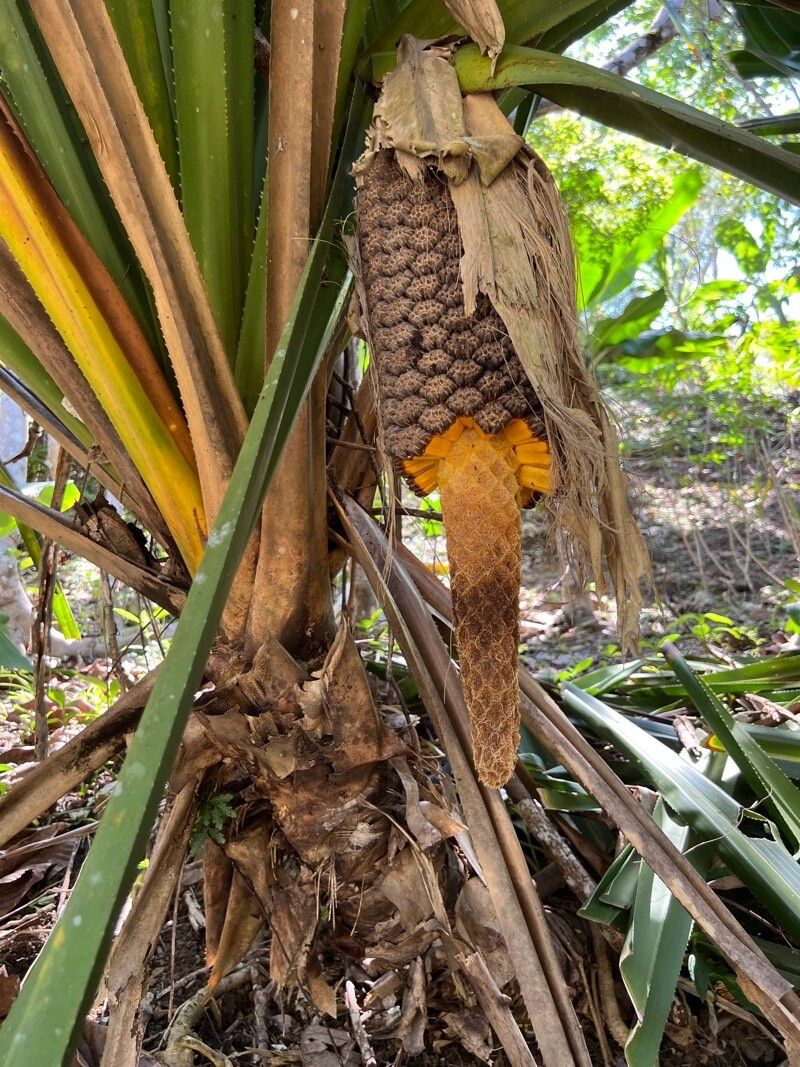
Hello, fellow garden enthusiasts! Today, I want to chat with you about a truly unique and strikingly beautiful plant: Pandanus macrocarpus, or the Pineapple Screw Pine as it’s sometimes called. With its architectural leaves that spiral upwards, it brings a tropical flair to any space, whether indoors or out. Propagating these beauties is incredibly rewarding, giving you more of that gorgeous greenery to enjoy or share. Now, while Pandanus isn’t typically considered a beginner’s plant for every propagation method, I’ve found that with a little know-how, even novices can have success. Don’t let that deter you; let’s dive in!
The Best Time to Start
For the highest success rate with Pandanus macrocarpus, the best time to propagate is during its active growing season. Think late spring through summer. This is when the plant is putting out lots of energy, and new growth is readily available and already showing robust vitality. Attempting propagation during a plant’s dormant period, like deep winter, can sometimes lead to slower rooting and a higher chance of failure. So, when your plant is looking lush and happy, that’s your cue to get started!
Supplies You’ll Need
Gathering your tools beforehand makes the whole process so much smoother. Here’s what I always have on hand:
- Sharp Pruning Shears or a Clean, Sharp Knife: Essential for making clean cuts.
- Rooting Hormone: While not always strictly necessary for Pandanus, it can give your cuttings a significant boost. I prefer powder for ease of use.
- Well-Draining Potting Mix: This is crucial! A good mix might include perlite, orchid bark, and peat moss (about a 1:1:1 ratio) or a commercial mix specifically for cacti and succulents.
- Small Pots or Seed Trays: Clean containers with drainage holes are a must.
- Watering Can or Spray Bottle: For gentle hydration.
- Optional: A Heat Mat: Particularly beneficial for encouraging faster root development, especially if you’re propagating in cooler conditions.
Propagation Methods
Pandanus macrocarpus is most commonly and successfully propagated through division. Sometimes, you might find pups (baby plants) growing around the base.
Division: Our Go-To Method
This is my favorite way to propagate Pandanus because it’s straightforward and often yields multiple new plants.
- Prepare Your Parent Plant: Gently remove the Pandanus from its current pot. It’s easier to see where to divide when the root ball is exposed.
- Inspect and Locate Divisions: Look for offshoots or pups that have started to develop their own root system. These are usually found growing from the base of the main plant. If a pup is already a decent size and has visible roots, it’s a good candidate.
- Make the Cut (or Gently Separate): Using your clean, sharp pruning shears or knife, carefully separate the pup from the mother plant. Try to get as much of the pup’s root system as possible. If the roots are intertwined, you might need to gently tease them apart or make a precise cut through the connecting rhizome.
- Prepare the New Plant: If the separated pup has any damaged or excessively long roots, you can trim them back slightly. Remove any lower leaves that might sit below the soil line once potted.
- Plant It Up: Fill a small pot with your well-draining potting mix. Make a small hole in the center and place the pup in, ensuring the roots are spread out. Backfill with soil and gently firm it around the base. The base of the leaves should be just at or slightly above the soil surface.
- Water Gently: Water thoroughly but gently. You want the soil to be evenly moist, but not soggy.
The “Secret Sauce” (Pro Tips)
Here are a few little tricks that have helped me over the years when propagating Pandanus:
- Don’t Over-Pot: It’s tempting to put a new division into a large pot, but smaller pots are actually better for young plants. They allow the soil to dry out slightly between waterings, which the Pandanus prefers and helps prevent root rot.
- Bottom Heat is Your Friend: Pandanus roots love warmth to get started. If you have a heat mat, place your potted divisions on it. This provides consistent, gentle warmth that significantly speeds up root development.
- Let Them Recover: After dividing, the new pups might look a little sad for a few days. This is normal. Resist the urge to water constantly! Let the soil dry out a bit before watering again. They are essentially undergoing a bit of shock, and overwatering them will only make things worse.
Aftercare & Troubleshooting
Once your Pandanus division has started to establish, here’s how to care for it:
- Light: Place your new plant in a bright, indirect light location. Avoid direct, harsh sunlight, which can scorch the leaves.
- Watering: Water when the top inch of soil feels dry. Err on the side of underwatering rather than overwatering, especially in the first few weeks.
- Humidity: Pandanus appreciates some humidity, so misting occasionally can be beneficial, especially in dry environments.
- Signs of Trouble: The most common issue is root rot, which usually stems from overwatering. You might see yellowing or mushy leaves, especially at the base. If you suspect rot, gently unpot the plant, trim away any rotted roots, and repot in fresh, dry soil. If your plant looks limp and dry, it’s likely just thirsty – give it a good watering.
A Happy Ending
Propagating plants is such a rewarding journey, isn’t it? It connects us with the natural world and gives us the joy of creating new life. Be patient with your new Pandanus divisions. They may take a little time to show significant new growth, but once they do, you’ll feel such a sense of accomplishment. Keep experimenting, keep learning, and most importantly, keep enjoying your beautiful garden! Happy propagating!
Resource:
https://identify.plantnet.org/k-world-flora/species/Pandanus%20macrocarpus%20Vieill./data