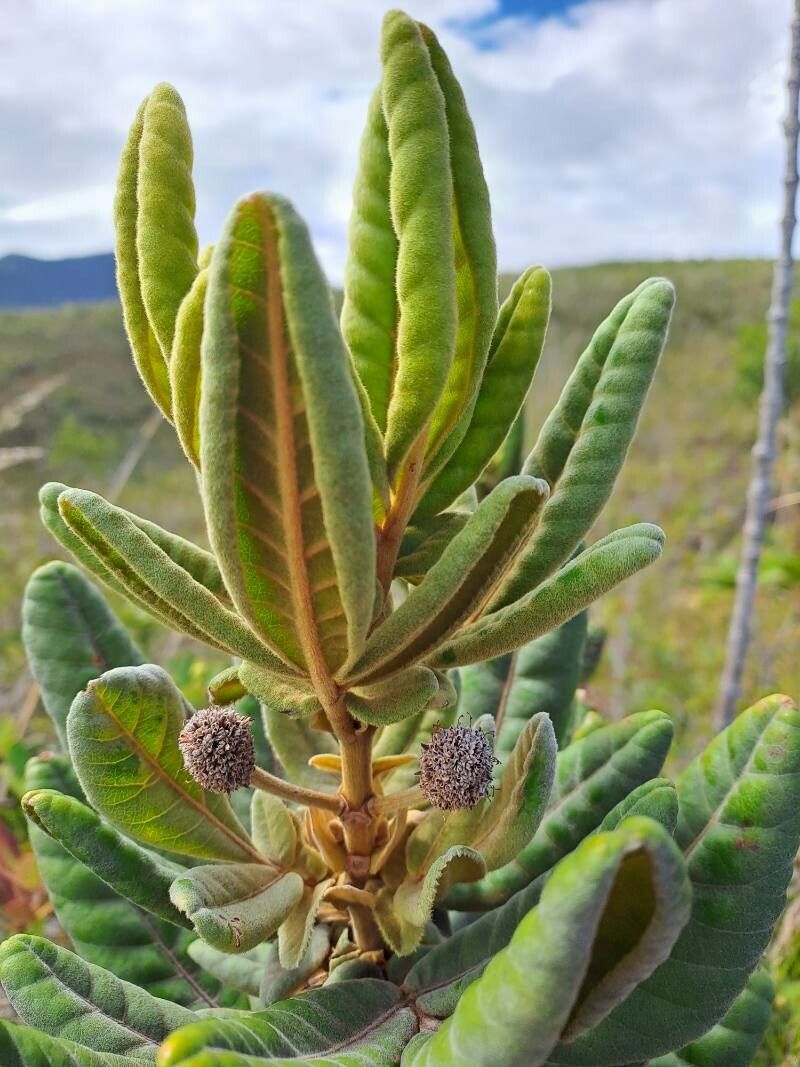
Hey there, fellow plant lovers! I’m so excited to chat with you today about a gem of a plant that’s been capturing my heart for years: Pancheria hirsuta. You know, those gorgeous specimens with their velvety leaves and delicate, often fragrant, blooms? They just bring a certain elegance to any space, whether you’ve got them gracing an indoor sill or a sunny patio. And the best part? They’re surprisingly rewarding to propagate! Now, I’ll be honest, for absolute beginners, Pancheria hirsuta can be a bit of a learning curve. But with a little patience and these tried-and-true methods, I’m confident you’ll have success. Think of it as a fun challenge, a chance to deepen your connection with your plants.
The Best Time to Start
For the highest success rate with Pancheria hirsuta, I always reach for my secateurs in late spring or early summer. This is when the plant is actively growing, meaning it’s got the energy to bounce back from taking cuttings and push out new roots. You want to be looking for new, but slightly firm, growth. Avoid those super soft, brand-new tips, as they can be a bit too fragile.
Supplies You’ll Need
Here’s what I always have on hand when I’m propagating:
- Sharp Pruning Shears or a Craft Knife: Crucial for clean cuts that heal quickly.
- Rooting Hormone: I find this really gives cuttings a better chance. Gel or powder works.
- Well-Draining Potting Mix: A good blend for me is typically 50% coco coir or peat moss and 50% perlite or coarse sand. You can also find specific cactus and succulent mixes.
- Small Pots or Trays: Clean with good drainage holes.
- Clear Plastic Bag or Humidity Dome: This is essential for keeping humidity high around your cuttings.
- Optional: Bottom Heat Mat: If your home is on the cooler side, this can speed things up considerably.
Propagation Methods
Let’s get our hands dirty! We’ll focus on stem cuttings, as that’s usually the most successful route for Pancheria hirsuta.
Stem Cuttings:
- Select Your Cutting: Look for healthy stems that have at least two sets of leaves. You want a piece that’s about 4-6 inches long.
- Make the Cut: Using those sharp shears (or knife), make a clean cut right below a leaf node. This is where roots are most likely to form. Remove the lower leaves from the cutting, leaving just the top couple of sets.
- Apply Rooting Hormone: Dip the cut end of the stem into your rooting hormone, tapping off any excess. This stuff can be a bit dusty, so try not to inhale it.
- Plant Your Cutting: Fill your small pot with your prepared potting mix. Make a small hole in the center with your finger or a pencil and gently insert the cut end of your Pancheria hirsuta stem. Firm the soil gently around the stem.
- Water Lightly: Give your pot a gentle watering to settle the soil. You don’t want to waterlog it.
- Create a Humid Environment: This is key! Place a clear plastic bag over the pot, or use a humidity dome. Make sure the bag doesn’t touch the leaves too much. You can prop it up with skewers if needed. If you have a bottom heat mat, place the pot on it now.
- Find a Bright Spot: Place your cutting in a location that receives bright, indirect light. Avoid direct sun, which can scorch the new cuttings.
The “Secret Sauce”
Here are two little nudges that make a big difference:
- Don’t Let Leaves Touch the Water: If you’re tempted to try water propagation (though I find soil to be more reliable for Pancheria hirsuta), it’s crucial that no leaves are submerged. Rot is the enemy here, and wet leaves are an invitation for it.
- Mist Sparingly, But Consistently: While you want high humidity, you don’t want standing water on the leaves. A light misting every couple of days can be beneficial, especially if your humidity dome isn’t super tight. Just a quick spritz to keep things from drying out too much.
Aftercare & Troubleshooting
Once you’ve got your cuttings planted, patience is your best friend!
- Checking for Roots: After about 4-6 weeks, you can gently tug on the cutting. If you feel resistance, congratulations – you have roots! You can also look for new leaf growth, which is usually a good sign.
- Transplanting: Once your new Pancheria hirsuta has a decent root system and shows signs of new growth, it’s ready to be moved to its own small pot. Continue to treat it as you would a young plant, with bright, indirect light and consistent moisture.
- Common Issues: The biggest challenge you’ll face is rot. If your cutting looks mushy, turns black, or starts to fall apart, it’s a sign of too much moisture and not enough air circulation. Sadly, these usually don’t recover. The best defense is good drainage and not overwatering. If you see damping-off disease (where the stem near the soil line collapses), it’s often due to a lack of air flow and potentially too much moisture.
A Little Encouragement
Propagating plants is a journey, and it’s okay if not every single cutting makes it. Each attempt teaches you something new about your plant and your environment. Celebrate the successes, learn from the setbacks, and most importantly, enjoy the process of growing something beautiful from a little piece of another! Happy gardening!
Resource:
https://identify.plantnet.org/k-world-flora/species/Pancheria%20hirsuta%20Vieill.%20ex%20Pamp./data