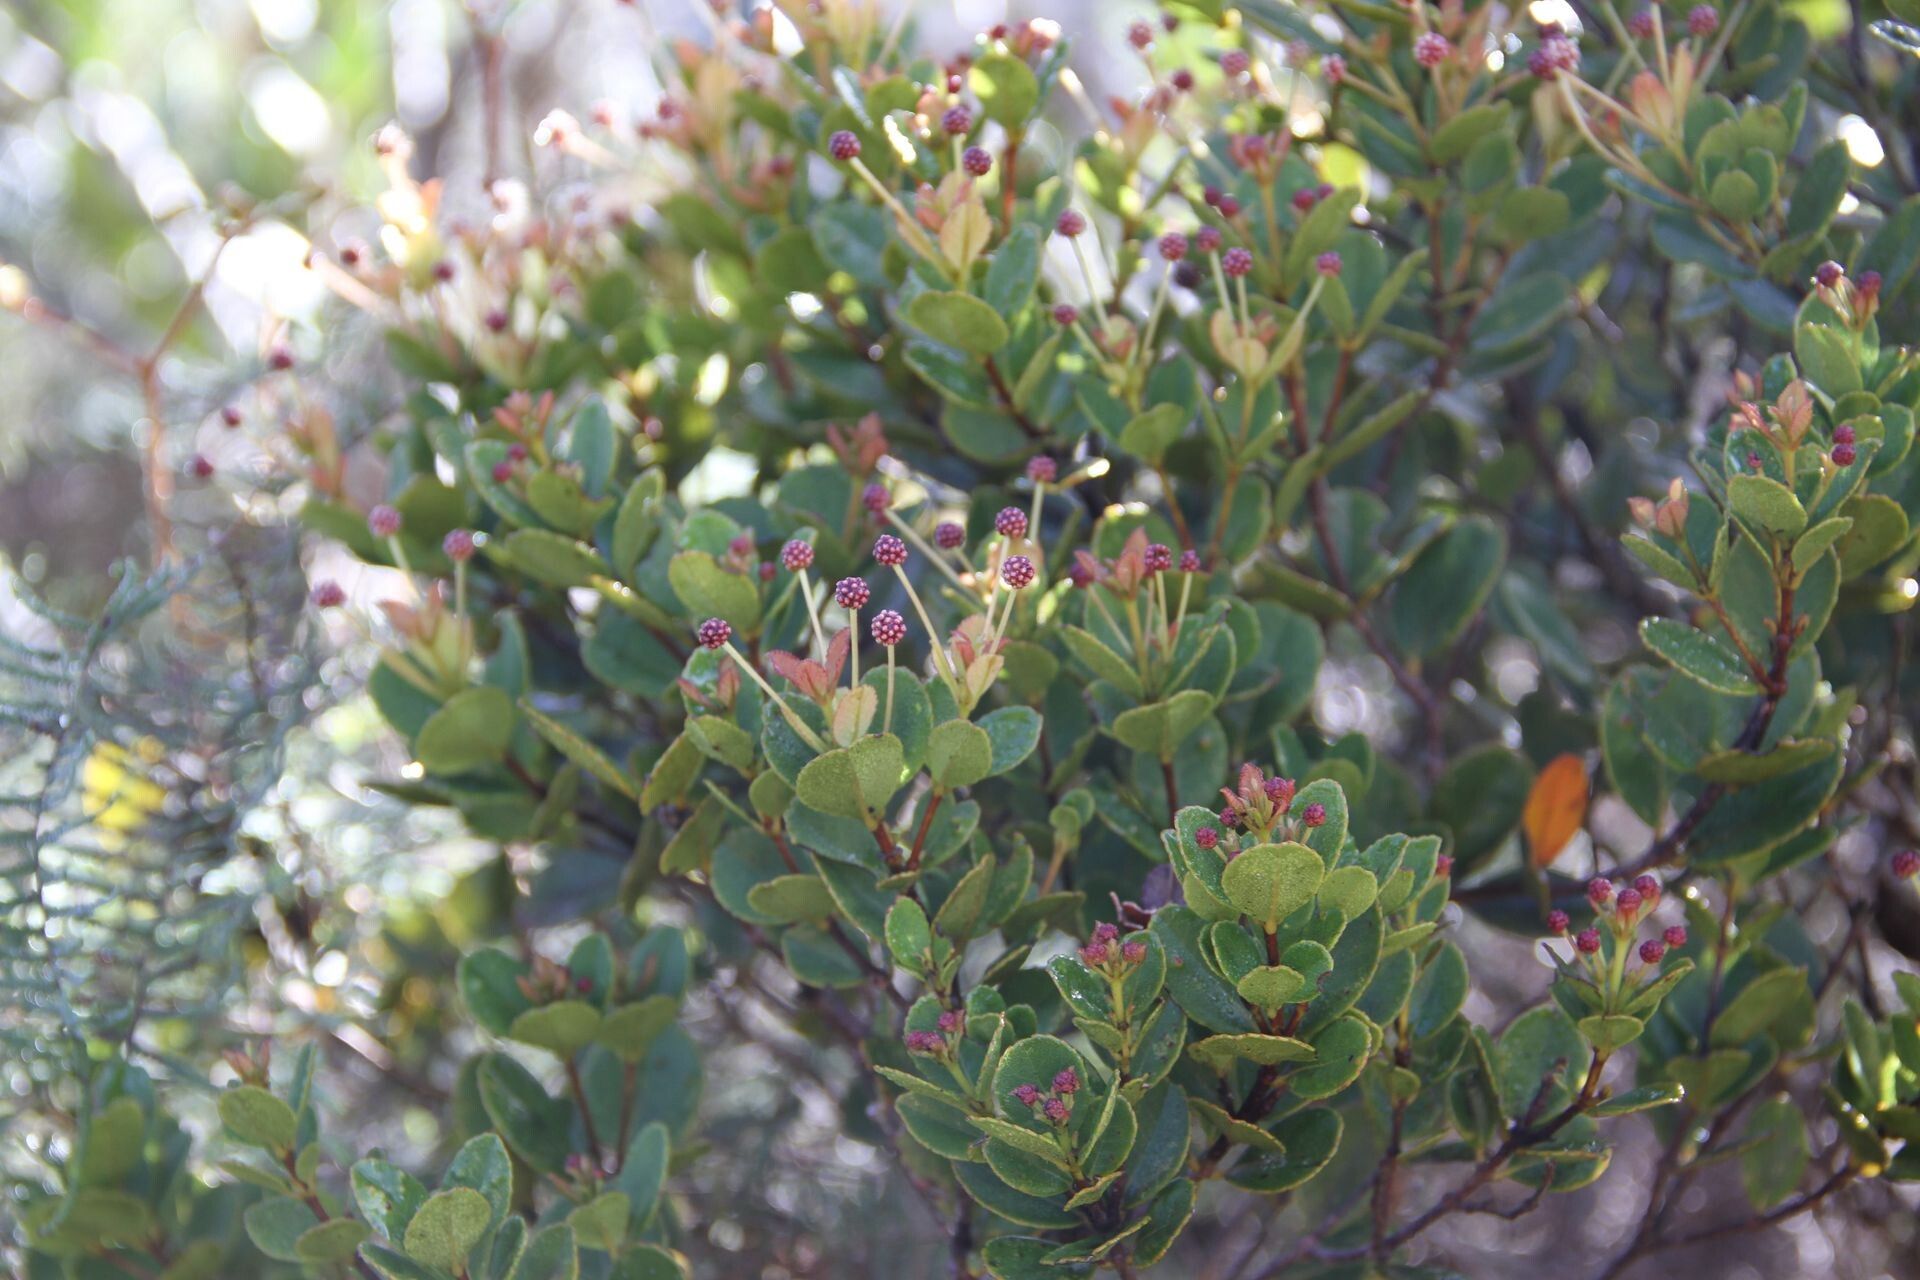
Oh, hello there! I’m so glad you’ve landed on my little corner of the internet. Today, we’re diving into the wonderful world of Pancheria engleriana. If you’re anything like me, you’ve probably been captivated by its elegant foliage and unique charm. For such a graceful plant, it has a wonderfully rewarding nature when it comes to sharing its beauty. Propagating Pancheria engleriana is a lot like coaxing a shy friend out of their shell – it takes a bit of understanding and gentle encouragement. While it’s not the absolute easiest plant to propagate for a complete beginner, with a few key pointers, you’ll be well on your way to success.
The Best Time to Start
For the highest success rate with our Pancheria engleriana, you’ll want to focus on the active growing season. Think late spring to early summer. The plant is really energized then, and its cuttings will have the best chance of rooting quickly. Avoid trying this during the dormant winter months; the plant just isn’t in the mood to put out new roots at that time.
Supplies You’ll Need
Gathering your tools beforehand makes the whole process so much smoother. Here’s what I usually have on hand:
- Sharp Pruning Shears or a Clean Knife: Think razor-sharp, to make clean cuts that heal well.
- Rooting Hormone: A good quality powder or gel will significantly boost your chances.
- Well-Draining Potting Mix: A mix of perlite, peat moss, and a bit of compost works wonders. You can also buy a specific succulent or cactus mix.
- Small Pots or Seedling Trays: Clean ones are crucial to prevent disease.
- Clear Plastic Bag or Humidity Dome: Essential for maintaining moisture around your cuttings.
- Watering Can with a Fine Rose: For gentle hydration.
- Optional: Bottom Heat Mat: This can speed things up, especially in cooler conditions.
Propagation Methods
Pancheria engleriana can be propagated successfully by stem cuttings. It’s my go-to method for this beauty.
Stem Cuttings:
- First, select a healthy, non-flowering stem. Look for one that’s about 4-6 inches long.
- Using your sharp shears, make a clean cut just below a leaf node. This is where the magic of rooting hormones and new growth happens.
- Remove the lower leaves from the cutting. You want to expose a bit of the stem so it can root.
- Dip the cut end into your rooting hormone. Just enough to coat it, and then tap off any excess.
- Fill your clean pots with your well-draining potting mix.
- Carefully insert the cutting into the mix, making sure to firm the soil around it gently.
- Water lightly to settle the soil.
- Cover the pot with a clear plastic bag or place it under a humidity dome. This creates a mini greenhouse.
The “Secret Sauce” (Pro Tips)
Now, for those little tricks that make a big difference. These are things I’ve learned through a lot of trial and error!
- Callusing is Key: Before you dip those cuttings in rooting hormone, let them air dry for a day or two. This allows the cut end to form a callus, which helps prevent rot and encourages rooting. You’ll see a dry, slightly hardened surface.
- Bottom Heat Works Wonders: If you have a heat mat, place your pots on it. This gentle warmth from below tells the cutting, “Hey, it’s time to put out some roots!” It significantly speeds up the process.
- Don’t Overwater! This is probably the most common mistake. Cuttings sitting in soggy soil are destined for rot. The goal is consistently moist, not wet. Check the soil moisture by gently touching it with your finger.
Aftercare & Troubleshooting
Once your cuttings have found their footing with those lovely roots, it’s time to transition them.
- Acclimatization: Gradually remove the plastic bag or humidity dome over a week or two. This lets the new plant get used to regular humidity.
- Light and Water: Move your rooted cuttings to a location with bright, indirect light. Water when the top inch of soil feels dry.
- Watch for Rot: The biggest enemy of cuttings is rot. If you see your cutting turning mushy, black, or falling over, it’s likely rotted. This usually means it was too wet, or not enough air circulation. Unfortunately, a rotted cutting is usually a goner.
- No Growth is Okay: Don’t get discouraged if you don’t see immediate leaf growth. Focus on root development first. You can gently tug on a cutting after a few weeks; if there’s resistance, you’ve got roots!
There you have it! Propagating Pancheria engleriana can be such a rewarding endeavor. Be patient with your little green babies, observe them closely, and enjoy the incredible satisfaction of watching them grow. Happy propagating!
Resource:
https://identify.plantnet.org/k-world-flora/species/Pancheria%20engleriana%20Schltr./data