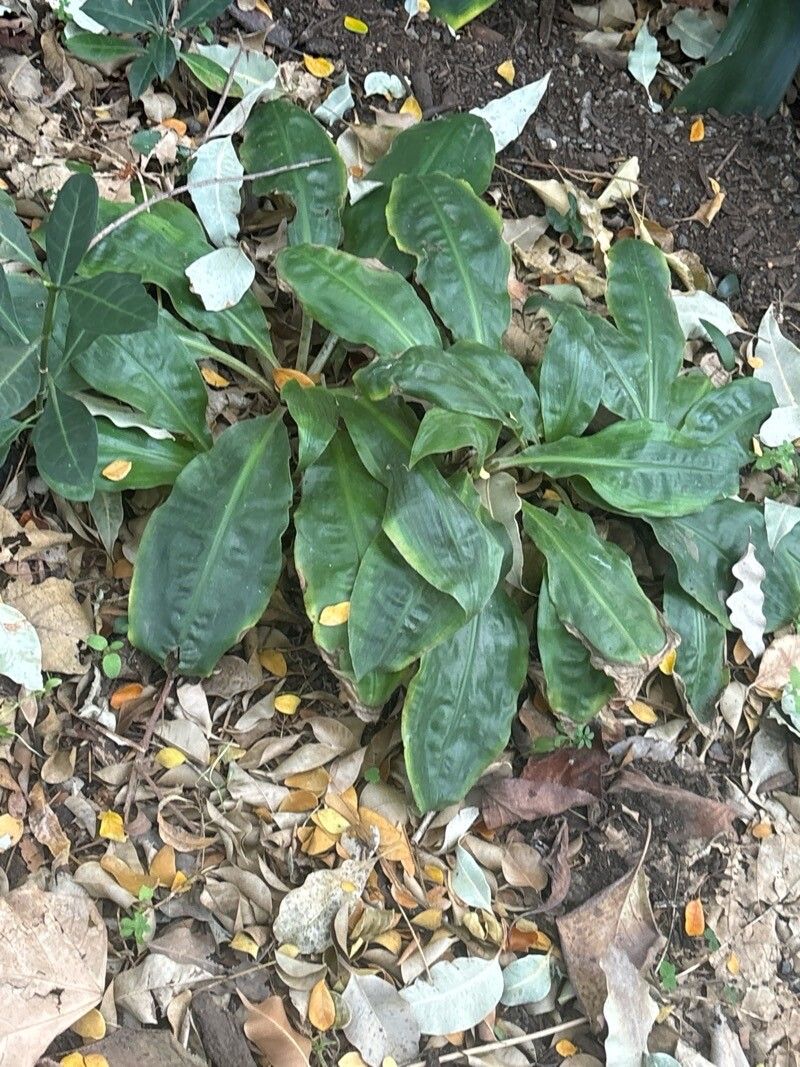
Ah, Palisota bracteosa! What a stunner. Those vibrant, glossy leaves just bring a touch of the tropics right into your home, don’t they? If you’ve fallen in love with this magnificent plant, you’re in for a treat. Propagating it yourself is incredibly rewarding. You get to witness new life emerge, and soon you’ll have a whole jungle of these beauties to share or enjoy. For those of you just dipping your toes into the world of plant propagation, Palisota bracteosa is moderately easy to propagate. It’s not quite as foolproof as a spider plant, but with a little care and attention, you’ll be celebrating success.
The Best Time to Start
When it comes to getting those rooty little babies going, timing is everything. The absolute best time to propagate Palisota bracteosa is during spring and early summer. This is when the plant is actively growing, full of energy, and eager to put out new roots. Trying to propagate during the dormant winter months will likely lead to disappointment and a lot of waiting.
Supplies You’ll Need
Before we get our hands dirty, let’s gather our tools. Having everything ready makes the process so much smoother.
- Sharp Pruning Shears or a Clean Knife: For making clean cuts.
- Rooting Hormone (Optional but Recommended): A powder or gel that helps encourage root development.
- Well-Draining Potting Mix: A good blend of peat moss, perlite, and a bit of compost works wonders. You can also buy specific succulent or seed-starting mixes.
- Small Pots or Propagation Trays: Clean and with drainage holes, of course!
- Clear Plastic Bags or Domes: To create a humid environment.
- Watering Can or Spray Bottle: For gentle watering.
- A Sunny, Indirect Light Location: Bright light is key, but direct sun can scorch tender cuttings.
Propagation Methods
Let’s dive into the most effective ways to get more Palisota bracteosa plants.
Stem Cuttings
This is my go-to method for Palisota bracteosa. It’s straightforward and yields great results.
- Select Your Stem: Look for a healthy, vigorously growing stem on your parent plant. You want a piece that’s at least 4-6 inches long and has several leaves.
- Make the Cut: Using your sharp pruners or knife, make a clean cut just below a leaf node. A leaf node is that little bump where a leaf attaches to the stem. This is where roots are most likely to form.
- Prepare the Cutting: Gently remove the lower leaves, leaving just a couple of leaves at the tip. If the remaining leaves are very large, you can trim them in half to reduce water loss.
- Apply Rooting Hormone (Optional): Dip the cut end of the stem into your rooting hormone powder or gel, tapping off any excess.
- Plant the Cutting: Fill your small pot or tray with your well-draining potting mix. Make a small hole in the center and insert the cut end of your stem. Gently firm the soil around it to ensure good contact.
- Water Gently: Water the soil thoroughly but avoid waterlogging.
- Create Humidity: Cover the pot with a clear plastic bag or propagation dome. This traps moisture and creates the humid environment cuttings need. Make sure the leaves don’t touch the plastic if possible. Poke a few small holes in the bag for ventilation if condensation becomes excessive.
- Provide Light: Place the pot in a bright spot that receives indirect sunlight. Avoid direct sun, which can cook your new baby plants.
Water Propagation
This method is a bit more visual and can be very satisfying to watch.
- Take Stem Cuttings: Follow steps 1 and 2 from the stem cutting method above.
- Remove Lower Leaves: Just like with stem cuttings, remove the lower leaves.
- Place in Water: Fill a clean glass or jar with fresh water. Submerge the cut end of the stem in the water, ensuring that the leaf nodes are underwater. Crucially, make sure the leaves are NOT submerged as this can lead to rot.
- Change Water Regularly: This is key! Change the water every 2-3 days to keep it fresh and oxygenated, preventing bacterial growth.
- Find a Bright Spot: Place the jar in a location with bright, indirect light.
- Wait for Roots: You should start to see tiny white roots emerging from the leaf nodes within a few weeks. Once the roots are about an inch long, it’s time to transplant them into soil.
The “Secret Sauce” (Pro Tips)
Here are a few little tricks I’ve picked up over the years that can really boost your propagation success.
- Bottom Heat is Your Friend: If you have a seedling heat mat, pop your pots on it! Consistent warmth from below can significantly speed up root formation. It mimics the ideal conditions the plant craves when it’s trying to establish itself.
- Don’t Rush the Transplant: When propagating in water, I like to wait until the roots are at least an inch long. If you’re propagating in soil and you gently tug on the cutting and feel resistance, that’s a good sign roots are forming. Patience is key here; pulling too soon can disrupt delicate new growth.
- Cleanliness is Paramount: Always use clean tools and clean pots. This dramatically reduces the risk of fungal diseases or rot setting in, which can be the downfall of many propagation attempts.
Aftercare & Troubleshooting
Once your cutting shows signs of roots – that’s when the real fun begins!
- Transplanting: If you propagated in water, carefully transplant your rooted cutting into a small pot filled with your well-draining potting mix. Gently firm the soil around the new roots. If you propagated directly in soil, you’ll know it’s ready when you see new leaf growth.
- Watering: Water thoroughly after transplanting, then let the top inch of soil dry out before watering again. Avoid overwatering, as this is the most common culprit for problems.
- Light: Continue to provide bright, indirect light. As the plant matures, you can gradually introduce it to slightly more light if desired.
- Troubleshooting: Rot: The most common sign of failure is rot. If your cutting turns black and mushy, or if you see mold growing, it’s likely too much moisture and not enough airflow. Sadly, a rotten cutting is usually a goner. Prevention is key here: ensure well-draining soil, don’t overwater, and provide some ventilation.
A Little Encouragement
Propagating plants is a wonderful way to connect with nature and expand your green collection. It’s a journey, and sometimes things don’t go exactly as planned. Don’t get discouraged if your first attempt isn’t a roaring success. Keep trying, observe your plants, and learn from each experience. Enjoy the process of nurturing these tiny new lives – it’s one of gardening’s greatest joys! Happy propagating!
Resource:
https://identify.plantnet.org/k-world-flora/species/Palisota%20bracteosa%20C.B.Clarke/data