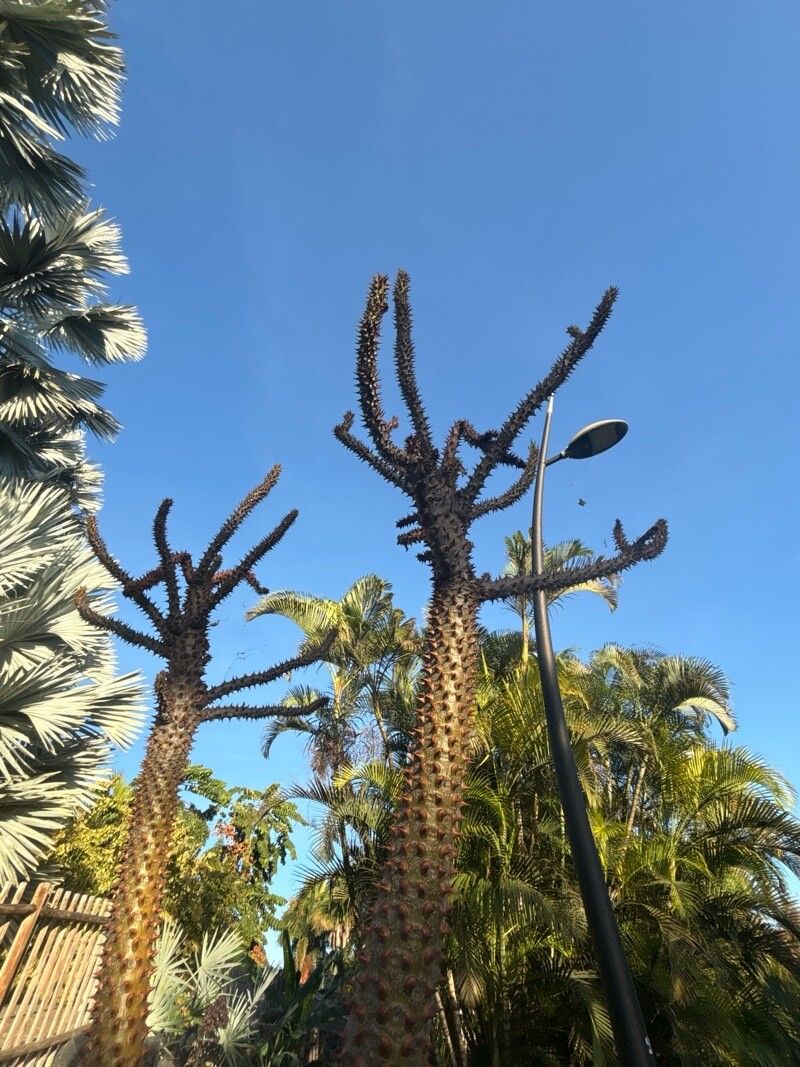
Oh, hello there! So, you’ve fallen for the charms of the Pachypodium rutenbergianum, haven’t you? I don’t blame you one bit. These quirky succulents, with their distinctive caudex base and spiky arms, are just utterly fascinating. Growing them from scratch is incredibly satisfying. It’s like watching a tiny miracle unfold right before your eyes. Now, full disclosure, propagating Pachypodium can be a tad more demanding than, say, a pothos, but with a little patience and the right approach, you’ll be well on your way to a flourishing collection. Don’t let that deter you; learning is part of the fun!
The Best Time to Start
For Pachypodium rutenbergianum, active growing season is your golden ticket. Think spring and early summer. You want the plant to be full of vigor, ready to put energy into rooting. Trying to propagate when it’s dormant in winter is like asking someone to run a marathon without breakfast – not ideal!
Supplies You’ll Need
- Well-draining potting mix: A cactus or succulent blend is perfect. You can also whip up your own with equal parts perlite, coarse sand, and a good potting soil.
- Sharp, clean pruning shears or a knife: Sterilize them with rubbing alcohol to prevent diseases.
- Rooting hormone powder (optional but recommended): This gives your cuttings a little boost.
- Small pots or seed trays: Ensure they have drainage holes.
- Perlite or grit: For topping the soil mix to further improve drainage.
- Watering can with a fine rose: For gentle watering.
- A warm, bright location: Out of direct, harsh sun initially.
Propagation Methods
I’ve found success with a couple of methods for Pachypodium rutenbergianum:
1. Stem Cuttings (The Classic Approach)
This is probably the most common way to propagate.
- Take a Cutting: During the active growing season, select a healthy stem that’s at least a few inches long, preferably with some leaf nodes. Use your sterilized shears to make a clean cut.
- Let it Callus: This is CRUCIAL for succulents. Lay the cutting on its side in a dry, airy spot for several days, or even up to a week. You want the cut end to form a dry, hardened scab. This prevents rot when you plant it. It might look a bit sad, but trust me, it’s doing its job!
- Dip in Rooting Hormone (Optional): Once callused, lightly dip the cut end into your rooting hormone powder. Tap off any excess.
- Plant Your Cutting: Fill your small pot with the well-draining mix. Make a small hole in the center and insert the callused end of the cutting about an inch or two deep. Gently firm the soil around it. Top with a thin layer of perlite or grit.
- Water Sparingly: Give it a very light watering immediately after planting, just enough to settle the soil. Then, wait! Resist the urge to water frequently. Let the soil dry out almost completely between waterings.
2. Water Propagation (A Bit Trickier, But Fascinating)
While not my go-to for Pachypodium, some gardeners have success with this.
- Prepare the Cutting: Similar to stem cuttings, take a healthy stem cutting and ensure it has callused properly.
- The Water Setup: Fill a small jar or glass with clean water.
- Suspend the Cutting: Place the callused end of the cutting just above the water level. You can use toothpicks inserted into the stem to suspend it, or place it in a way that only the very base of the cutting is in contact with the water.
- Maintain and Wait: Change the water every few days to keep it fresh. Place it in a bright, indirect light spot.
- The Critical Part: Once you see tiny roots starting to form, do NOT leave it in the water. You need to transition it to soil immediately. Remove the developing roots from the water and plant it as you would a stem cutting, being extra gentle with those fragile new roots. Water it in gently.
The “Secret Sauce” (Pro Tips)
- The Callus is King: I can’t stress this enough. If you skimp on letting the cuttings callus, you’re inviting rot. It’s the most important step to prevent a mushy, sad failure.
- Bottom Heat is Your Friend: If you can, pop your potted cuttings onto a gentle seedling heat mat. This encourages root development from below, giving your cuttings that extra push to get going. It makes a surprising difference!
- Don’t Overcrowd: If you’re starting multiple cuttings, give them their own space. Overcrowding can lead to poor air circulation and increase disease risk.
Aftercare & Troubleshooting
Once you see new growth emerging from your Pachypodium cutting – that’s your sign it’s starting to root! Continue to water sparingly, allowing the soil to dry out between waterings. Gradually introduce it to brighter light as it gets stronger.
The most common issue you’ll encounter is rot. If the stem feels mushy and smells off, it’s likely rotted. Sometimes, you can salvage it by cutting away the rotten part and trying again, ensuring it calluses properly this time. Yellowing leaves on the cutting can also be a sign of too much water or not enough light.
A Little Patience Goes a Long Way
Propagating Pachypodium rutenbergianum is a journey, not a race. There’s a genuine thrill in nurturing these unique plants from a mere cutting or segment. Be patient, observe your cuttings closely, and celebrate every tiny sign of success. You’ve got this, and the reward of a new Pachypodium practically begging for a sunny windowsill is well worth the effort. Happy growing!
Resource:
https://identify.plantnet.org/k-world-flora/species/Pachypodium%20rutenbergianum%20Vatke/data