Oh, hello there, fellow plant lover! Grab your favorite mug, and let’s chat about one of my absolute favorites: the Madagascar Palm, or Pachypodium lamerei.
Welcoming a Spiky Friend
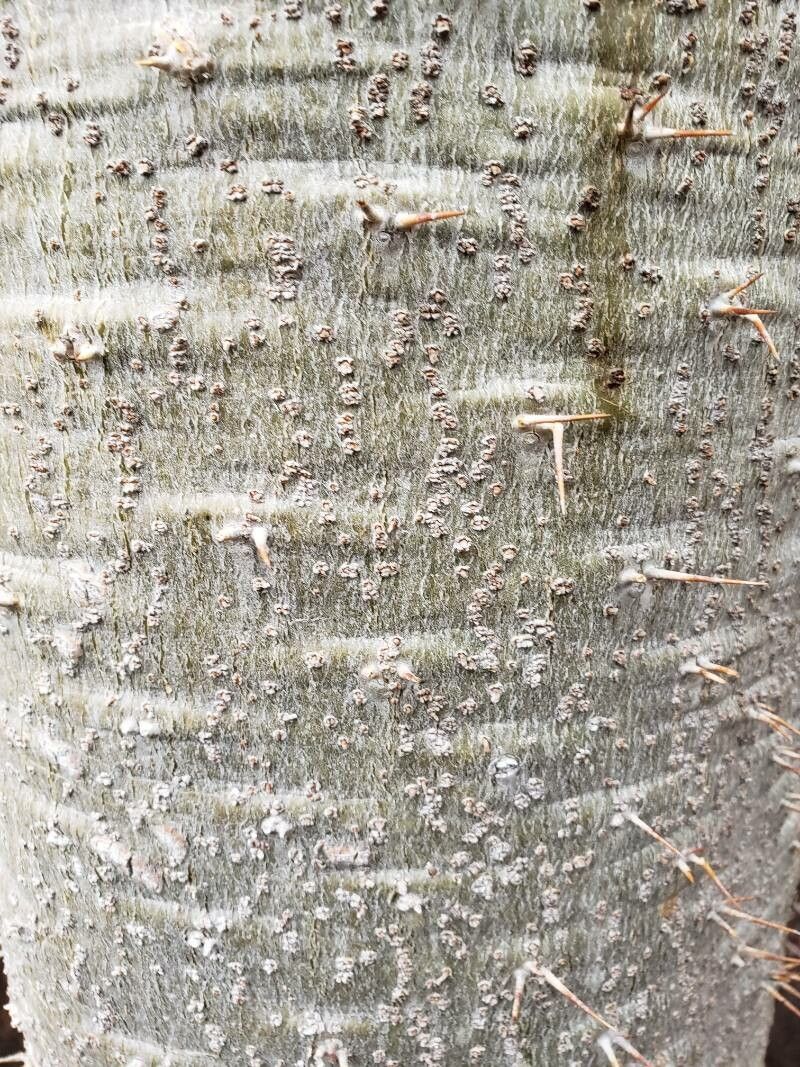
Isn’t she a stunner? With her stout, spiny trunk and crown of lush, glossy leaves, Pachypodium lamerei brings a touch of the exotic to any sunny spot. Once you have one, you’ll likely want more! Propagating them isn’t quite as straightforward as, say, a pothos, but it’s incredibly rewarding to nurture a new little palm from one of your existing beauties. Don’t let the spines scare you; with a bit of care, it’s a project totally achievable for most home gardeners.
When to Play Gardener-Propagator
The absolute best time to start propagating Pachypodium lamerei is during its active growing season. Think late spring and summer. This is when the plant has the most energy reserves and the warmest temperatures, giving your cuttings the best chance to root. Trying to propagate when the plant is dormant or stressed is, well, like asking a sleepy bear to run a marathon – it’s just not going to happen.
What You’ll Need for Your Propagating Adventure
Gathering your supplies makes the whole process so much smoother. Here’s what I always have on hand:
- Sharp, Clean Pruning Shears or a Knife: Sanitize them with rubbing alcohol before you begin to prevent disease.
- Rooting Hormone Powder (Optional but Recommended): This really gives your cuttings a head start. Look for one formulated for cuttings.
- A Well-Draining Potting Mix: A cactus or succulent mix is perfect, or you can create your own blend with potting soil, perlite, and coarse sand. Drainage is key!
- Small Pots or Seedling Trays: With drainage holes, of course!
- A Spray Bottle: For gentle misting.
- Gloves: Those spines are no joke!
- A Sunny Spot: To place your cuttings.
Bringing New Life: Propagation Methods
The most common and successful way to propagate Pachypodium lamerei is by taking stem cuttings.
- Select Your Cutting: Look for a healthy stem on your established plant. You want a piece that’s at least 4-6 inches long, ideally with a few sets of leaves.
- Make the Cut: Using your sanitized pruning shears or knife, make a clean cut through the stem. Remove any lower leaves that might end up below the soil line.
- Let It Callus: This is a crucial step! Place your cutting in a dry, well-ventilated spot out of direct sunlight for several days to a week. You want the cut end to dry and form a callous. This prevents rot when you plant it.
- Apply Rooting Hormone (Optional): Once the callous has formed, dip the cut end into your rooting hormone powder, tapping off any excess.
- Plant Your Cutting: Fill your small pot with your well-draining potting mix. Make a small hole in the center with your finger or a pencil. Gently insert the callused end of your cutting into the hole, and firm the soil around it.
- Water Sparingly: Water the soil very lightly, just enough to moisten it. You don’t want soggy roots right from the start.
- Find a Warm, Bright Spot: Place the pot in a location that receives bright, indirect light and is warm.
The “Secret Sauce” from My Garden
Here are a few little tricks I’ve picked up over the years that have really boosted my success rates:
- Bottom Heat is Your Friend: If you have the option, placing your pot on a heated propagation mat can make a world of difference. It encourages root development from below, mimicking ideal soil temperatures. It’s especially helpful if your home is a bit on the cooler side.
- Don’t Overwater, Ever! This is probably the number one mistake people make. Madagascar Palms are succulents, after all. Let the soil dry out almost completely between waterings. A light misting to keep the surface slightly damp is often enough in the initial stages.
- Patience, Patience, Patience: These guys can be a bit slow to show signs of life. Don’t despair if you don’t see new growth in a few weeks. Seriously, resist the urge to dig around and check for roots. Give it at least a month, sometimes two, before you start to worry.
Aftercare and When Things Go “Uh Oh”
Once you start to see new leaf growth or feel a bit of resistance when you gently tug on the cutting, you know you’ve got roots! At this point, you can gradually introduce your new Pachypodium to more direct sunlight and begin watering a little more regularly, always allowing the soil to dry out between waterings.
The most common sign of failure is rot. If the stem starts to turn black and mushy, it’s a pretty sure sign that it’s rotted. This usually happens if the cutting was planted in soil that was too wet and didn’t callus properly. Unfortunately, in this case, it’s best to discard the cutting and start fresh.
Happy Propagating!
Propagating Pachypodium lamerei is a journey, not a race. Enjoy the process of watching these spiky beauties unfurl new life. Be patient, trust your instincts, and soon you’ll have your own little collection to admire. Happy gardening!
Resource:
https://identify.plantnet.org/k-world-flora/species/Pachypodium%20lamerei%20Drake/data