Oh, hello there! Come on in, grab a mug. I’ve been meaning to chat with you about Ozothamnus diosmifolius, or Rice Flower. It’s one of those delightful plants that just brightens up any garden with its delicate, white blooms. They smell wonderful, too, like sweet honey. Growing them from scratch is incredibly satisfying, a little bit like magic happening right on your windowsill. If you’re new to propagating, this one might be a touch more challenging than, say, a geranium, but don’t let that deter you. With a few pointers, you’ll be well on your way!
When’s the Best Time to Get Started?
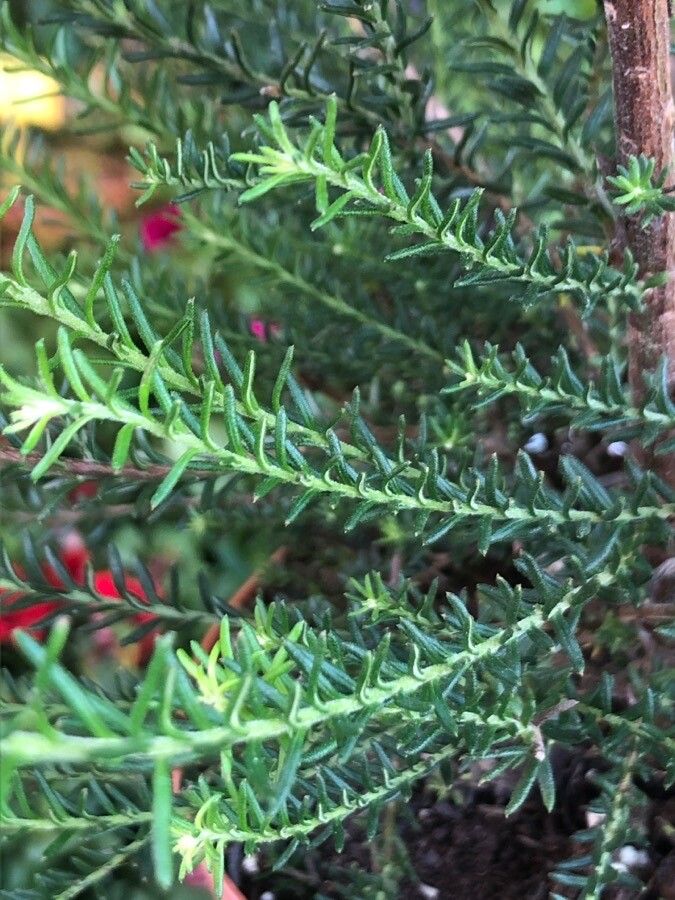
For the highest chance of success with Ozothamnus, I find that spring and early summer are your golden windows. This is when the plant is actively growing, and the stems are just the right stage of growth – not too soft and new, but not woody either. Aim for those pencil-thick, semi-hardwood cuttings. They have the best vigor and are most receptive to rooting.
What You’ll Need
Gathering your supplies before you begin makes the whole process smoother. Here’s what I always have on hand:
- Sharp pruning shears or a clean knife: For making clean cuts.
- Rooting hormone: I swear by it! A good powder or gel makes a world of difference.
- A well-draining potting mix: A 50/50 blend of perlite and peat moss or coco coir works beautifully. You can also buy specific propagation mixes.
- Small pots or seed trays: With drainage holes! This is non-negotiable.
- A clear plastic bag or dome: To create a humid environment.
- Water spray bottle: For misting.
- Labels: So you don’t forget what you planted where!
My Favorite Ways to Propagate
Ozothamnus can be a bit particular, but stem cuttings are usually my go-to method for them. It’s reliable and gives you well-established new plants.
Let’s talk stem cuttings:
- Take Your Cuttings: Select healthy, non-flowering stems from a mature plant. Using your clean shears, cut pieces about 4-6 inches long. Make the cut just below a leaf node (where the leaves attach to the stem).
- Prepare the Cuttings: Gently remove the leaves from the lower half of the stem. If you have any flower buds, pinch those off too – we want the energy to go into root production!
- Apply Rooting Hormone: Dip the cut end of the stem into your rooting hormone, tapping off any excess. This encourages root development.
- Plant Your Cuttings: Fill your pots with your prepared potting mix. Make a hole with a pencil or your finger, and insert the cutting. Gently firm the soil around it.
- Water and Cover: Water the pot thoroughly until water drains from the bottom. Then, cover the pot with a clear plastic bag or a propagation dome. This traps humidity, which is crucial for preventing the cuttings from drying out before they can root.
The “Secret Sauce” from My Garden
Now, for a couple of things I’ve learned over the years that often make a big difference:
- Bottom Heat is Your Friend: While not absolutely essential, placing your pots on a heated propagation mat can significantly speed up the rooting process. The warmth encourages the plant’s energy to focus on root growth. Just a gentle warmth is all it needs.
- Don’t Overwater, but Keep it Moist: This is a tricky balance, I know! You want the soil to be consistently moist, but never soggy. If you’re using a plastic bag, check the soil every few days. If it feels dry, give it a light misting. Overwatering is the fastest way to invite rot.
Aftercare and When Things Go Wrong
Once your cuttings have rooted – you’ll see new growth appearing, or you can gently tug on a cutting and feel resistance – it’s time for them to breathe a little. Gradually remove the plastic cover over a week or two to acclimate them to the drier air. Continue to water them when the top inch of soil feels dry.
What if things don’t go as planned? The most common issue is rot. If you see your cuttings turning black and mushy, it’s usually a sign of too much moisture and not enough air circulation. If you catch it early, you might be able to salvage some by cutting away the rotten parts and repotting in fresh, drier mix. Sometimes, though, it’s just nature’s way.
Give it a Go!
Propagating Ozothamnus diosmifolius is a journey, and like any good garden project, it’s about patience and learning. Don’t be discouraged if your first attempt isn’t perfect. Every cutting, every season, teaches you something new. Enjoy the process, and soon you’ll have a whole garden full of these lovely blooms! Happy gardening!
Resource:
https://identify.plantnet.org/k-world-flora/species/Ozothamnus%20diosmifolius%20(Vent.)%20DC./data