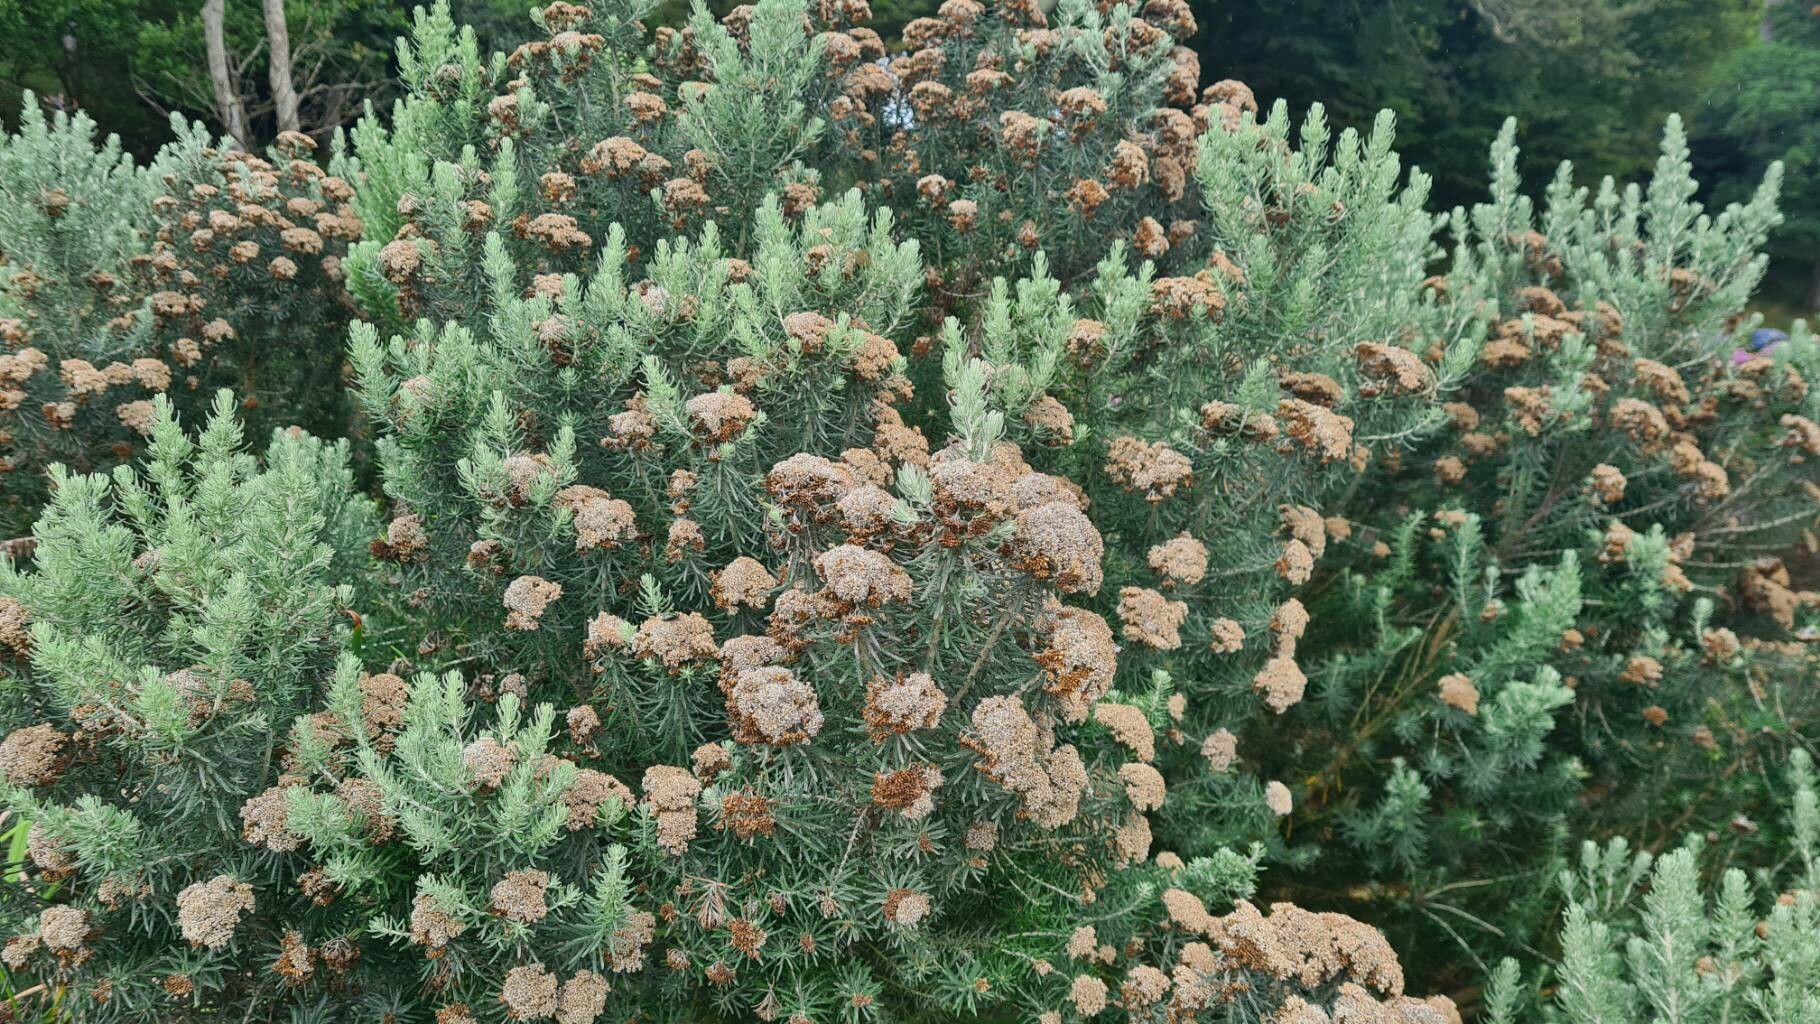
Hello, fellow plant enthusiasts! It’s your green-thumbed friend here, ready to dive into one of my favorite little projects: propagating Ozothamnus cinereus. This beautiful Australian native, often called Rice Flower for its masses of delicate, rice-like blooms, is such a joy to have in the garden. Its airy texture and lovely scent make it a real standout. Propagating it yourself is incredibly rewarding – you get more of that beauty for free, and it’s a wonderful way to deepen your connection with your plants. Now, about beginners – Ozothamnus cinereus can be a little particular, but with a few tricks up your sleeve, you’ll be well on your way. Let’s get started!
The Best Time to Start
For Ozothamnus cinereus, late spring to early summer is your golden window. This is typically when the plant is actively growing but before it puts all its energy into flowering. You want to take cuttings from new, semi-hardwood growth. This means stems that are starting to firm up, not those floppy new shoots or woody old branches. Think of it like a pencil – firm enough to hold its shape but not as hard as an old branch.
Supplies You’ll Need
Here’s what I like to have on hand:
- Sharp, clean pruning shears or a craft knife: For making clean cuts. Sterilize them with rubbing alcohol before and between cuttings.
- Rooting hormone powder or gel: While not always strictly necessary, it really gives those cuttings a boost.
- A well-draining potting mix: I usually go for a 50/50 mix of perlite and peat moss or coco coir. Commercial seed-starting mix often works well too.
- Small pots or trays: Clean nursery pots or even small yogurt cups with drainage holes are perfect.
- A clear plastic bag or a propagator lid: To create a humid environment.
- Watering can with a fine rose: For gentle watering.
Propagation Methods
I find stem cuttings to be the most reliable for Ozothamnus cinereus. Here’s how I do it:
- Take the Cuttings: Head out to your plant in the morning after the dew has dried. Look for those semi-hardwood stems, about 4-6 inches long. Make a clean cut just below a leaf node (where a leaf joins the stem). Remove the lower leaves, leaving just a few at the top.
- Prepare the Cuttings: If you’re using rooting hormone, lightly dip the cut end into the powder or gel. Follow the product instructions for how much to use.
- Pot Them Up: Fill your clean pots with your prepared potting mix. Make a hole in the center of the soil with a pencil or your finger. Gently insert the cutting into the hole, ensuring the lowest removed leaf node is below the soil surface.
- Firm the Soil: Lightly firm the soil around the base of the cutting to ensure good contact.
- Water Gently: Water the pots thoroughly with your fine-rose watering can. You want the soil to be moist but not waterlogged.
- Create Humidity: Place your pots into a plastic bag, sealing it loosely, or cover them with a propagator lid. This creates a mini-greenhouse, keeping the moisture levels high, which is crucial for callusing and root development. Place them in a bright spot out of direct sunlight.
The “Secret Sauce” (Pro Tips)
- Don’t let the leaves touch the water: If you happen to be trying water propagation (which I find less successful for Ozothamnus but some folks love it!), make sure no leaves are submerged. Rot sets in fast when leaves sit in water.
- Bottom heat is your friend: Placing your cuttings on a seedling heat mat can significantly speed up root formation. It mimics the warmth of spring soil. Just keep an eye on moisture levels as bottom heat can dry out the soil faster.
- Take more than you think you need: Not every cutting will take. It’s much better to have a few extra and be successful with several than to have one or two precious little plants.
Aftercare & Troubleshooting
Once your cuttings have been in their humid environment for a few weeks, you might start to see new leaf growth – a great sign! You can gently tug on a cutting; if there’s resistance, it means roots have formed. Once roots are established, gradually introduce them to normal conditions by opening the plastic bag a little each day over a week or so. Continue to keep them moist but not soggy.
The most common issue you’ll encounter is rot. If a cutting turns black and mushy, or the leaves simply shrivel and die without any sign of new growth after a reasonable time, it’s likely rotten. This is usually due to too much moisture and not enough air circulation. Don’t be discouraged; just try again with fresh cuttings, ensuring your soil drains well and you’re not overwatering.
A Little Patience, A Lot of Joy
Propagating plants is a journey, and Ozothamnus cinereus is no exception. Be patient with your little cuttings. It can take anywhere from 4-8 weeks, sometimes longer, to see significant root development. Celebrate those tiny victories – a new leaf unfurling is a big deal! Enjoy the process of nurturing these new life forms. Soon enough, you’ll have your own fleet of Rice Flowers to share, plant, or simply admire. Happy gardening!
Resource:
https://identify.plantnet.org/k-world-flora/species/Ozothamnus%20cinereus%20(Labill.)%20Sweet/data