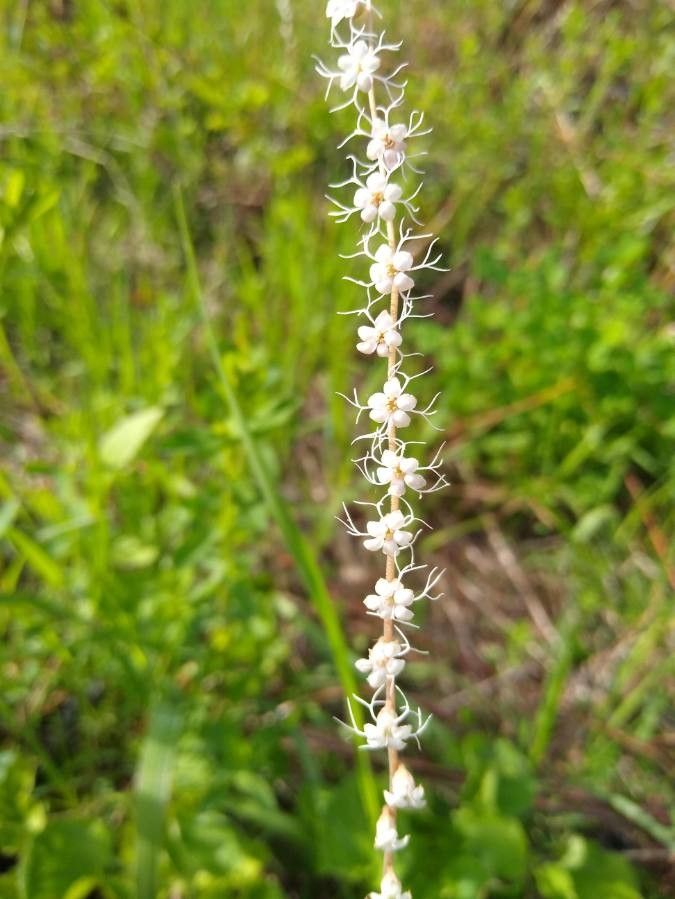
Hello fellow garden enthusiasts! Today, we’re diving into a truly special plant: Ozomelis stauropetala. If you’ve ever admired its delicate, star-shaped blooms and lush foliage, you’re not alone. This plant is such a joy to have around, and the satisfaction of propagating your own from a parent plant is absolutely immense. For those of you just starting out in the propagation world, I’d say Ozomelis stauropetala is a moderately challenging but very rewarding project. It requires a touch of patience, but the results are so worth it!
The Best Time to Start
My favorite time to take cuttings from Ozomelis stauropetala is in late spring to early summer. This is when the plant is actively growing and has plenty of energy to put into developing new roots. You’ll want to select stems that are semi-hardwood, meaning they are not brand new and flimsy, but also not old and woody. They should snap cleanly when bent, rather than just creasing.
Supplies You’ll Need
Gathering your supplies beforehand makes the whole process so much smoother. Here’s what I always have on hand:
- Sharp, clean pruning shears or a sharp knife: Essential for making clean cuts.
- Rooting hormone: A little boost can significantly increase your success rate. I prefer a powder form for stem cuttings.
- Small pots or seedling trays: With drainage holes, of course!
- A well-draining potting mix: I like to use a blend of perlite, peat moss, and a bit of compost. You can also buy pre-made cactus or succulent mixes which work wonderfully.
- Plastic bags or a propagation dome: To create a humid environment for your cuttings.
- Water mister: For keeping the humidity up.
- Labels and a permanent marker: To keep track of your cuttings!
Propagation Methods
Let’s get our hands dirty with a couple of tried-and-true methods for Ozomelis stauropetala.
Stem Cuttings
This is my go-to method for increasing my collection of Ozomelis stauropetala.
- Select and Cut: Find a healthy, semi-hardwood stem on your parent plant and carefully cut a 4-6 inch section just below a leaf node (where leaves attach to the stem).
- Prepare the Cutting: Gently remove the lower leaves, leaving just a few at the top. This reduces water loss. If the remaining leaves are very large, I’ll even cut them in half horizontally to further minimize transpiration.
- Apply Rooting Hormone: Dip the cut end of the stem into your rooting hormone, tapping off any excess.
- Planting: Make a small hole in your prepared potting mix and insert the cutting. Gently firm the soil around it.
- Create Humidity: Water the soil lightly. Then, cover the pot with a plastic bag, creating a tent effect by using stakes or skewers so the bag doesn’t touch the leaves, or use a propagation dome. Place the pot in a bright spot out of direct sunlight.
Water Propagation (with a caveat!)
While some plants readily root in water, I find Ozomelis stauropetala can be a bit fussier this way, and often the roots can be weaker. If you do try it, proceed with extreme caution.
- Select and Cut: Similar to stem cuttings, take a 4-6 inch semi-hardwood cutting.
- Prepare the Cutting: Remove most of the lower leaves, leaving a few at the top.
- The Crucial Step: Place the cutting in a clean glass or jar of room temperature water. Make sure that no leaves are submerged below the water line. This is key to preventing rot!
- Placement: Put the jar in a bright location, away from direct sun.
- Water Changes: Change the water every 3-4 days to keep it fresh and oxygenated.
- Transplanting (if successful): Once you see a good network of roots forming (about an inch long), you can carefully transplant it into your well-draining potting mix. Be gentle! The roots can be quite delicate.
The “Secret Sauce” (Pro Tips)
Here are a few little tricks I’ve learned over the years that can make a big difference:
- The Power of Bottom Heat: If you have it, using a seedling heat mat under your pots can dramatically speed up the rooting process. The warmth encourages root development from below.
- Don’t Overwater! This is probably the most common mistake. The goal is to keep the soil moist, not soggy. Once the cuttings have rooted and you’ve removed the humidity cover, let the top inch of soil dry out slightly between waterings. Overwatering is a fast track to rot.
- Patience is Key with the Foliage: Sometimes, even if the stem looks perfectly happy, it can take a while for new growth to appear. Don’t be discouraged if you don’t see much happening for several weeks. If the leaves are still green and firm, there’s a good chance roots are forming unseen.
Aftercare & Troubleshooting
Once your Ozomelis stauropetala cuttings have developed a healthy root system (you’ll often see roots peeking out of the drainage holes or feel resistance when gently tugging), it’s time for their new homes. Start introducing them to normal conditions gradually. Remove the plastic bag or dome for increasing periods each day over a week. Water them as you would a mature plant, allowing the soil to dry slightly between waterings.
The most common sign of failure is rot. If your cutting turns mushy, black, or has a foul smell, it’s sadly a goner. This usually happens from too much moisture and poor air circulation. If you notice leaf drop without rot, it could be a sign of too much direct sun or not enough humidity initially. Keep an eye on things, and learn from each experience!
A Little Encouragement
Propagating plants is a journey, and every gardener, no matter how experienced, has had their share of failures. But the rewards of seeing your own little plant grow from a tiny cutting are truly special. Be patient with your Ozomelis stauropetala, give it what it needs, and most importantly, enjoy the process of bringing more beauty into your home and garden. Happy propagating!
Resource:
https://identify.plantnet.org/k-world-flora/species/Ozomelis%20stauropetala%20(Piper)%20Rydb./data